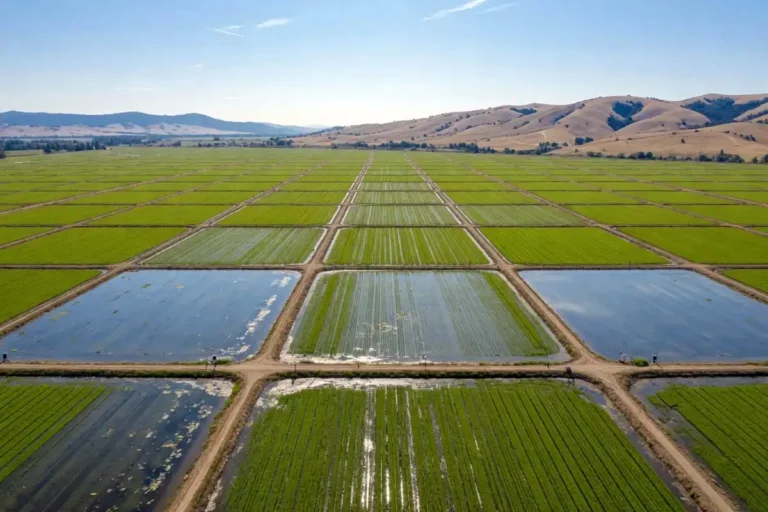
How to Grow Rice: Step-by-Step Guide From Seed to Harvest
How to grow rice comes down to warmth, water, and time. Rice is a wetland grass that needs hot weather and wet soil from planting to harvest. You can grow it on field acres or in a backyard bucket. This guide walks you through both, step by step.
To grow rice, plant seed in warm soil, keep it flooded or constantly wet, and feed nitrogen at flooding. Most rice matures in three to five months. Harvest once the grain turns golden, near 18 to 20 percent moisture.
What Rice Needs to Grow
Rice needs three things above all: heat, water, and a long growing season. Get those right and the crop is forgiving. Fall short on any one and yield suffers. Rice, or Oryza sativa, is a warm-season grass grown as an annual.
Here is what rice needs, at a minimum:
- Warm weather. Soil above 65°F to start, plus hot summer days through the season.
- Steady water. Flooded ground or soil kept constantly wet, never dried out until harvest.
- Full sun. At least six to eight hours of direct sunlight a day.
- A long season. Roughly 100 to 180 frost-free days, depending on the variety.
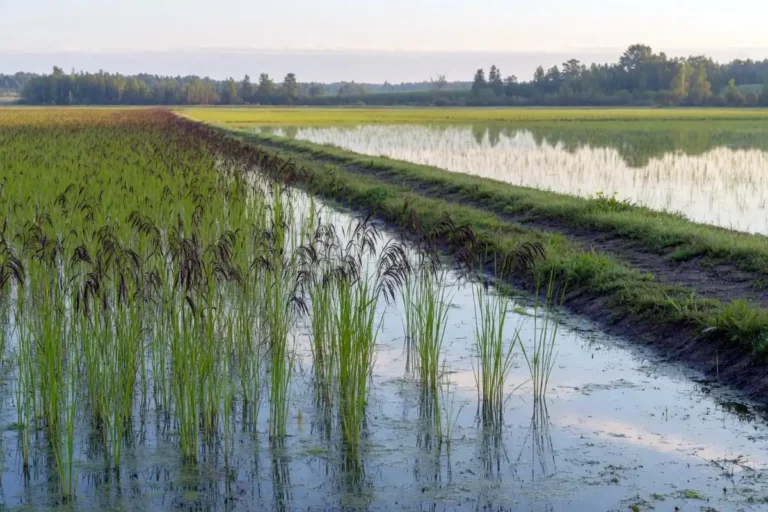
Water is what sets rice apart from corn, wheat, or beans. Flooding is not strictly required, though. It mainly drowns out weeds and steadies soil temperature. What rice truly needs is wet ground from planting through grain fill. If you are curious about the practice, here is more on why rice fields stay flooded.
Most US rice grows in flooded fields across Arkansas, Louisiana, Texas, Mississippi, and California. In the Great Plains, USDA zone 6a’s season runs too short and dry for field rice. So Kansas growers who want it grow small, in containers.
Choosing the Right Rice Seed
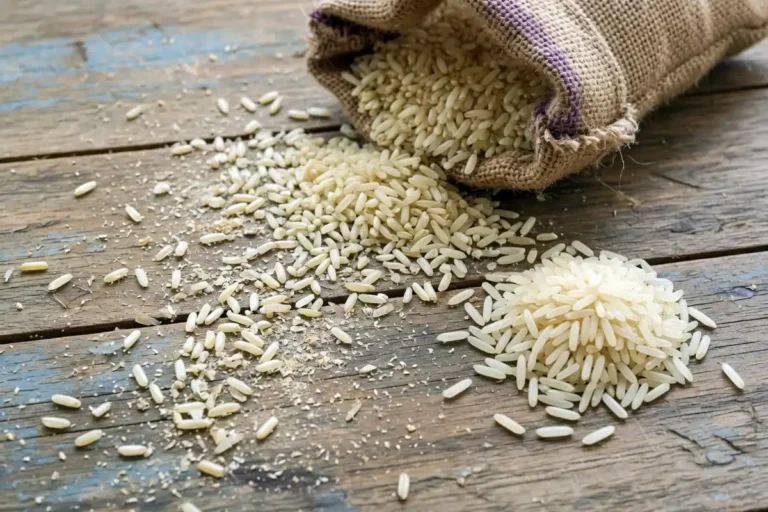
Start with real seed rice, not rice from the kitchen. Milled white rice will not sprout, since milling strips off the hull and germ. Buy unhulled seed rice from a seed company, or pick a regional variety from a farm store. Two things guide your choice: grain type and growing type.
Grain type is about the rice you eat:
- Long-grain cooks up dry and fluffy and dominates the Southern US.
- Medium-grain, sold as Calrose, is tender and slightly sticky, and rules California.
- Short-grain is the stickiest, common in sushi and risotto.
Growing type is about how the plant handles water:
- Lowland rice sits in standing water and gives the highest yields.
- Upland rice, or dry rice, grows without flooding and fits gardens and containers.
For a first crop, upland varieties like Duborskian are the most forgiving. They handle cooler weather and shorter seasons, which helps outside the rice belt. One note: wild rice is not true rice. It is an aquatic grass from a separate genus. So growing wild rice follows different rules.
When to Plant Rice
Plant rice once soil temperatures hold above 65°F and the last frost has passed. Across the Southern rice belt, that window runs from late March through May. Arkansas growers get their best yields from late-March and early-April planting. Yield drops off fast once you push past early June.
Soil temperature also sets your seeding rate. In warm soil above 70°F, seed comes up fast, so you can plant a little lighter. In cool soil in the low 60s, seed sits and rots more often, so plant heavier to be safe.
Home growers have it simpler. Wait until nights stay warm and frost is well behind you. Where summers are short, start seed indoors under a grow light, then set plants out after it warms.
How Long Does Rice Take to Grow?
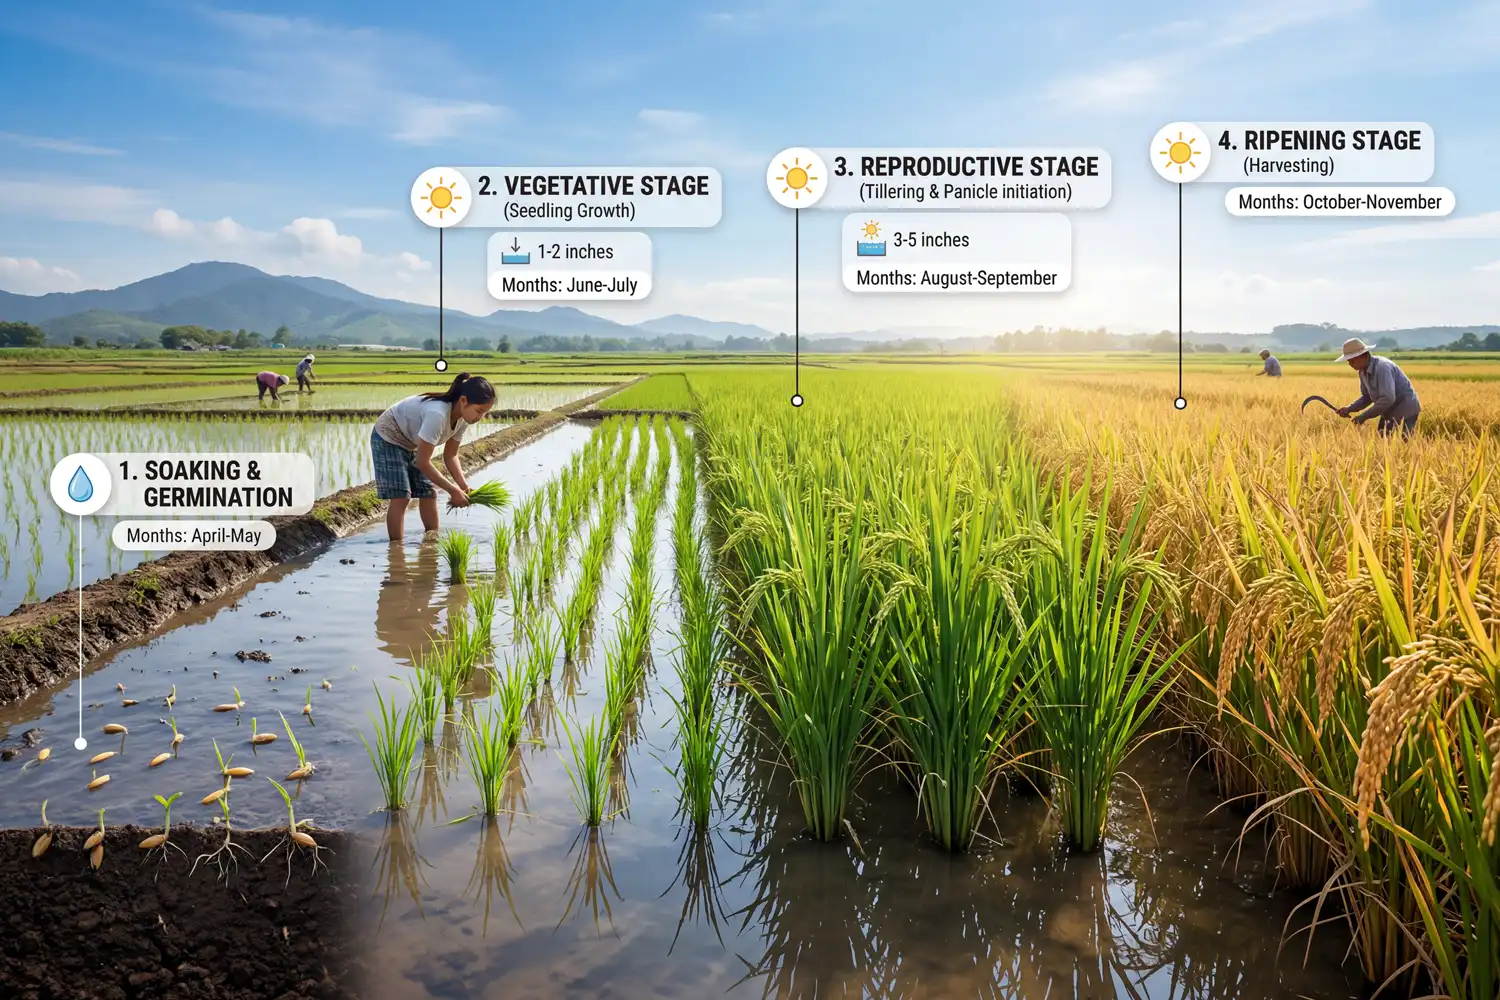
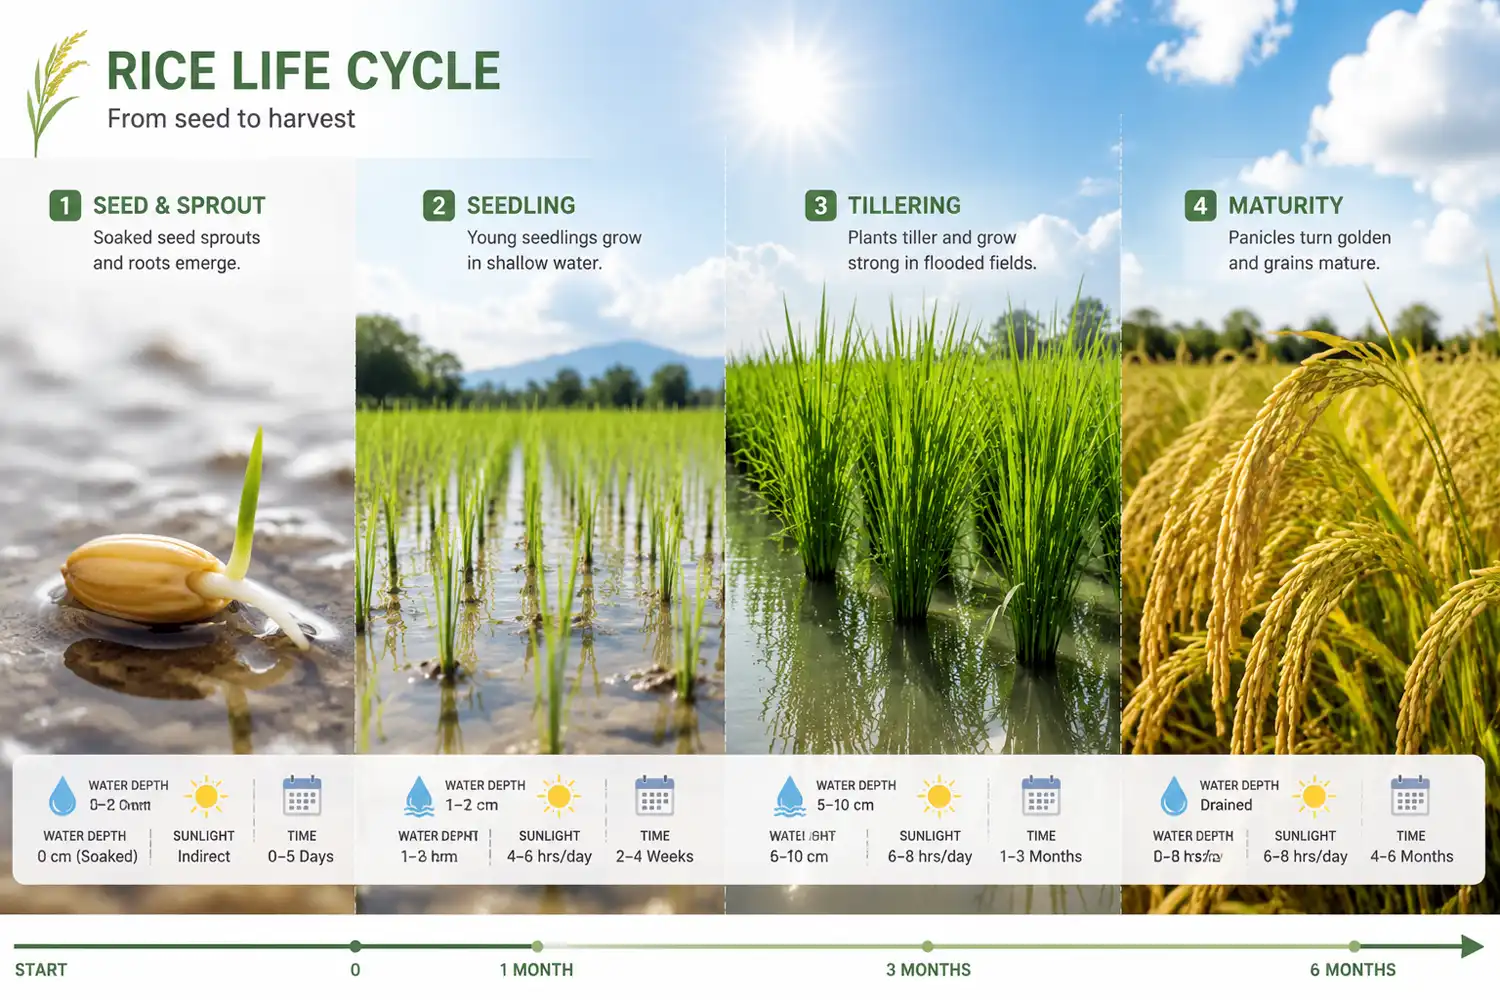
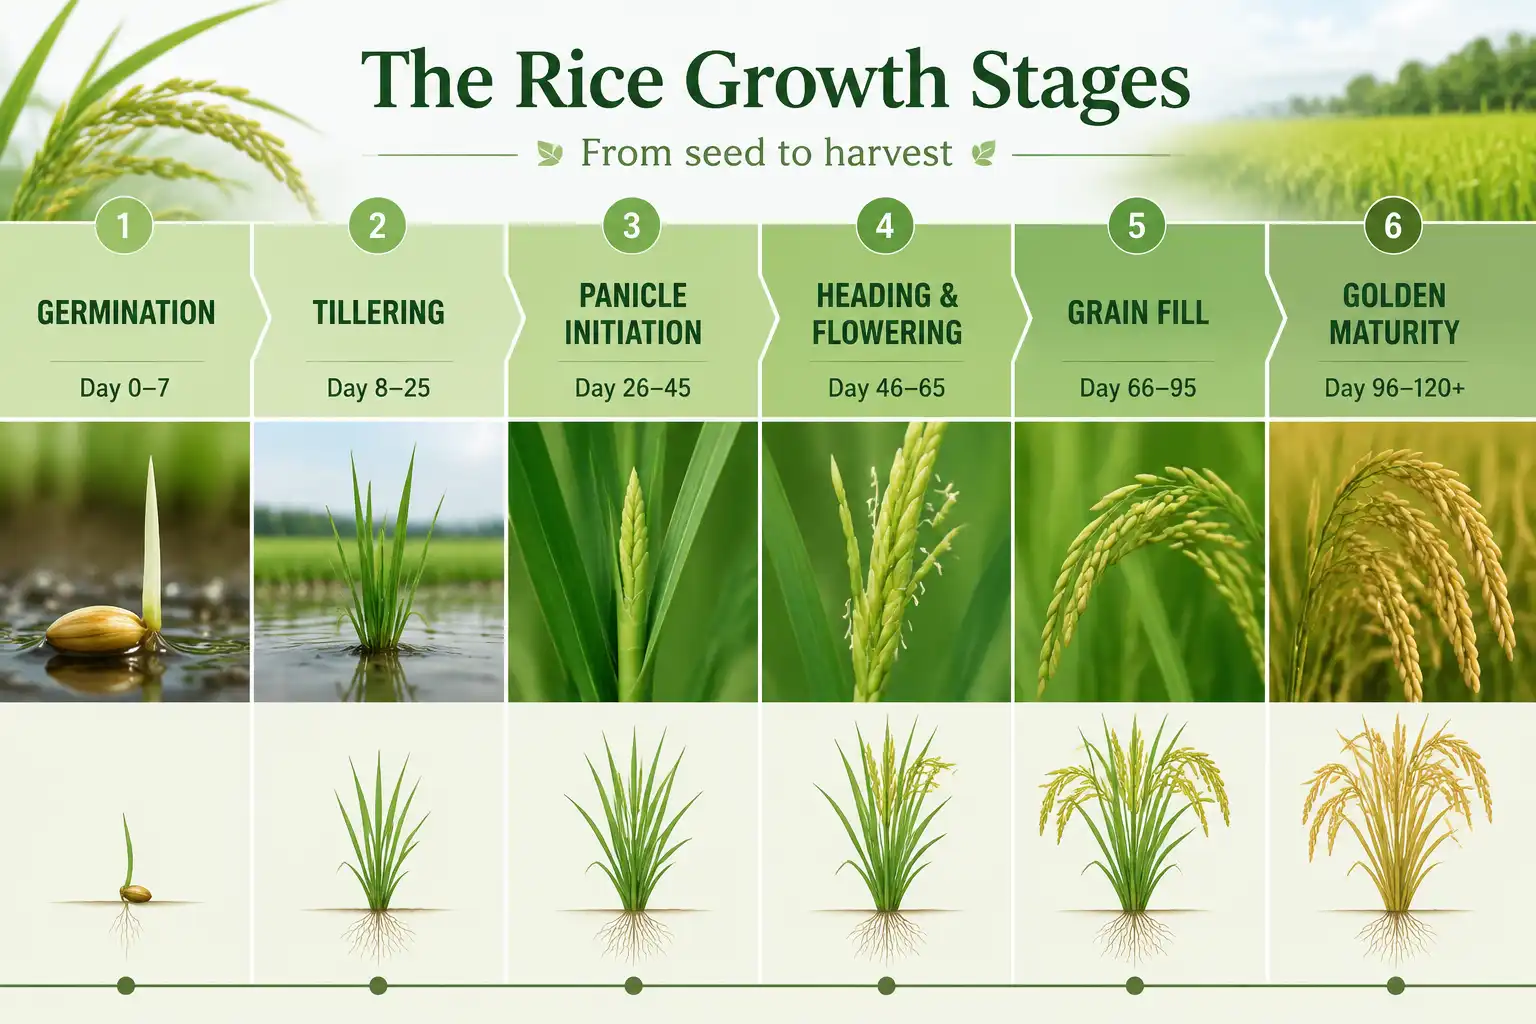
Most rice takes three to five months from planting to harvest. That is about 100 to 180 days, depending on variety and heat. Warm weather speeds it up, while cool weather stretches it out. The plant moves through the same stages whether it grows in a paddy or a bucket.
Here are the main growth stages:
- Germination (days 1 to 10). The soaked seed sprouts a root and shoot in warm, wet soil.
- Tillering (weeks 2 to 7). The plant sends up side shoots, called tillers, that each can carry grain.
- Panicle initiation. The plant switches from making leaves to forming the grain head inside the stem.
- Heading and flowering. Panicles push out the top, flower, and pollinate. This is the most water-sensitive stage.
- Grain fill. Grains fill with starch, moving from soft and milky to firm dough.
- Maturity. Grains harden and turn golden, and the field or bucket goes nearly dry. Now it is time to harvest.
How to Grow Rice in a Field
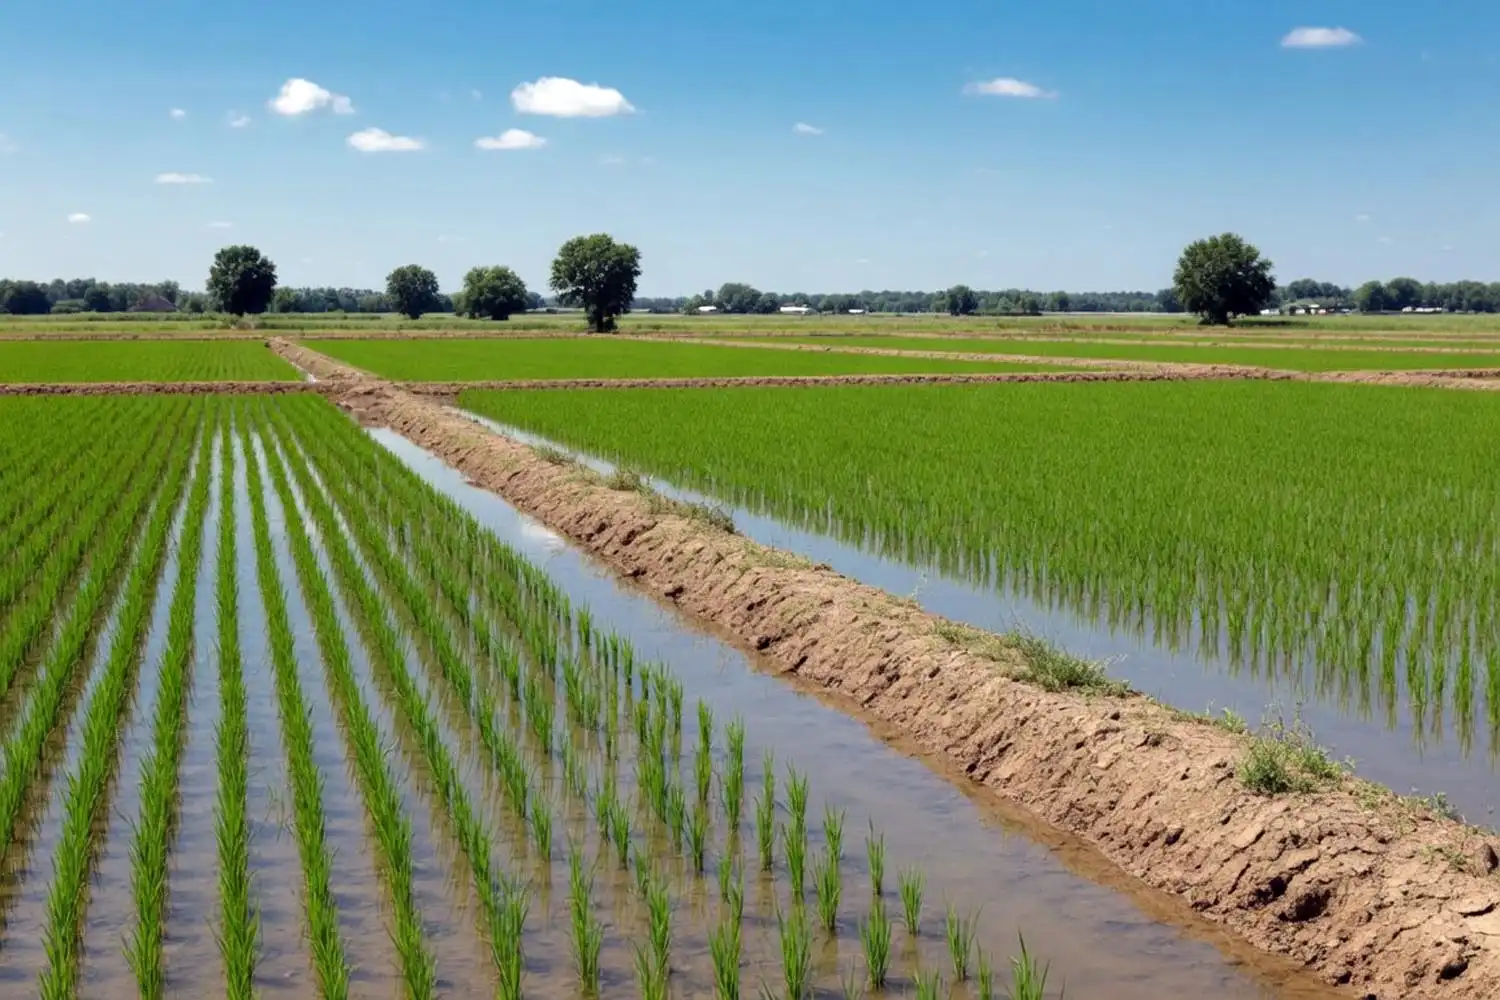
Field rice in the US almost always uses a drill-seeded, delayed-flood system. You drill seed into dry ground, let it come up, then flood the field once it has a few leaves. Before anything else, pull a soil test so you know your pH and fertilizer needs. California is the main exception. There, growers water-seed by dropping soaked seed from aircraft into flooded fields. That method covers much of the rice grown in California. A newer no-flood option, furrow-irrigated or row rice, waters the crop like corn.
Here is the standard field process, start to finish:
- Prep the ground. Work the field into a smooth, firm, level, weed-free seedbed. A well-worked surface holds moisture and speeds even emergence.
- Kill early weeds. Many growers use a stale seedbed: prep early, let weeds and red rice sprout, then kill that flush before planting.
- Drill the seed. Seed most varieties at about 30 seeds per square foot, roughly 70 pounds per acre. Set drill depth at a half inch to one inch.
- Bring up the stand. Rain or a shallow flush waters the seed until it emerges and reaches the four- to five-leaf stage.
- Spread preflood nitrogen. Apply about two-thirds of your nitrogen as urea on dry soil at the four- to five-leaf stage. This is the single most important step in the crop.
- Flood within three to five days. Get the permanent flood on fast so the nitrogen moves into the root zone instead of gassing off. Use a urease inhibitor if flooding will take longer.
- Hold the flood. Keep two to four inches of water across the field through grain fill. Level ground and solid levees keep the depth even.
- Add midseason nitrogen. Put the rest of your nitrogen out near internode elongation, once the crop is well into the flood.
- Drain, then harvest. Drain the field so the ground firms up, then combine once grain moisture hits 18 to 20 percent.
Key field numbers to keep handy:
- Seeding rate: about 30 seeds per square foot (70 pounds per acre), or 25 with seed treatments on a clean seedbed.
- Nitrogen: about 150 pounds per acre on silt loam, 165 to 180 on heavier clay, split between preflood and midseason.
- Flood depth: 2 to 4 inches held through grain fill.
- Harvest moisture: 18 to 20 percent, finished before it drops under 16 percent.
How to Grow Rice at Home
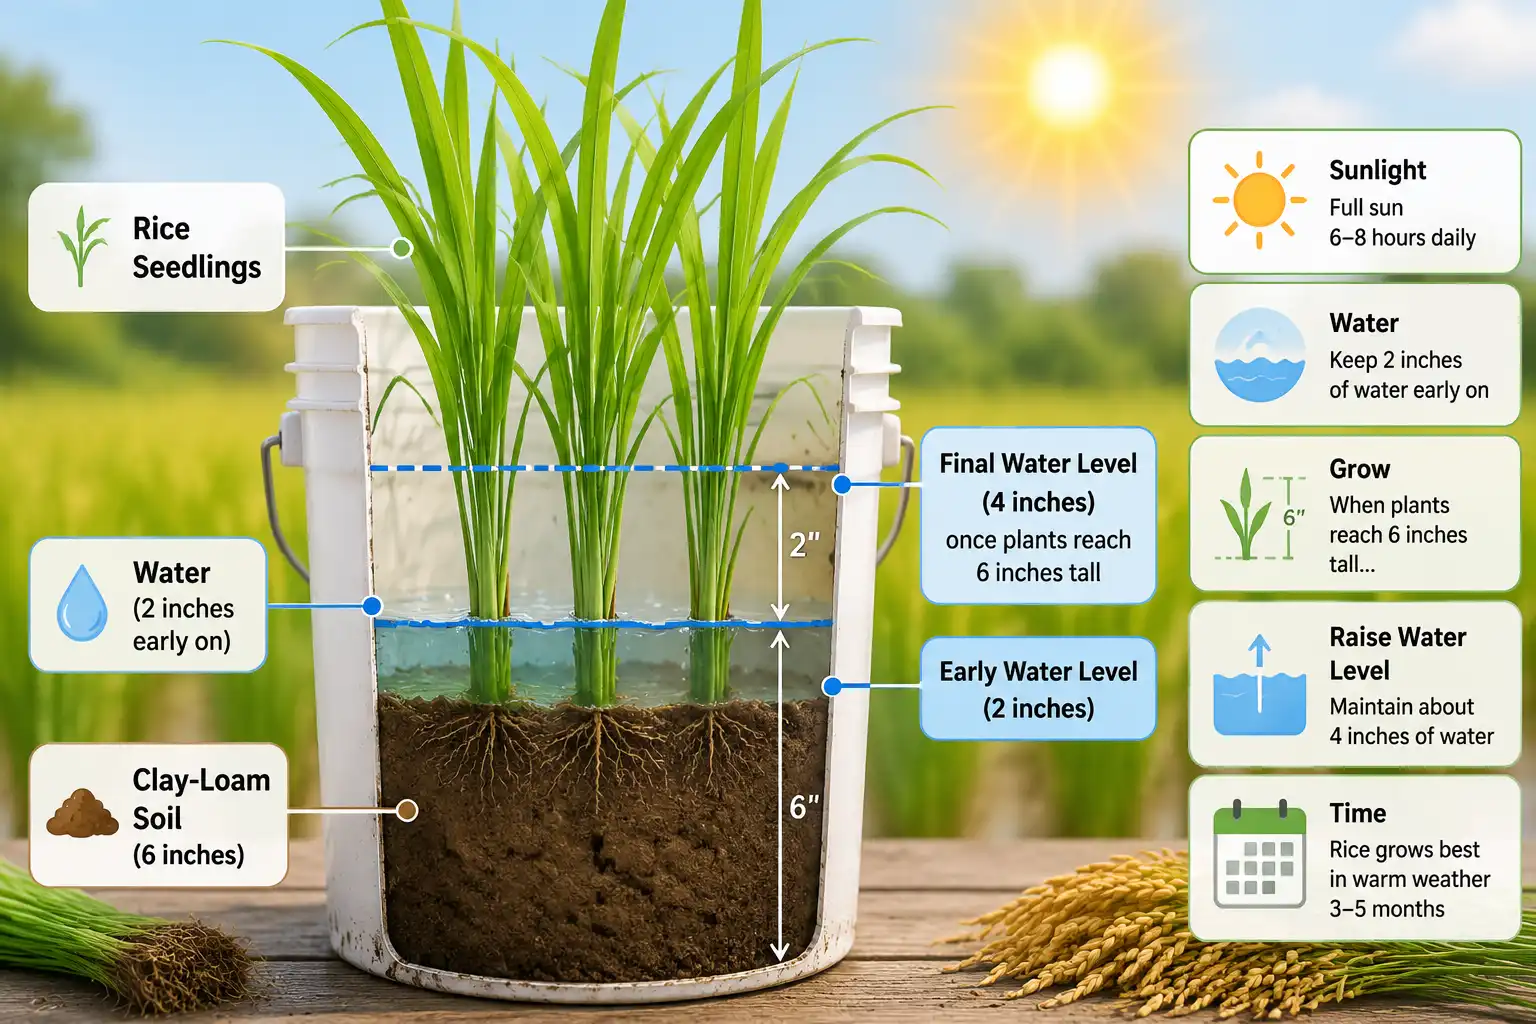
You do not need a paddy to grow rice at home. A container that holds water without draining, like a five-gallon bucket with no holes, works fine. The goal is a mini paddy: wet soil with a few inches of standing water on top.
Follow these steps for a container crop:
- Get seed rice. Use unhulled seed rice, or organic brown rice that can still sprout. Skip white rice.
- Soak the seed. Soak in non-chlorinated water for 12 to 36 hours, until tiny white roots show.
- Fill the container. Add about six inches of clay-loam soil mixed with compost. Aim for a pH of 5.5 to 7.0.
- Plant. Push the soaked seed about a half inch into the soil.
- Add water. Flood the container to about two inches above the soil.
- Give it sun and warmth. Set it in full sun for six to eight hours a day. Keep it near 75°F, and move indoor pots to a warm spot on cool nights.
- Raise the water. Once stalks reach five to six inches, raise the water level to about four inches.
- Let it dry down. Near the end of the season, stop refilling and let the water drop on its own.
- Watch for gold. The crop is ready when 80 to 90 percent of the grains turn golden, usually in month three or four.
A container crop is best as a learning project, not a food supply. One bucket yields only a small handful of finished rice. For more, use a raised bed or a soggy garden corner.
When and How to Harvest Rice
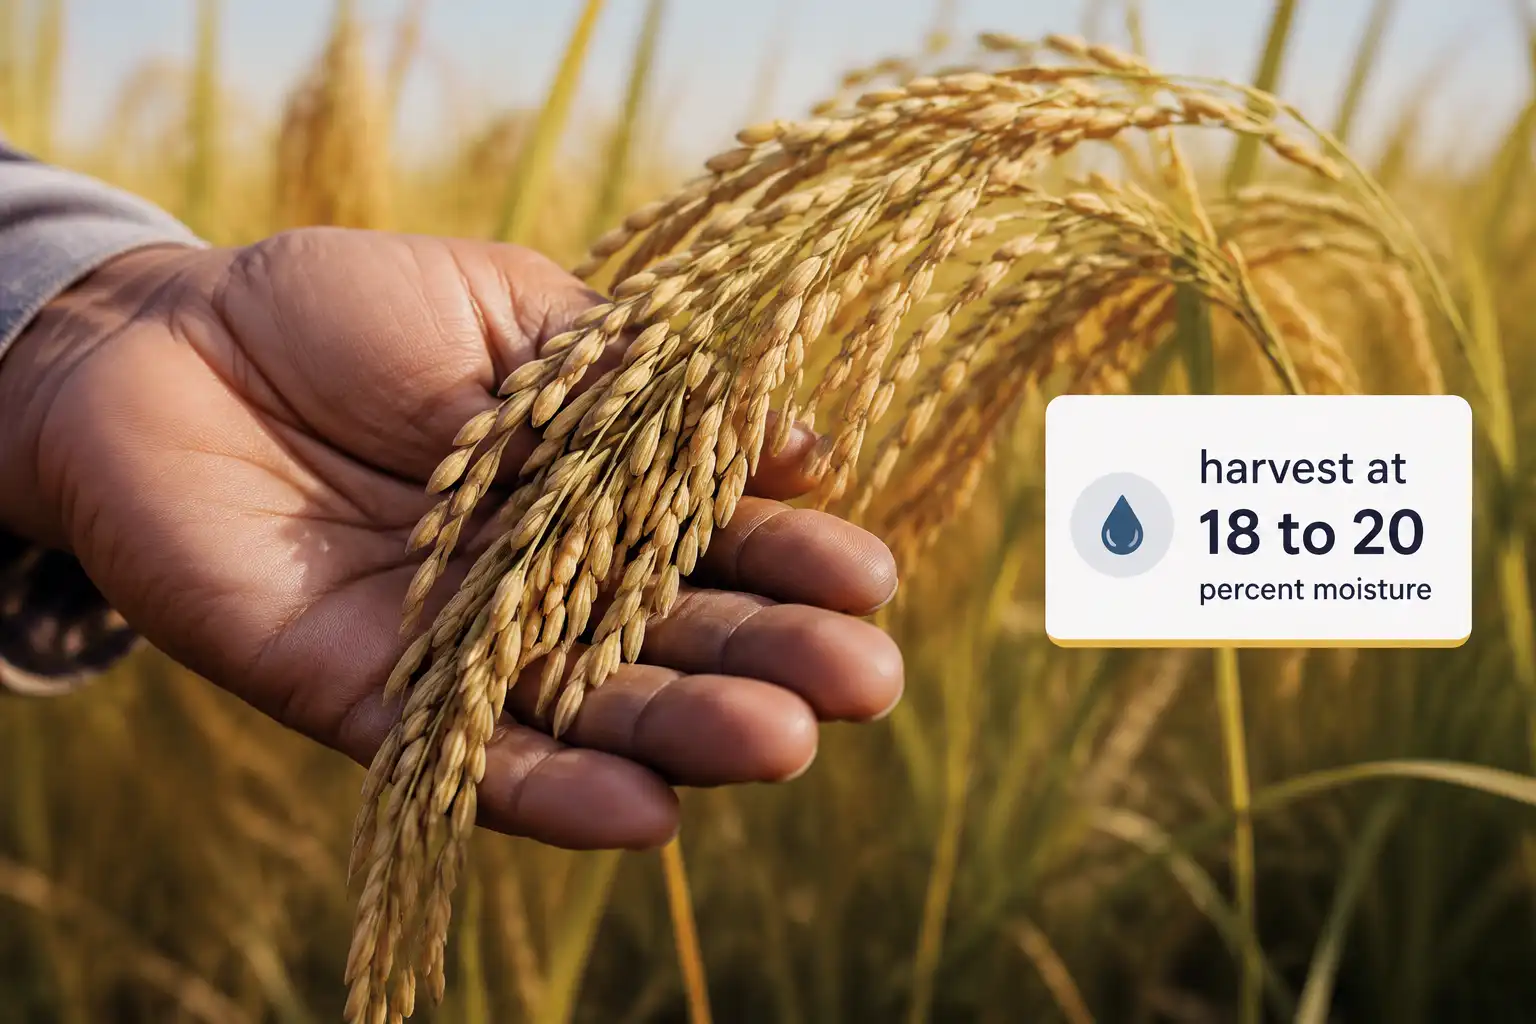
Harvest rice when grain moisture sits between 18 and 20 percent and most panicles have turned golden. Cut it wetter and milling suffers. Let it dry below 15 percent in the field and the grain cracks and shatters. Aim to finish before the crop drops under 16 percent.
On field acres, drain the paddy first so the ground firms up for the combine. Then harvest it much like wheat, and move the grain straight to a dryer. Dry it down to 12 to 14 percent for safe storage.
A home crop takes more hand work. Here is how to bring it in:
- Cut. Snip the stalks a few inches above the ground once the grains look golden.
- Dry. Bundle the stalks loosely and hang them in a warm, airy spot for two to three weeks.
- Thresh. Beat the dry bundles against the inside of a clean bin or bucket to knock the grains loose.
- Winnow. Pour the grain in front of a fan or a light breeze to blow off the chaff.
- De-hull. Rub the grain by hand or roll it under light pressure to crack the hull off each kernel.
- Store. Keep finished rice below 14 percent moisture in a sealed container, and it will last for years.
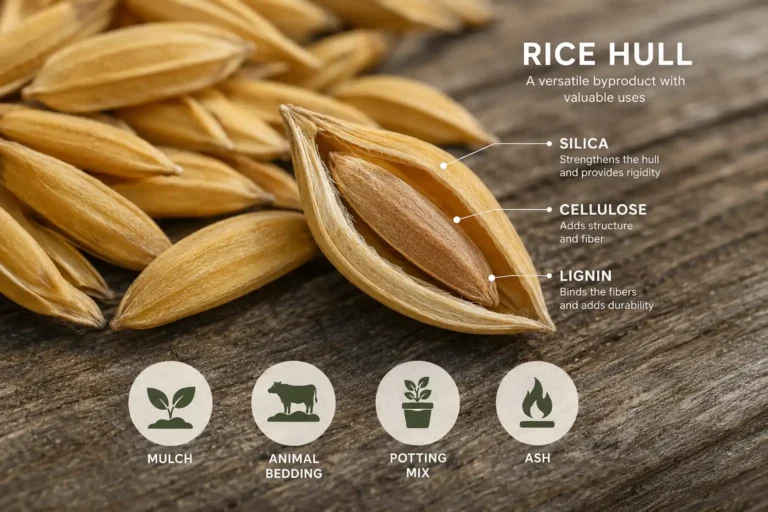
De-hulling is the tedious part of a home crop, because each rice hull grips the kernel tight. A stone roller or a small hand-crank huller speeds it up.
Common Rice-Growing Problems (and Fixes)
Rice runs into a handful of predictable problems. Catching them early protects both yield and grain quality.
Field weeds, pests, and diseases:
- Weeds, especially red rice. They hit hardest before the flood. Standing water suppresses most grasses, and herbicide-tolerant Clearfield rice plus a stale seedbed helps control red rice. Spray while weeds are small.
- Rice blast and sheath blight. These fungal diseases thrive in warm, wet canopies. Rotate crops, plant clean seed, and scout often.
- Straighthead. This disorder leaves panicles empty and standing upright. Draining the field midseason helps prevent it.
- Rice stink bugs. They feed on developing grain and cut quality. Scout heading fields and treat when numbers climb.
Common home-grower mistakes:
- Store-bought white rice that never sprouts. Use viable seed rice instead.
- Too little heat or sun. Rice stalls below 70°F or in shade. Move the container, or grow indoors under a light.
- Water too deep too early. Keep it at two inches until plants establish, then raise it.
- Letting the soil dry out. Rice roots must stay wet until the dry-down before harvest.
Common Questions about Growing Rice
Can you grow rice from store-bought rice?
Does rice have to be grown in water?
How much rice can you grow at home?
Can you grow rice in a cold climate like the Midwest?
Where to Start on Your Ground
Rice comes down to two things: keep it wet and time it right. Feed nitrogen and flood at the right stage, hold water through grain fill, then harvest before the grain over-dries. If you farm the South or California, the drill-seeded, delayed-flood method works and repays the setup. If you are up in cooler country like me, start with an upland variety. A bucket or a soggy garden corner works fine. Grow one small crop, learn the stages, then scale up from there.