When to Plant Potatoes: Exact Dates, Zones, and Soil Checks
Wondering when to plant potatoes in your area? Potatoes grow best when soil temperatures sit between 45°F and 55°F (7°C to 13°C), and planting at the right time separates a strong harvest from a failed one. This guide covers everything a grower needs to know: how to read soil conditions, when each U.S. climate zone plants, how spring and fall timing differ, and what signs tell you the ground is truly ready.
Plant potatoes when soil temperature reaches 45°F to 55°F and all risk of a hard freeze (below 28°F) has passed. In most of the U.S., that falls between late February and late May depending on your zone. Use a soil thermometer 4 inches deep to confirm temperature before planting. Avoid planting into cold, wet soil below 40°F, as seed potatoes rot rather than sprout.
What Affects Potato Planting Time?
Three conditions control when you plant potatoes: soil temperature, frost dates, and soil moisture.
Soil temperature matters more than air temperature. Potatoes sprout reliably once soil reaches 45°F at a 4-inch depth. Growth accelerates between 60°F and 70°F. Above 80°F, tuber formation slows significantly.
Frost date sets the outer boundary. A light frost (28°F to 32°F) damages emerged potato foliage. A hard freeze (below 28°F) kills young plants to the ground. Plant seed potatoes 2 to 4 weeks before your last expected frost date so they sprout around the safe window.
Soil moisture determines rot risk. Wet, compacted soil below 40°F causes seed pieces to rot before sprouting. Well-drained soil that crumbles and holds shape when squeezed signals ready conditions.
Understanding soil testing for crop farming helps you assess both temperature and drainage before you plant.
When to Plant Potatoes by U.S. Hardiness Zone
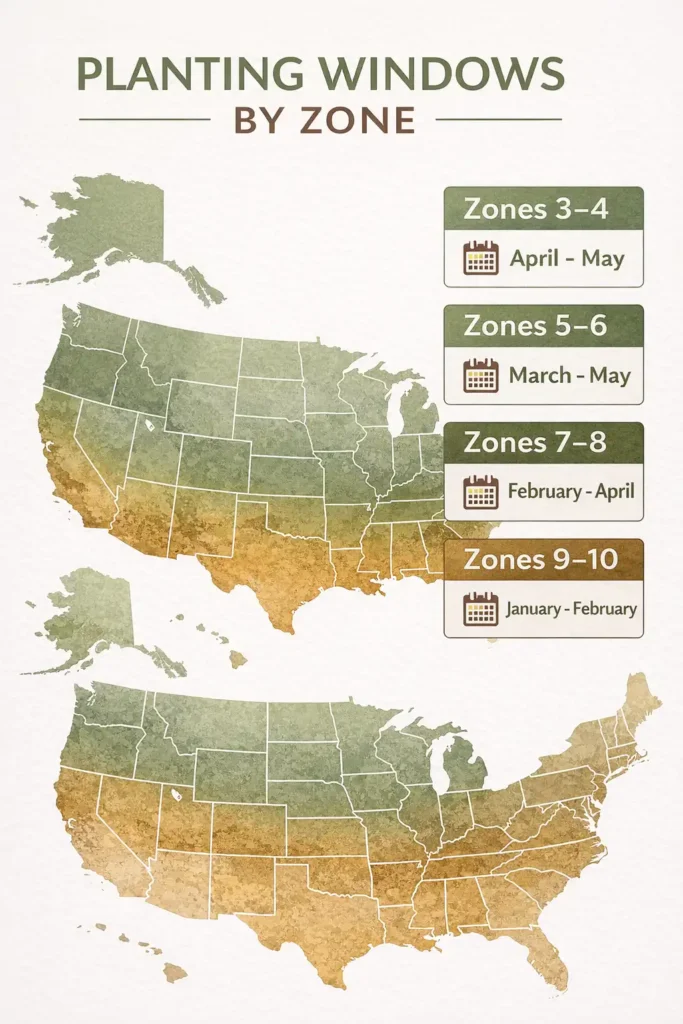
Planting windows shift by region. The dates below reflect general guidelines based on USDA hardiness zones and average last frost data.
Zones 3 to 4 (Northern states: Minnesota, Wisconsin, Montana) Plant from mid-April through mid-May. Last frost typically falls between May 1 and May 15. Soil warms slowly after snowmelt, so confirm temperature before planting rather than relying on calendar dates alone.
Zones 5 to 6 (Midwest and Mid-Atlantic: Kansas, Missouri, Virginia) Plant from late March through late April. Last frost dates range from April 1 to April 30. Topeka, Kansas, for example, carries an average last frost around April 15, making late March planting viable if soil temps confirm readiness.
Zones 7 to 8 (South and Pacific Northwest: Tennessee, Oregon, Georgia) Plant from late February through late March. Last frost typically passes by March 15 to April 1. In mild coastal areas of the Pacific Northwest, February planting succeeds in most years.
Zones 9 to 10 (Gulf Coast, Southern California, Florida) Plant from January through February for a spring crop. Summer heat in these zones ends tuber formation early, so an early start captures the cooler window. A second fall crop plants in September or October.
If a wet spring has you second-guessing field conditions, this guide on a grain moisture test meter can help you think through moisture management before you plant.
Learn more: Grow Fingerling Potatoes in 8 Easy Steps
Spring vs. Fall Potato Planting
Most growers plant in spring, but a fall crop suits warmer zones well.
Spring planting targets the cool soil window before summer heat arrives. Spring potatoes in northern zones mature in 70 to 120 days depending on variety. Early varieties such as Yukon Gold finish in 70 to 90 days. Late varieties such as Russet Burbank need 90 to 120 days.
Fall planting works in Zones 8 to 10 where summers run too hot for potato development. Plant fall potatoes 90 to 110 days before your first expected fall frost. In Zone 9, that means planting in late August or September for a November or December harvest.
Read more: Way to Fertilize Sweet Potatoes
How to Check If Soil Is Ready
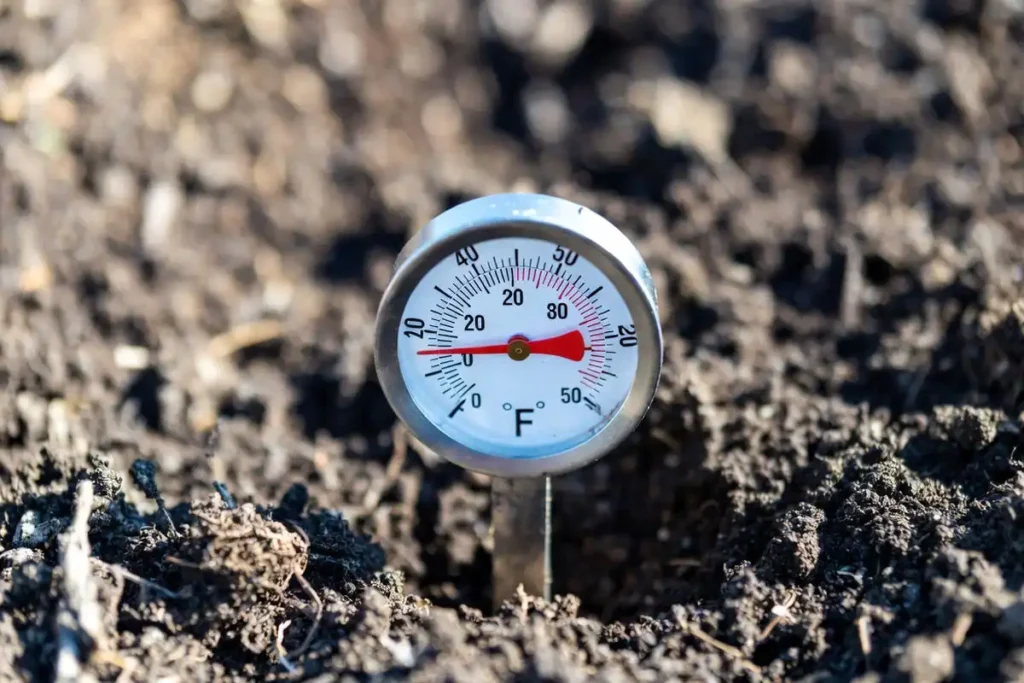
Soil temperature reading takes less than two minutes and prevents the most common planting mistake.
- Insert a soil thermometer 4 inches into the ground in the planting bed.
- Read the temperature at the same time each morning for three consecutive days.
- Average the three readings. If the average sits at 45°F or above, the soil is ready.
- Check soil moisture by squeezing a handful. It holds shape but crumbles with a poke when drainage is adequate.
Avoid planting if the three-day average stays below 40°F. Seed pieces planted in cold, wet soil develop soft rot within 10 to 14 days without sprouting.
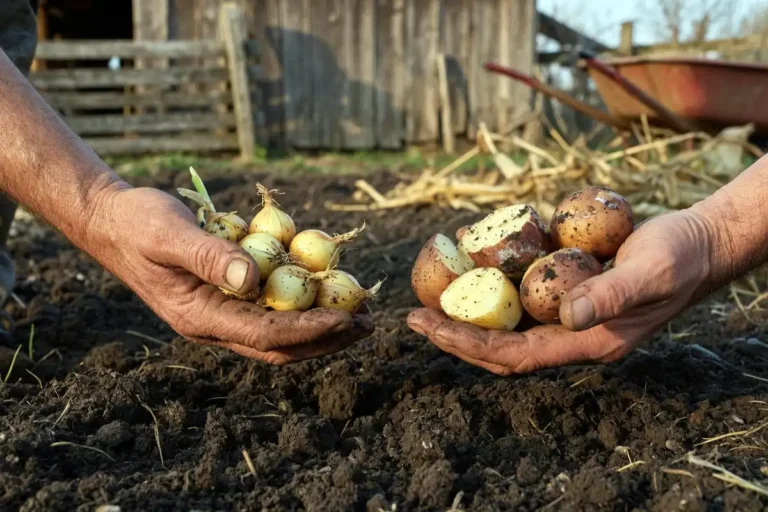
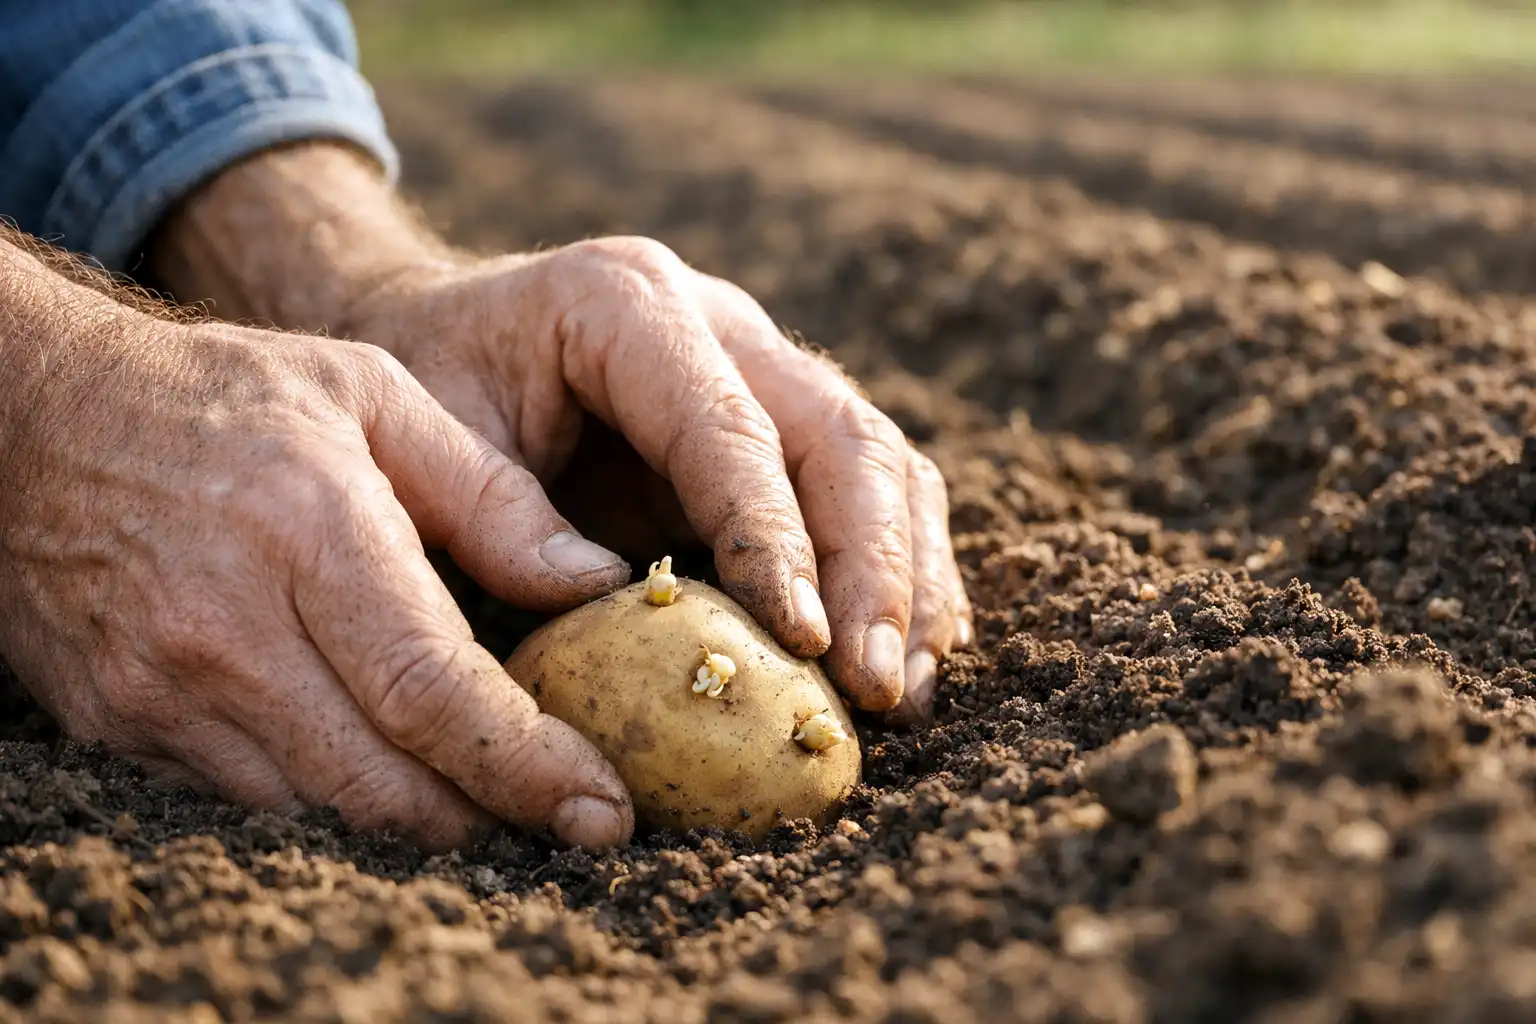
Choosing Seed Potatoes Before Planting
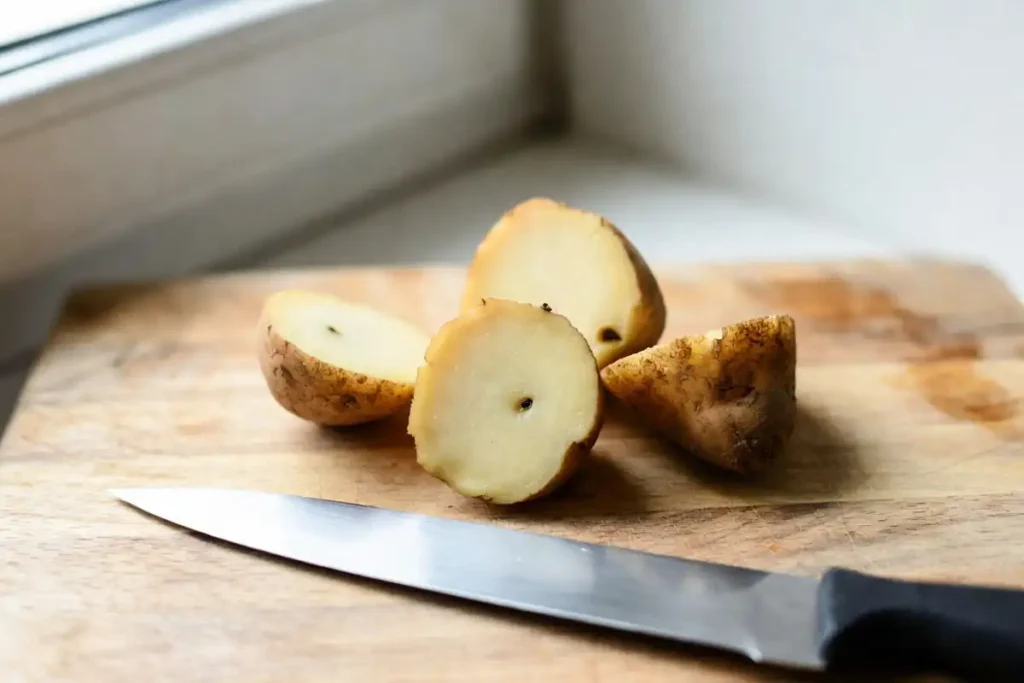
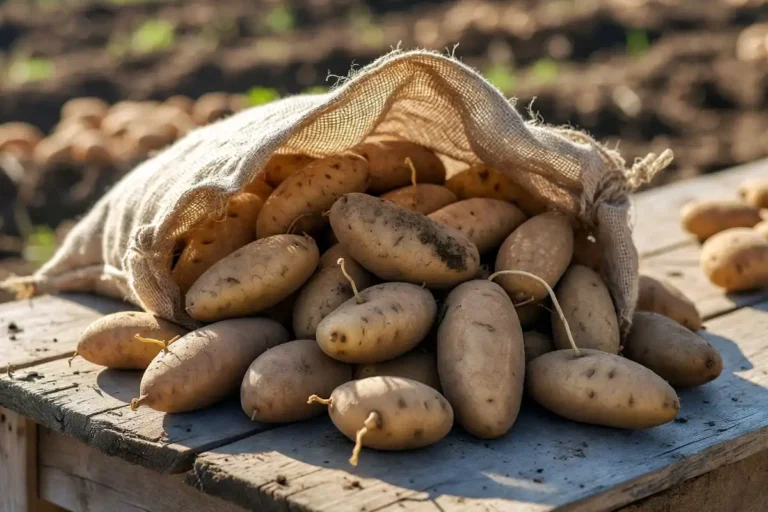
Seed potato selection directly affects plant health and yield. Use certified disease-free seed potatoes rather than grocery store potatoes, which often carry latent diseases and may have been treated with sprout inhibitors.
Cut seed pieces to roughly 1.5 to 2 ounces each, with at least one to two eyes per piece. Cure cut pieces at 50°F to 65°F for 24 to 48 hours before planting. Curing forms a protective skin layer that reduces rot risk.
Learning on cut and cure seed potatoes to reduce rot risk before planting day saves significant crop loss.
Planting Steps for Potatoes
Order matters here, so follow these steps in sequence.
- Prepare the bed. Till or loosen soil to a depth of 8 to 12 inches. Potatoes need loose soil for tubers to expand without deformity. Work in compost at 2 to 3 inches across the planting area. Review compost for crop farming for application rates.
- Dig furrows or holes. Space furrows 30 to 36 inches apart. Dig to a depth of 3 to 4 inches for spring planting. In hot climates, plant at 4 to 6 inches deep to keep developing tubers cool.
- Place seed pieces. Set pieces cut-side down, eye-side up, every 10 to 12 inches within the row.
- Cover with soil. Backfill to 3 to 4 inches of coverage over the seed piece.
- Water lightly. Apply 1 inch of water after planting to settle the soil around seed pieces without waterlogging.
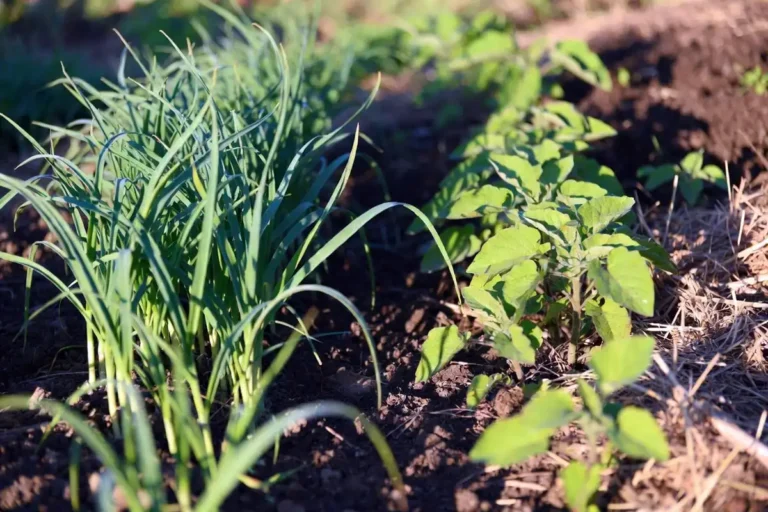
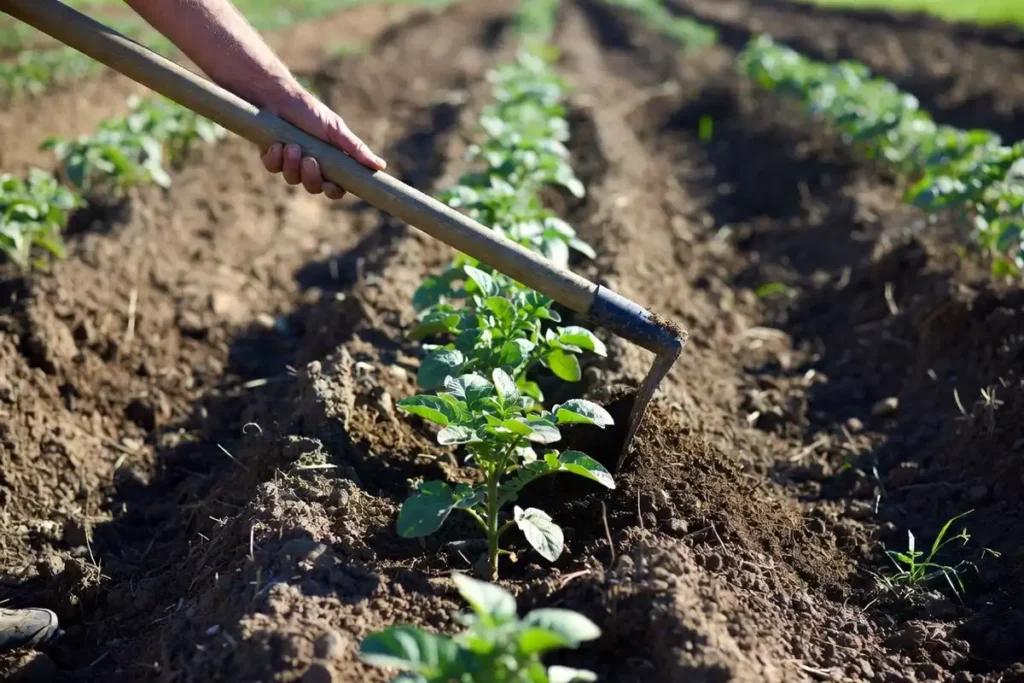
- Hill as plants emerge. Once plants reach 6 to 8 inches tall, mound soil or straw around the base to cover the lower 3 to 4 inches of stem. Repeat hilling when plants reach 12 inches. Hilling keeps developing tubers covered and prevents greening.
Plant spacing affects yield. Review about plant spacing for crops for row and within-row spacing recommendations.
Common Timing Mistakes to Avoid
Planting too early into cold soil. Soil below 40°F stalls germination and invites rot. Check temperature rather than relying on the calendar alone.
Planting too late into hot soil. Soil above 70°F at planting time still produces a crop, but tuber set begins late and competes with summer heat. In northern zones, late May planting often produces reduced yields.
Skipping curing after cutting seed pieces. Uncured cuts planted in cool soil rot at significantly higher rates. Always cure for 24 to 48 hours.
Using grocery store potatoes as seed. These carry disease risk and sprout inhibitor residue. Certified seed potatoes from a reputable supplier reduce disease pressure from the start.
Planting in poorly drained soil. Waterlogged soil after planting suffocates seed pieces. Test drainage before planting: dig a 12-inch hole, fill it with water, and check if it drains within an hour.
Signs Your Timing Was Right
Potato sprouts emerge from the soil 14 to 28 days after planting, depending on soil temperature. A soil temperature of 50°F produces emergence in 21 to 28 days. At 60°F, emergence occurs in 14 to 21 days.
Healthy emergence shows upright, dark green shoots. Weak, yellowish, or spindly shoots signal cold stress or shallow planting. Multiple shoots per seed piece confirm strong sprouting.
If no emergence appears after 30 days, check one seed piece by carefully digging to its depth. Firm, white or light tan tissue indicates the piece is alive but slow. Soft, brown, or foul-smelling tissue indicates rot from cold, wet conditions.
Frost After Planting: What to Do
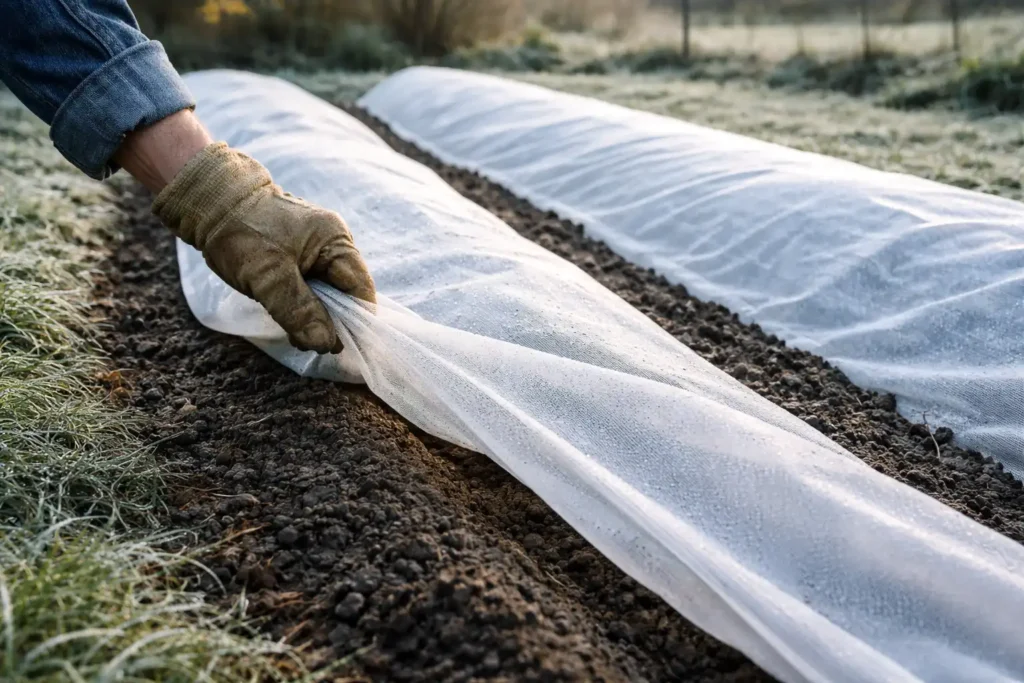
Late frost events affect emerged potato foliage, not the seed pieces below ground. A light frost damages leaves but rarely kills the plant entirely. New growth returns from the crown within 7 to 10 days after a light frost event.
Cover rows with row fabric or straw if a frost warning falls within 2 weeks of expected emergence. Remove covers when daytime temperatures return above 50°F to prevent heat buildup.
A hard freeze below 28°F after full emergence causes more severe dieback. Plants recover if the crown stays intact below the soil surface. Assess damage 10 days after the freeze before replanting.
Soil Preparation and Fertility Before Planting
Potatoes respond strongly to pre-plant fertility. They require adequate phosphorus for root development and potassium for tuber quality. A soil test before planting identifies what the soil actually needs rather than guessing.
Conduct soil tests 4 to 6 weeks before planting to allow time for amendments to incorporate. Apply fertilizer at rates your soil test recommends. A general starting point for unfertilized ground runs 100 to 120 lbs of nitrogen per acre, with matching phosphorus and potassium based on test results.
Understanding NPK fertilizer for crops explains how each nutrient contributes to potato development and what signs of deficiency look like.
Conclusion
Potatoes planted at the right time into the right conditions grow with far fewer problems than those rushed into cold or wet soil. Confirm soil temperature at 45°F or above, check your zone’s last frost window, use certified seed potatoes, and prepare the bed thoroughly before planting day. Those four steps handle most of the risk before the first seed piece goes in the ground.