How Does Hilling Potatoes Work and How to Get It Right Every Time

How does hilling potatoes work? Potato hilling works by pulling loose soil (or mulch) up around potato stems as the plants grow. That extra cover keeps developing tubers in darkness, which prevents green skin and bitterness. Hilling also builds a deeper, looser ridge where stolons and tubers sit, supports plants against wind, and buries small weeds before they take over. This guide explains what hilling does, when and where it fits, and how to do it right in rows, beds, and containers.
Hilling potatoes works by mounding loose soil around the stem of each plant as it grows, which triggers underground stem sections called stolons to produce new tubers. You hill in 2 to 3 rounds, each time the plant grows 6 to 8 inches above the previous mound. The process also protects tubers from sunlight, which causes them to turn green and develop solanine.
What Is Hilling in Potato Farming?
Hilling potatoes is the practice of piling soil up around the base of potato plants to form a raised ridge. Growers also call it “earthing up” or “ridging.” The ridge comes from soil pulled out of the furrow between rows, or from added soil in beds and containers.
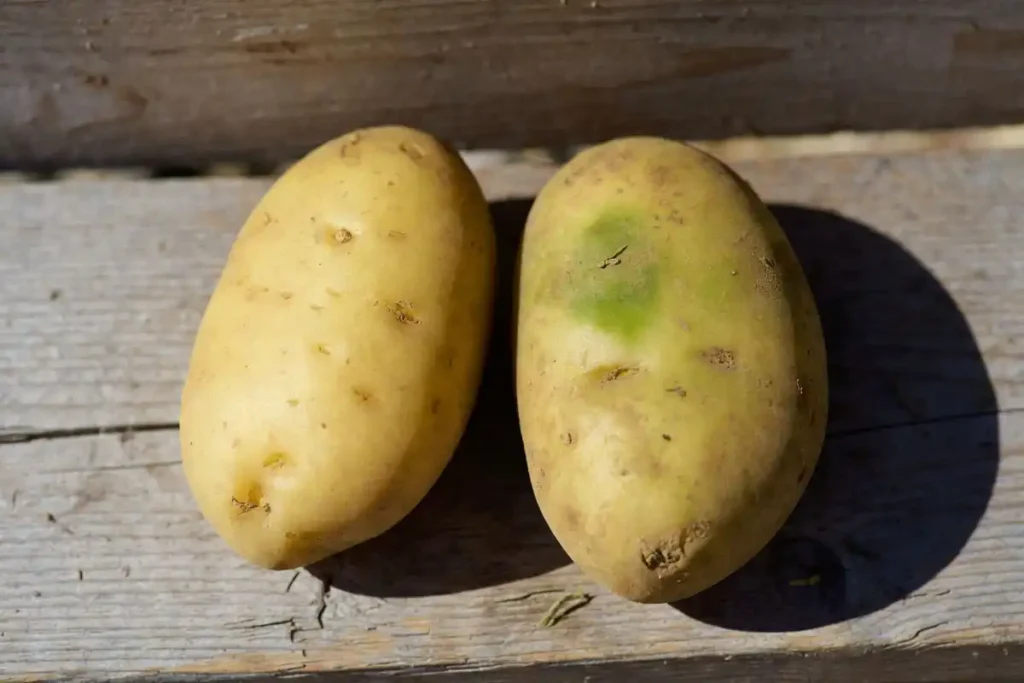
Hilling also protects already-formed tubers from sunlight exposure. Tubers that reach the surface and receive direct light produce chlorophyll and then solanine, a mildly toxic compound. Proper hilling keeps every developing tuber well covered. Understanding basic crop planting practices helps put hilling into the right context before you start.
On mixed-crop farms, hilling is one of those routine mid-season field jobs, the same way you might grab a portable grain moisture tester to keep stored grain in good shape.
Why does hilling potatoes work?
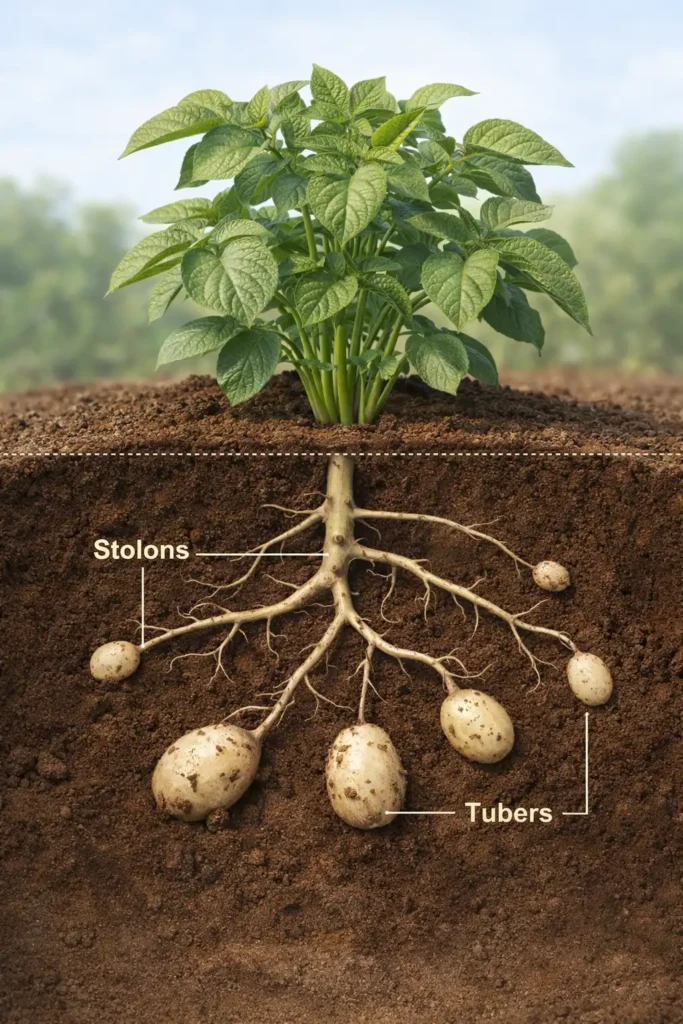
Hilling works because potato tubers need darkness.
Potato plants form tubers on underground stems called stolons. Some tubers set close to the soil surface, especially after rain settles the soil or after cultivation exposes them. Sunlight turns exposed tubers green. Green skin signals chlorophyll and often comes with a rise in bitter compounds that make potatoes unpleasant to eat.
A good hill solves several problems at once.
- Light control: Soil cover blocks sunlight and reduces greening risk.
- Tuber room: A loose ridge gives tubers space to expand without pushing out of the ground.
- Plant support: The mound braces stems and lowers lodging in wind or heavy rain.
- Weed pressure: Fresh soil burial smothers small weeds and slows new flushes.
- Moisture management: A shaped ridge sheds excess water faster than a flat row, while still holding moisture inside the hill when the soil structure stays crumbly.
When to Hill Potatoes
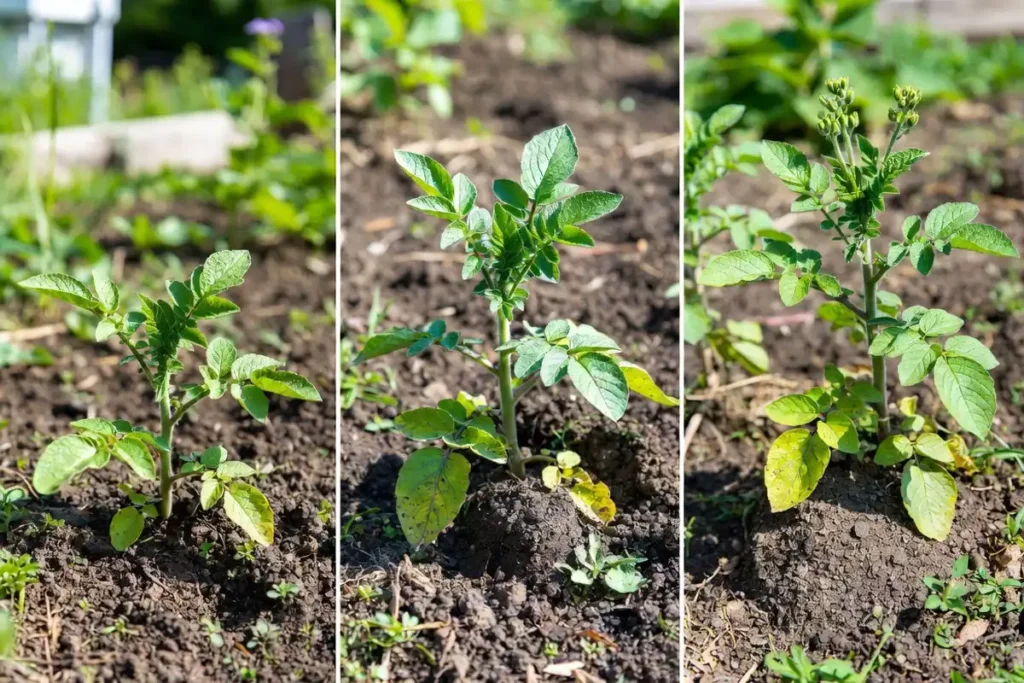
Timing each round of hilling correctly produces the best results.
First hilling: Hill when shoots reach 6 to 8 inches above the soil surface. At this stage, the plant has enough stem length to bury 4 to 5 inches while leaving 2 to 3 inches of foliage exposed.
Second hilling: Hill again 2 to 3 weeks after the first round, once the plant has grown another 6 to 8 inches above the new mound.
Third hilling (optional): A third round is useful on longer-season varieties or in loose, sandy soils where mounds spread and flatten. Perform it 2 to 3 weeks after the second hilling.
Stop hilling once the plants flower. At that stage, the tubers are sizing up and the roots are extensive. Disturbing the soil around flowering plants increases the risk of root damage.
Where does hilling work best?
Hilling fits most potato setups, but the method changes with the site.
In-field rows
Row potatoes hill easily because you pull soil from between rows. A wider alley gives you more soil to build a stable ridge.
Raised beds
Beds hill well when the soil stays fluffy and you have enough depth. Many bed growers pull soil from the bed paths, then top up with compost if the bed runs short.
Containers and grow bags
Containers use “top-up hilling.” You add potting mix as the stems grow, keeping leaves above the surface and building a deeper root and tuber zone.
Soil conditions that help
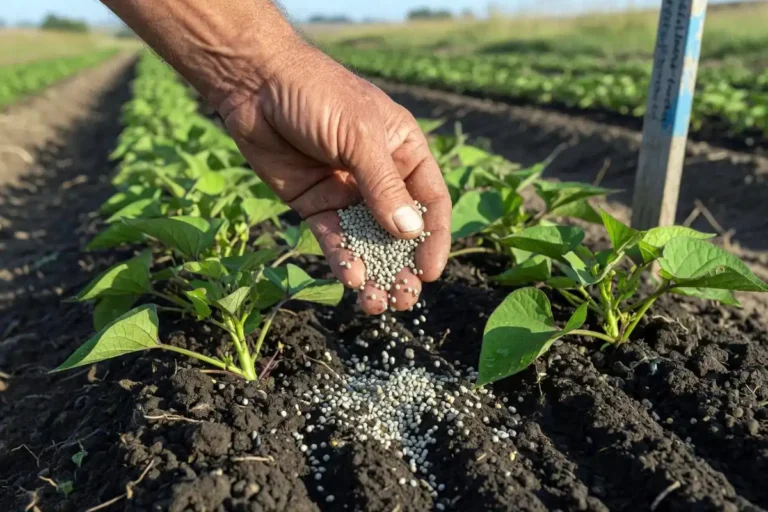
Hilling goes smoother in soil that is loose and slightly moist. Wet clay smears and seals. Powder-dry soil sloughs off and blows away. If your soil structure needs work, start with a plan to build tilth and organic matter over time using practices like improving soil fertility with organic inputs and rotations described in this guide on building soil fertility naturally.
Why Soil Type Affects How You Hill
Soil texture changes how you build and maintain a hill.
Sandy or loamy soils form mounds easily but flatten faster. They require a third hilling pass more often than clay-based soils.
Heavy clay soils hold a mound well but compact around stems if piled too tightly. Compaction restricts stolon growth and reduces tuber count. Loosen clay-heavy soil with a fork before pulling it up toward the stem.
If your soil structure needs improvement before you plant, building soil fertility naturally gives you practical options for amending texture and organic matter.
Tools You Need for Hilling
Three tools cover most hilling situations on a farm or in a large garden plot.
A garden hoe with a flat blade works well for small to medium rows. You draw soil toward the stem from both sides using short, sweeping strokes.
A draw hoe or ridging hoe has a V-shaped or angled blade designed specifically for building mounded rows. It reduces effort over long runs.
A tractor-mounted hiller or ridger suits field-scale potato rows. It forms and reshapes mounds in a single pass per row.
For hand work, a flat spade works as a backup when you need to move bulk soil to an under-filled mound.
How to Hill Potatoes: Step-by-Step
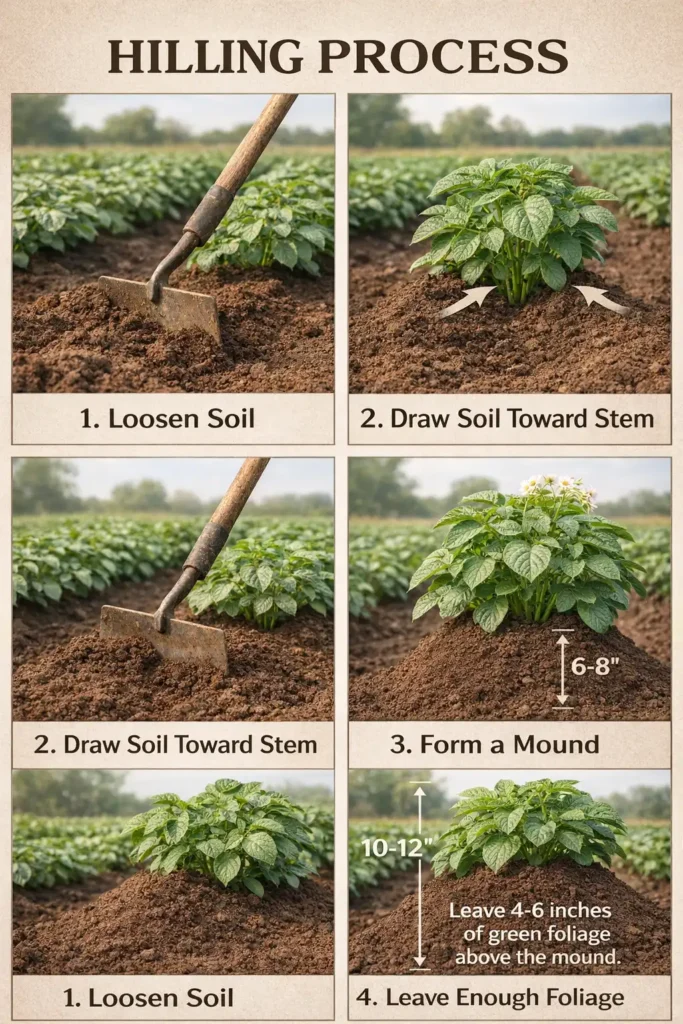
Follow these steps in order. Each step builds on the previous one.
Step 1: Check plant height. Wait until shoots stand 6 to 8 inches above the current soil surface. Hilling too early buries too much foliage. Hilling too late leaves stolons exposed and reduces tuber set.
Step 2: Loosen the soil between rows first. Use a hoe to break up any crusted or compacted soil in the row middles before pulling it toward the plants. Loose soil forms a mounded hill more easily and packs around stems less aggressively.
Step 3: Draw soil from both sides of the row. Pull soil toward the base of each plant from each side of the row. Work in one direction along the row, then come back down the other side.
Step 4: Build the mound to the correct height. Cover the stem to within 2 to 3 inches of the top leaves. The finished hill should slope away from the stem on both sides. A flat-topped mound sheds water poorly and inverts during rain.
Step 5: Check the mound width. The base of the hill should extend 8 to 12 inches from the center of the plant on each side. A wide base holds the mound stable until the next hilling.
Step 6: Repeat on schedule. Return in 2 to 3 weeks for the second round. Follow the same process, building the mound higher around the now-taller stem.
How Much Soil to Add Each Time
Each hilling round adds 4 to 6 inches of soil height to the mound.
After two rounds, the finished hill typically stands 10 to 12 inches above the original planting depth. After three rounds, it can reach 14 to 16 inches. Anything beyond that rarely produces added benefit and creates drainage problems at the base.
If you run low on soil between rows, you can incorporate loose compost or aged organic material into the mound. Avoid dense, heavy fill material that compacts around stolons.
Common Mistakes When Hilling

Burying too much foliage. Covering more than half the plant at once stresses the plant and reduces the photosynthesis needed to fuel tuber growth. Leave at least 2 to 3 inches of green growth above the mound after every pass.
Hilling when the soil is too wet. Wet soil compacts around the stem and restricts stolon formation. Hill when the soil crumbles lightly in your hand.
Waiting until plants flower. Once flowers appear, root systems are established deep in the mound. Late hilling disturbs roots and rarely adds usable stolon length.
Using the same soil repeatedly without adding fresh material. After two hills, the row middles run low on loose soil. Pulling compacted, depleted soil onto the mound limits stolon growth. Add compost or pull in from the wider bed.
Sloping the hill inward. A concave mound traps water near the stem and promotes rot at the crown. Always slope the mound outward from the stem center.
Troubleshooting Hilling Problems
Mounds collapse after rain. This usually means the soil lacks enough organic matter to hold its structure. Work aged compost into the row middles before hilling. A mulching layer on the outer slope of each hill also slows erosion without restricting airflow.
Green tubers appearing at harvest. Green patches on harvested potatoes indicate light exposure during the growing season. Increase the height of your mounds by at least 2 inches on the next pass, and check that no cracks or gaps have opened in the mound sides.
Plants look stressed after hilling. Wilting in the 24 hours following hilling is normal if temperatures are high. Water the row after hilling on hot days. If wilting persists past 48 hours, check that you did not bury more than two-thirds of the plant height.
Uneven tuber development within the same row. Inconsistent mound height from one plant to the next creates uneven stolon coverage. Use a hoe width as a rough gauge to keep each mound at the same height across the row.
Hilling and Watering: What to Know
Potato plants need consistent soil moisture during tuber formation. Hilling affects how water moves through the bed.
A well-formed hill directs rainfall and irrigation water down the slopes and toward the root zone. A poorly formed, flat-topped hill sheds water to the row middle, away from the roots.
After each hilling pass, water the row thoroughly if conditions are dry. Stolons form in moist soil. Dry mounds delay stolon development and reduce tuber count.
If you use a drip system, check that emitters remain positioned near the base of the plant after each soil addition. Covering emitters with hilled soil reduces output. Understanding water needs for your crop helps you set the right irrigation schedule through the hilling period.
Safety Notes
Wear sturdy boots when hilling with a hoe or ridger in rocky or uneven soil. Swinging a heavy hoe on uneven ground increases the risk of a misstep.
If you use a tractor-mounted ridger, keep all workers and bystanders clear of the operating zone. The ridging blades turn and throw soil at speed.
Do not eat any potato tubers that have turned green, regardless of size. Green coloration throughout the flesh indicates solanine concentration. Thorough hilling prevents this at the source.
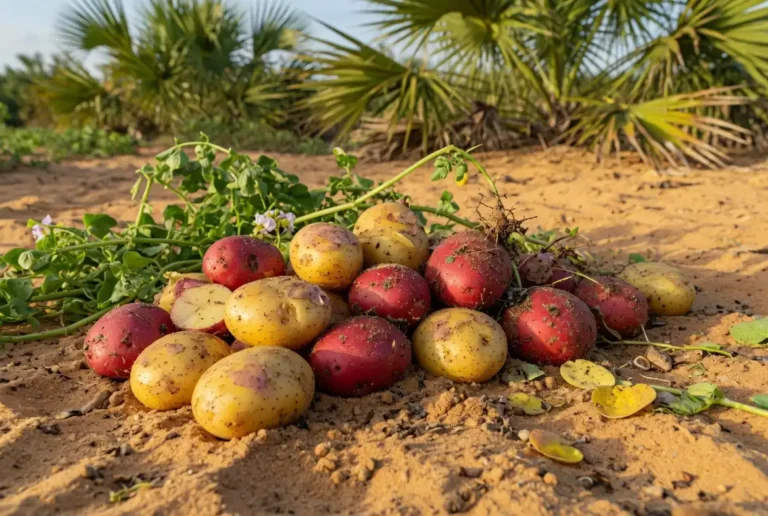
What to Expect at Harvest
Plants that received 2 to 3 rounds of proper hilling typically produce more tubers per plant than unhilled rows because the extended stolon network has more growing points. The tubers also tend to sit at a more uniform depth, which makes mechanical harvesting cleaner and hand-digging faster.
After plants die back and the vines yellow, wait 2 weeks before harvesting. This curing period thickens the skin and reduces bruising during digging. For a complete breakdown of what comes next, the guide on understanding post-harvest handling covers curing, storage, and grading.
Conclusion
Hilling potatoes works by covering more stem as the plant grows, which generates additional stolons and tubers along each buried section. You start the first hill at 6 to 8 inches of shoot height, repeat every 2 to 3 weeks for two or three passes, and stop once the plant flowers. Use loose, crumbly soil, slope the mound outward from the stem, and keep at least 2 to 3 inches of foliage above the mound after each pass. Get those steps right and the plants do the rest.