How to Grow Fingerling Potatoes in 8 Easy Steps (Beginner Guide)
Fingerling potatoes grow from small seed tubers planted 3 inches deep in loose, well-drained soil once soil temperatures reach 50°F. This guide walks through timing, site prep, planting steps, hilling, watering, harvest, and common problems, so you can produce healthy, flavorful fingerlings in a backyard bed or small plot.
To grow fingerling potatoes, plant cured seed pieces 3 inches deep and 6 to 8 inches apart in rows 24 to 30 inches apart. Use loose, fertile soil with a pH of 5.5 to 6.5. Hill the plants twice, water evenly, and harvest 90 to 110 days after planting.
What Are Fingerling Potatoes?
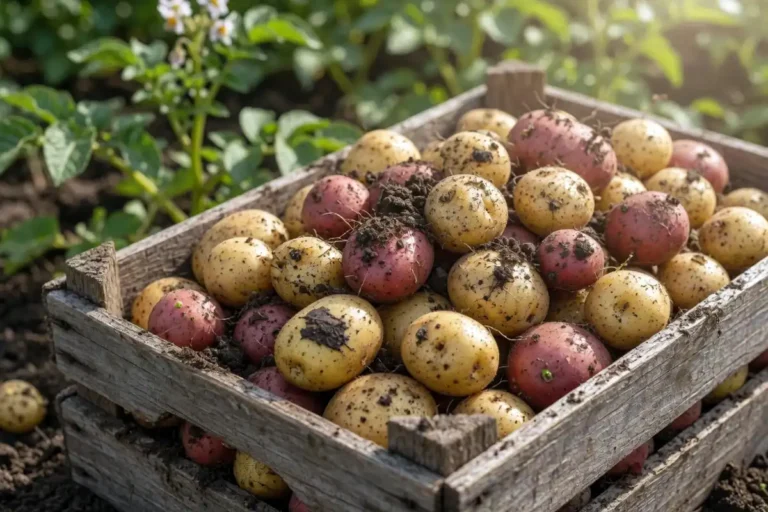
Fingerling potatoes are small, elongated tubers shaped like short, fat fingers. Common varieties include Russian Banana, French Fingerling, Austrian Crescent, and Rose Finn Apple. Most mature tubers weigh 2 to 4 ounces each.
Fingerlings are heritage potato types with dense, waxy flesh. The texture holds shape in roasting, salads, and pan-frying. Each plant produces 10 to 20 tubers when spacing and care stay consistent.
When to Plant Fingerling Potatoes
Plant fingerling potatoes 2 to 4 weeks before the last spring frost. Soil temperature should reach 50°F at 4 inches deep. In most U.S. zones, that falls between late March and late April. I cover state-specific timing in my guide on the right window for planting potatoes.
In my Topeka garden, I plant around April 1. Cold, wet soil rots seed pieces fast. If a late freeze hits, I cover the row with straw overnight and pull it back the next morning.
Where to Plant Fingerling Potatoes
Fingerlings need full sun, at least 6 to 8 hours of direct light per day. The best soil is a sandy loam with good drainage. Heavy clay produces misshapen tubers and raises rot risk.
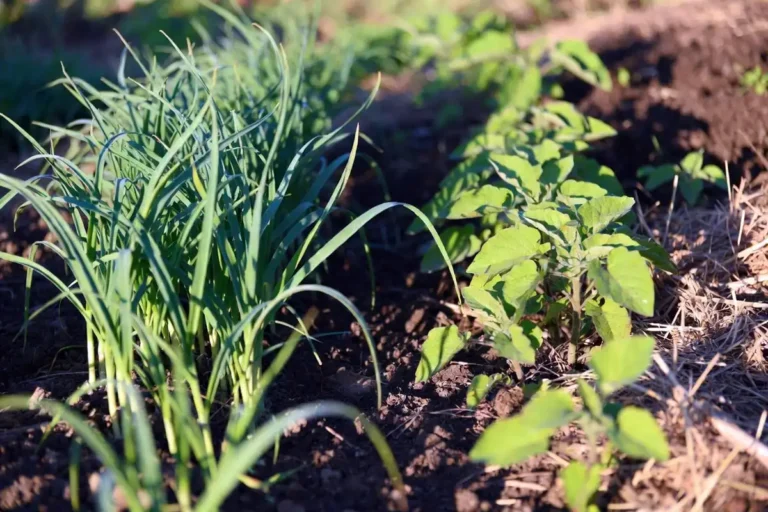
Avoid beds where tomatoes, peppers, eggplants, or other potatoes grew in the past 3 years. A 3-year rotation reduces disease pressure from early blight, verticillium wilt, and Colorado potato beetle.
Soil pH should sit between 5.5 and 6.5. A slightly acidic bed reduces scab. The University of Minnesota Extension offers solid reference data on potato soil conditions.
How to Grow Fingerling Potatoes Step by Step
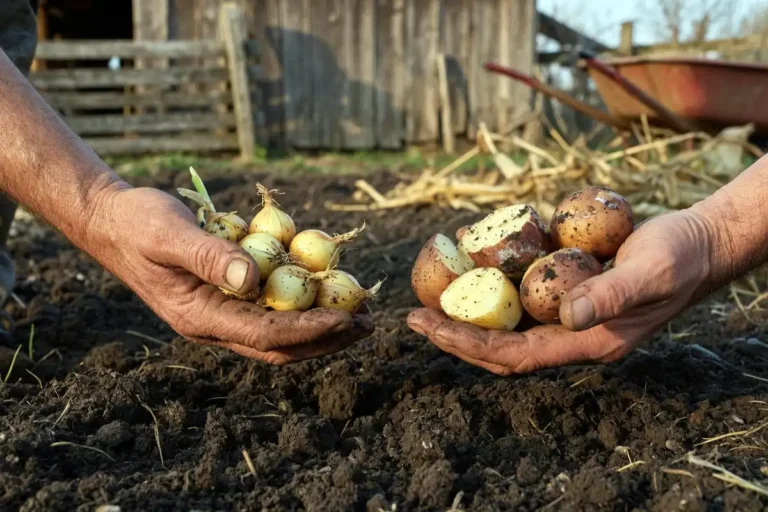
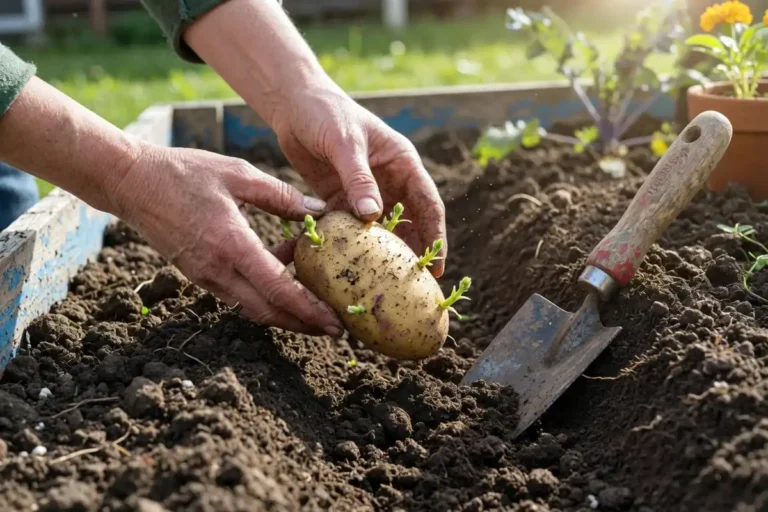
Step 1: Choose and Prepare Seed
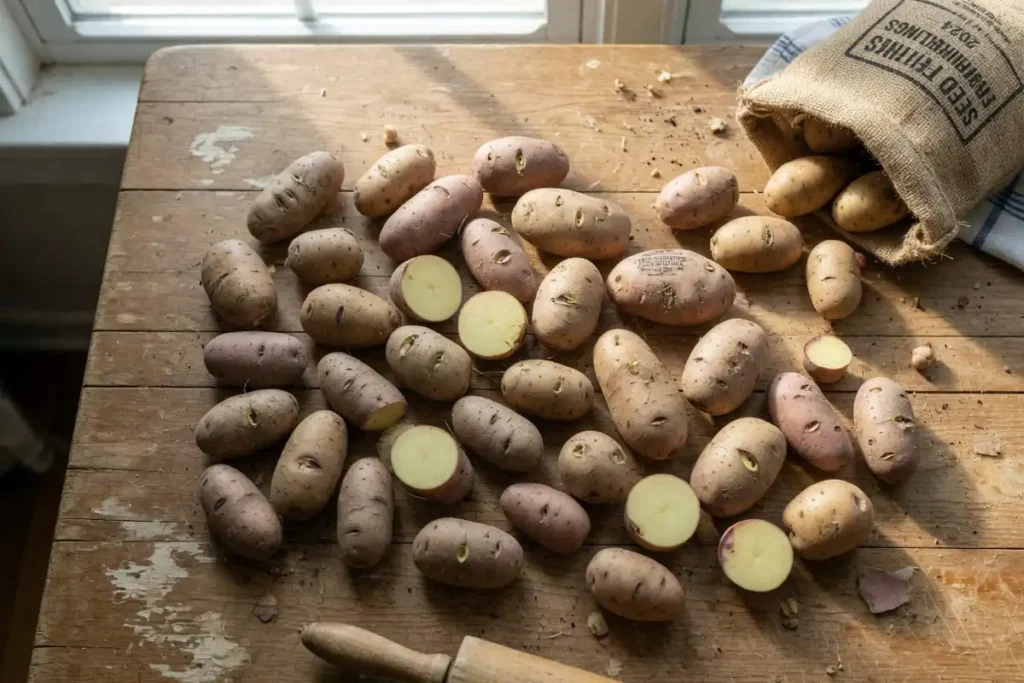
Buy certified disease-free seed potatoes from a reputable supplier. Grocery store tubers carry sprout inhibitors and disease. One pound of seed plants about 6 to 8 feet of row.
Small fingerling seed pieces often plant whole. Cut larger pieces so each has 2 eyes and weighs at least 1.5 ounces. Let cut sides cure for 2 to 3 days in a cool, dry spot before planting.
Step 2: Prepare the Bed
Till or fork the bed 10 to 12 inches deep. Work in 2 to 3 inches of finished compost. Add a balanced starter fertilizer such as 10-10-10 at the label rate. Skip fresh manure. It encourages scab and adds weed seeds.
Step 3: Plant the Seed Pieces
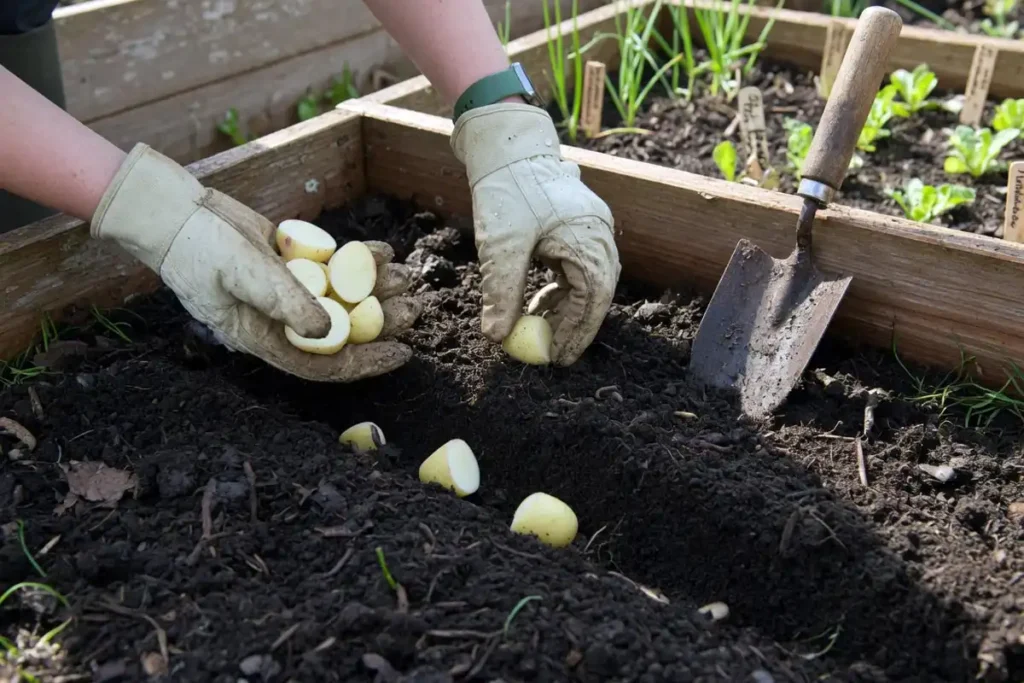
Dig a furrow 3 to 4 inches deep. Place seed pieces cut side down with eyes facing up, 6 to 8 inches apart. Cover with 3 inches of soil. Space rows 24 to 30 inches apart. Shoots emerge in 2 to 3 weeks, depending on soil warmth.
Step 4: Hill the Plants
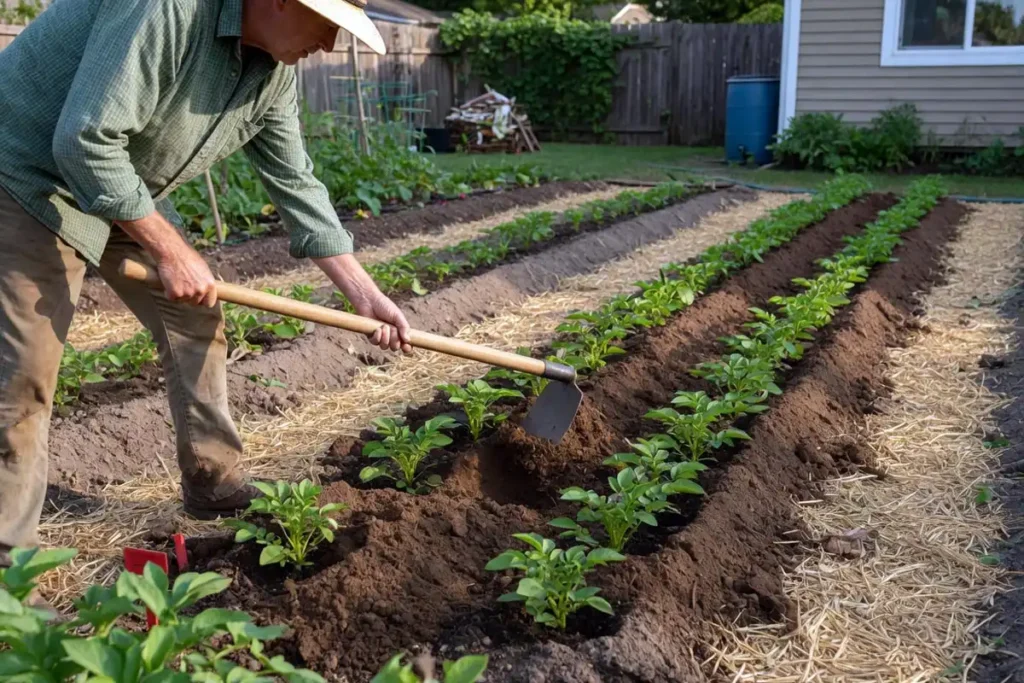
When plants reach 6 to 8 inches tall, mound soil around the stems and leave the top 3 inches of growth exposed. Repeat the hilling process 2 weeks later. Hilling protects developing tubers from sunlight, which turns skins green and bitter.
Step 5: Water Evenly
Fingerlings need 1 to 2 inches of water per week. Water most during flowering and tuber set. Uneven watering causes hollow heart and cracked skins. Drip irrigation works best. Stop watering 1 to 2 weeks before harvest to firm the skins.
Step 6: Feed and Mulch
Side-dress with a low-nitrogen fertilizer 4 to 6 weeks after emergence. High nitrogen produces heavy vines with small tubers. Apply 3 inches of straw mulch to cool the soil, hold moisture, and block light from exposed tubers.
Step 7: Scout for Pests and Disease
Check leaves twice a week for Colorado potato beetle, aphids, and flea beetles. Hand-pick beetles and egg clusters. For biological options, I cover organic pest control methods in detail. Neem oil and spinosad work on young larvae when rotated to prevent resistance. Penn State Extension publishes updated guidance on beetle management.
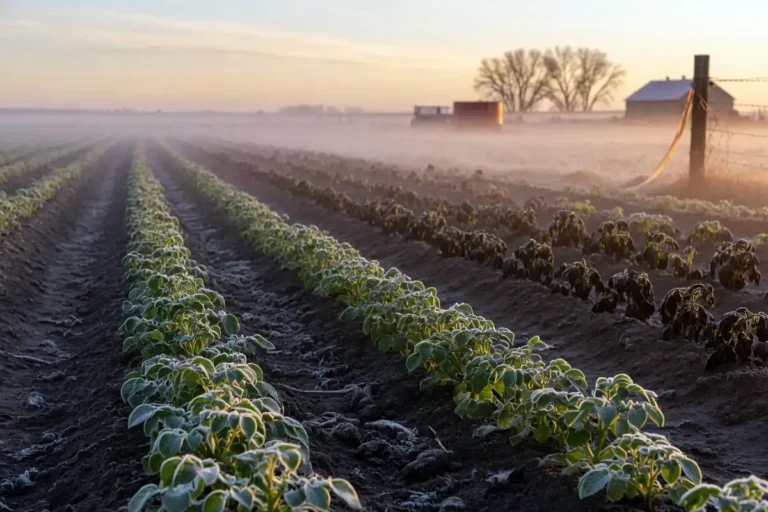
Scout leaves for early blight spots and late blight lesions. Remove infected foliage and improve air flow between plants.
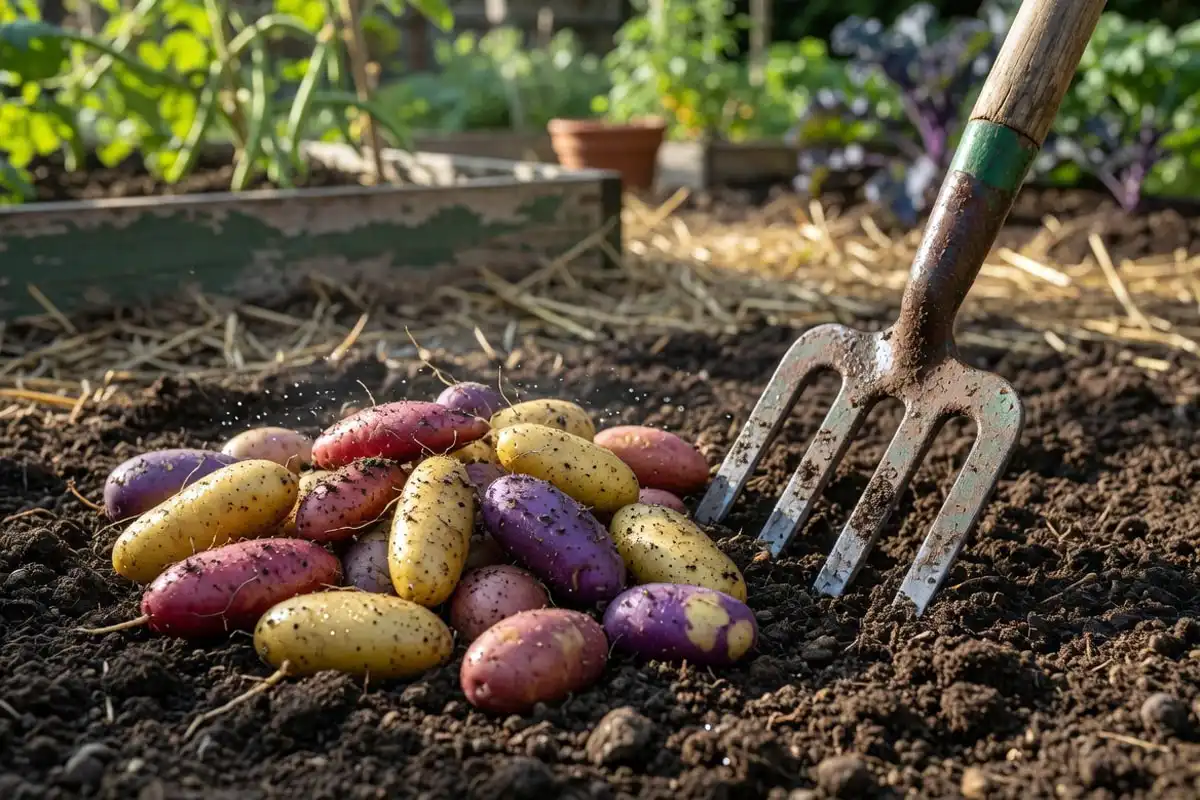
Step 8: Harvest
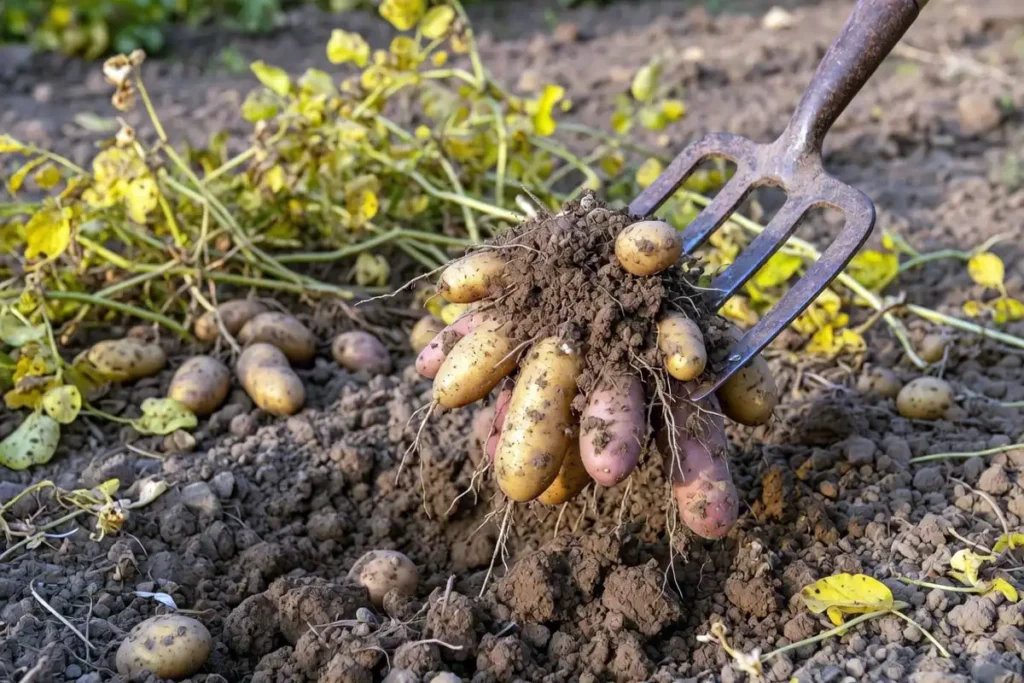
Fingerling potatoes are ready 90 to 110 days after planting. Harvest when vines yellow and die back. Dig carefully with a garden fork, starting 8 inches away from the stem to avoid piercing tubers. My full guide on knowing when potatoes are ready to dig walks through the signs.
For new potatoes, dig 2 to 3 weeks after flowering. Cure harvested tubers in a dark, 60°F to 65°F spot for 10 days before storage.
Common Problems and Solutions
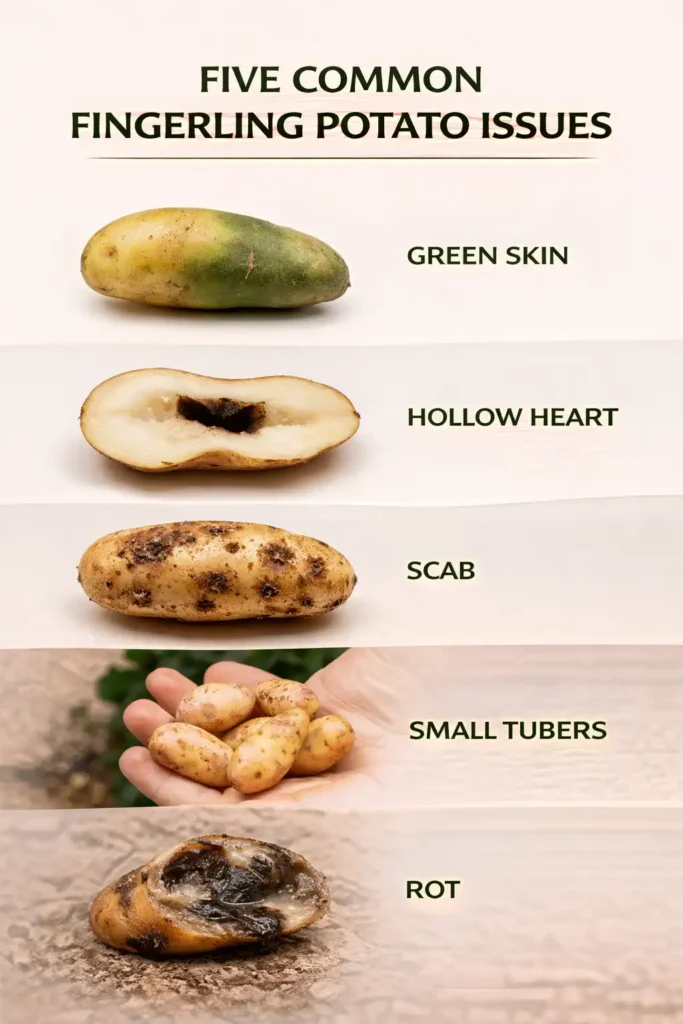
Green skin on tubers: Sunlight reached the developing potatoes. Hill deeper and mulch thicker next season.
Small tubers: High nitrogen or crowded plants. Space at 6 to 8 inches and use balanced feed.
Rotting seed pieces: Cold, wet soil at planting. Wait for 50°F soil and cure cut sides first.
Hollow heart: Inconsistent water during tuber formation. Keep soil evenly moist through flowering.
Scab lesions: High pH or fresh manure. Adjust pH to 5.5 to 6.0 and skip raw manure.
Mistakes to Avoid
- Planting grocery-store potatoes instead of certified seed
- Skipping the curing step after cutting seed pieces
- Planting in heavy, waterlogged soil
- Over-watering once vines yellow
- Storing tubers in sunlight or a warm, humid room
Safety Notes
Do not eat green potatoes or sprouts. They contain solanine, a natural toxin that causes nausea, headaches, and digestive upset. Discard tubers with heavy green patches or soft rot.
When applying pest controls, wear gloves and long sleeves, and follow label rates. Wash harvested potatoes in clean water before use or storage. Keep stored tubers away from apples, since ethylene gas triggers sprouting.
FAQs about Grow Fingerling Potatoes
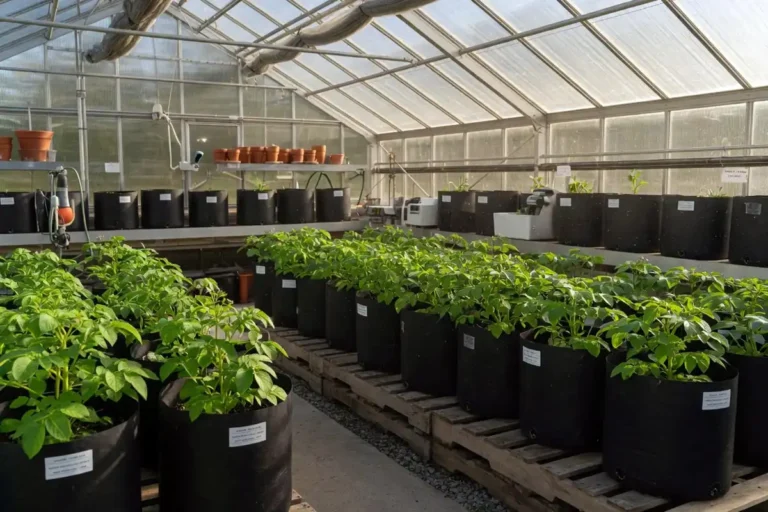
Can you grow fingerling potatoes in containers?
How many fingerling potatoes does one plant produce?
Do fingerling potatoes need to be hilled?
How long do fingerling potatoes take to mature?
Can I save my own fingerlings as seed for next year?
Final Words
Growing fingerling potatoes rewards patience with dense, flavorful tubers that sell for premium prices at farmers markets. Plant cured seed in warm, loose soil, hill twice, water evenly, and scout weekly for pests. Harvest once vines die back, cure for 10 days, and store cool and dark. A single 10-foot row can feed a family through summer and into early fall.