When Are Potatoes Ready to Dig? Signs, Timing, and How to Harvest Right
Potatoes are ready to dig when the tubers hold their skins under thumb pressure and the vines have yellowed and dried back. This guide covers every stage from vine die-back to curing, so you pull tubers at the right size, with the right skin, and store them without loss.
Potatoes are ready to dig when the vines turn yellow and die back naturally, roughly 70 to 120 days after planting depending on variety. New potatoes are harvestable 7 to 8 weeks after planting. Full-size storage potatoes need skin that resists a thumbnail scratch before digging.
What “Ready to Dig” Actually Means
Potatoes are “ready” when the tuber skin sets and stays attached during harvest and handling. Skin set reduces scuffing and wounding, and that improves storage life because many tuber diseases enter through wounds. A potato that peels easily under light rubbing acts like an immature tuber, even if it looks full size.
Two harvest goals drive timing:
- New potatoes: tender skin, quick eating, short storage.
- Storage potatoes: tougher skin, fewer harvest wounds, longer storage.
If you want the full crop workflow across different crops, keep this harvest checklist handy: Understanding when to harvest crops.
On mixed-crop farms, “ready” also means the field is workable and your harvest schedule is clear, so a handheld grain moisture meter can help you confirm grain is ready before you commit the crew and equipment to potato digging.
When Are Potatoes Ready to Dig? Timing by Variety
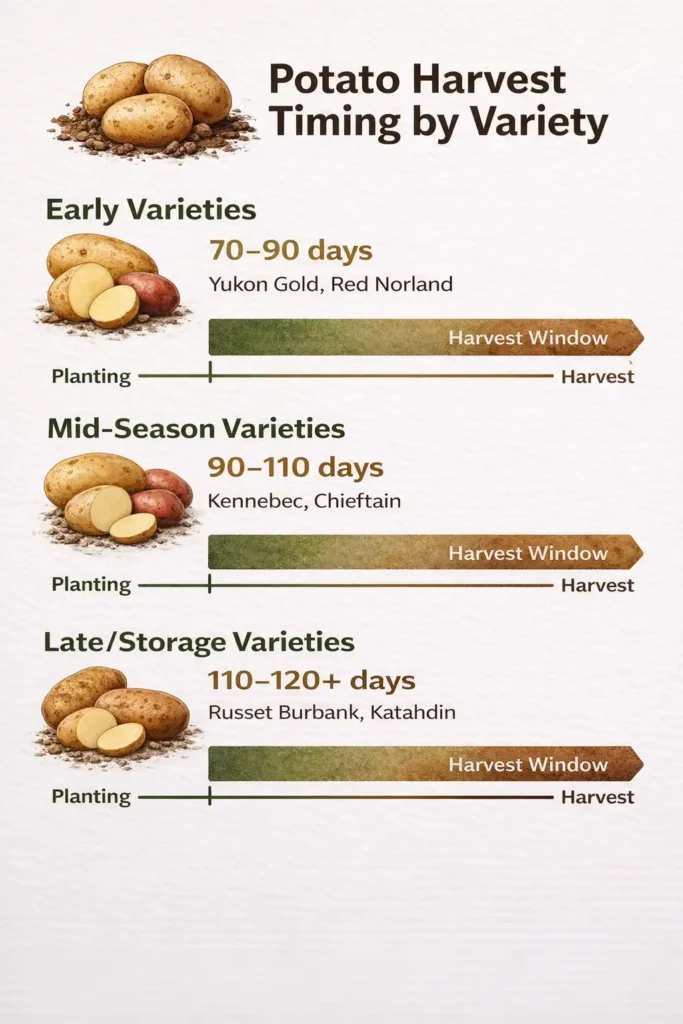
Variety type determines your harvest window more than any other factor.
Early varieties (such as Yukon Gold, Red Norland): 70 to 90 days from planting.
Mid-season varieties (such as Kennebec, Chieftain): 90 to 110 days.
Late/storage varieties (such as Russet Burbank, Katahdin): 110 to 120+ days.
Seed packets and catalog descriptions list days-to-maturity for each specific variety. Use those numbers as your baseline, then confirm with the physical signs below.
For more on choosing the right potato seed stock, variety selection affects both harvest timing and yield.
Read next: How Does Hilling Potatoes Work and How to Get It Right
5 Physical Signs Potatoes Are Ready to Harvest
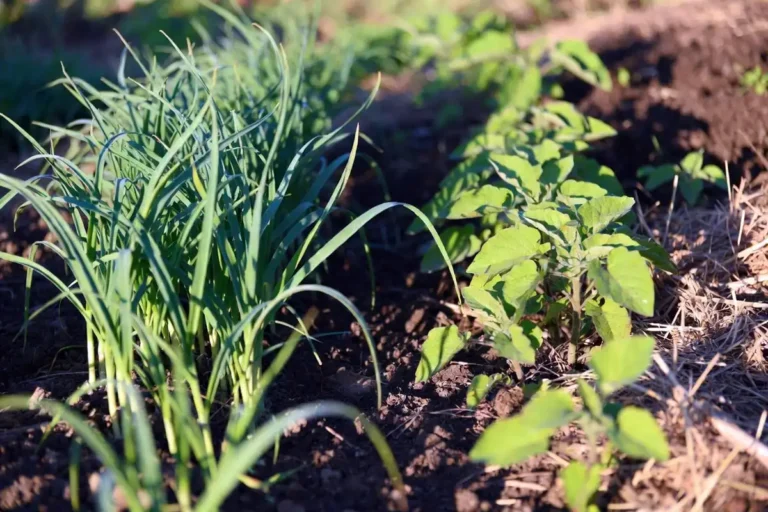
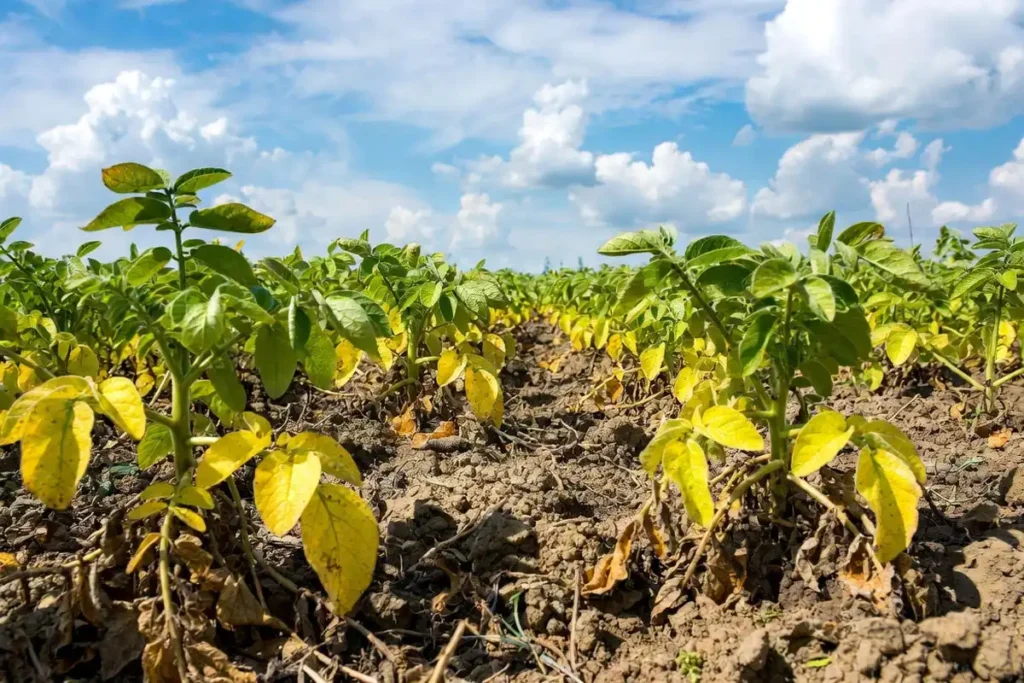
1. Vines Yellow and Die Back
The most reliable indicator: potato vines turn yellow, wither, and fall over on their own. The plant pulls energy down into the tubers and stops growing.
This happens naturally in late summer or early fall depending on your planting date. Do not confuse early yellowing from drought stress or disease with true maturity die-back.
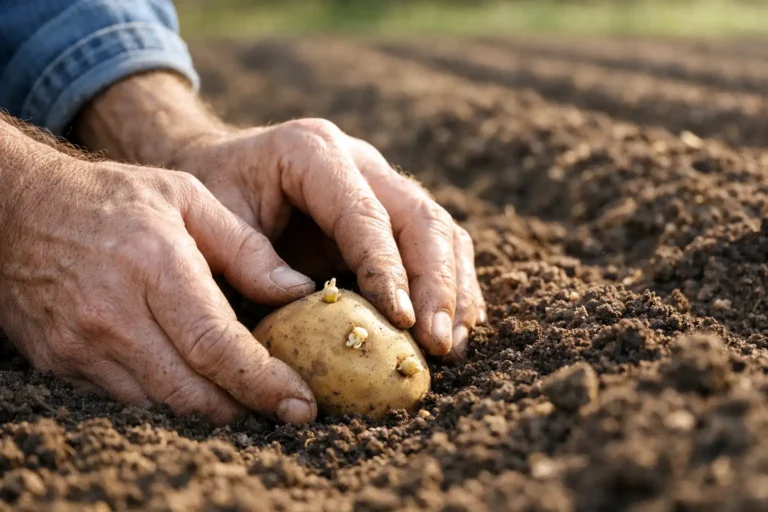
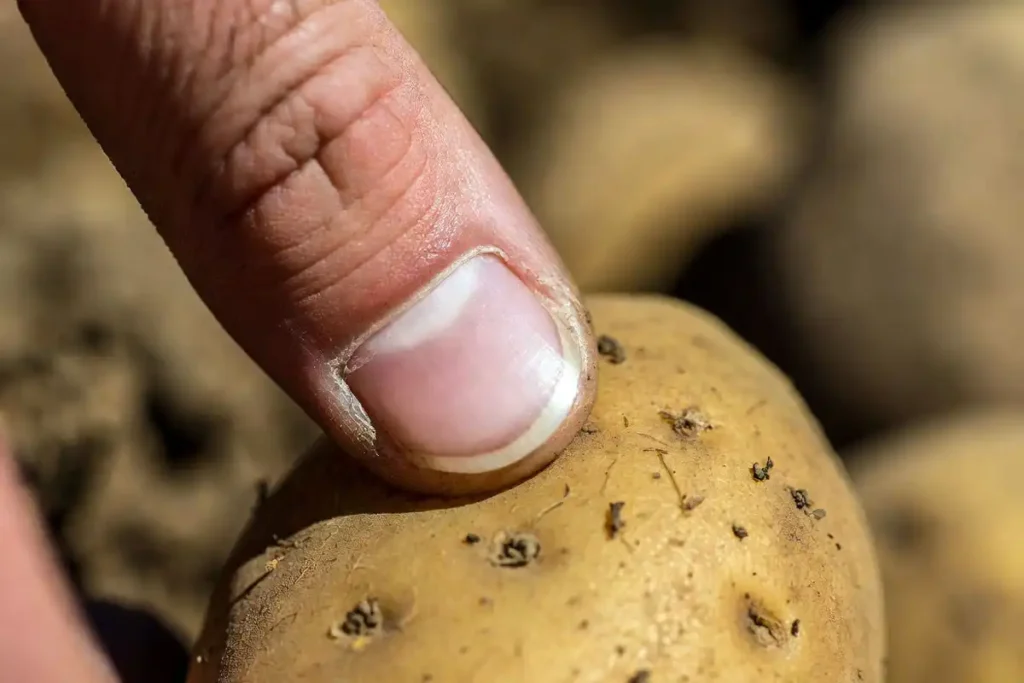
2. Skins Pass the Scratch Test
Rub your thumb firmly against the skin of a test potato. Mature skin resists the pressure and stays intact. Immature skin slips off or rubs away with light pressure.
This test matters most for any potato you plan to store through winter.
3. Vines Are Fully Dead for 2 Weeks
After the vines die, leave tubers in the ground for 10 to 14 days. This rest period lets skin harden and cure slightly before digging. Soil temperature needs to stay below 65°F (18°C) during this window to prevent rot.
4. Tubers Reach Target Size
Dig one test plant first. Check tuber count and size. Most varieties produce 5 to 10 tubers per plant at full maturity. If tubers are smaller than expected, give the patch another week.
5. No Green Tint on Skin
Green coloring on potato skin indicates solanine development from sun exposure. Green potatoes develop when tubers push through the soil surface. Mound soil over any exposed tubers immediately — they do not recover from greening and are not safe to eat.
Learn more: Plant Store Bought Potatoes in 8 Simple Steps
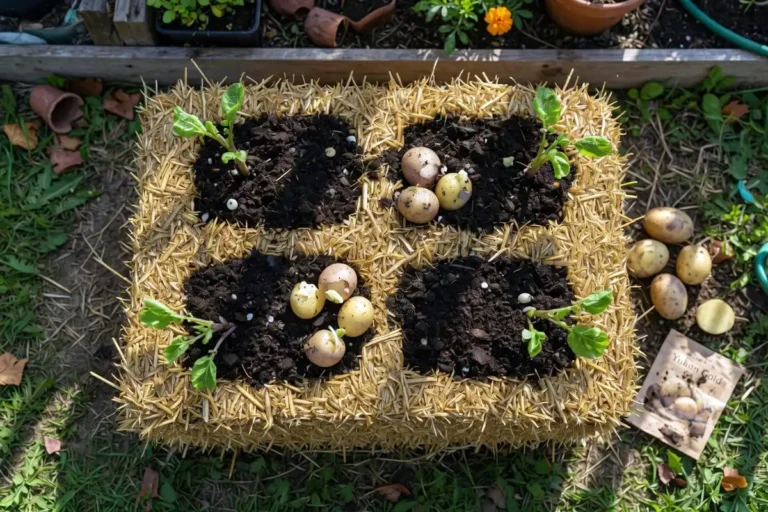
How to Harvest New Potatoes (Early Digging)
New potatoes are harvestable from about 7 to 8 weeks after planting, while plants are still green and flowering.
Reach into the soil alongside the plant and feel for small tubers. Pull a few without disturbing the main root system. The plant continues growing and producing after selective early harvesting.
New potatoes do not store well. Use them within a few days of digging.
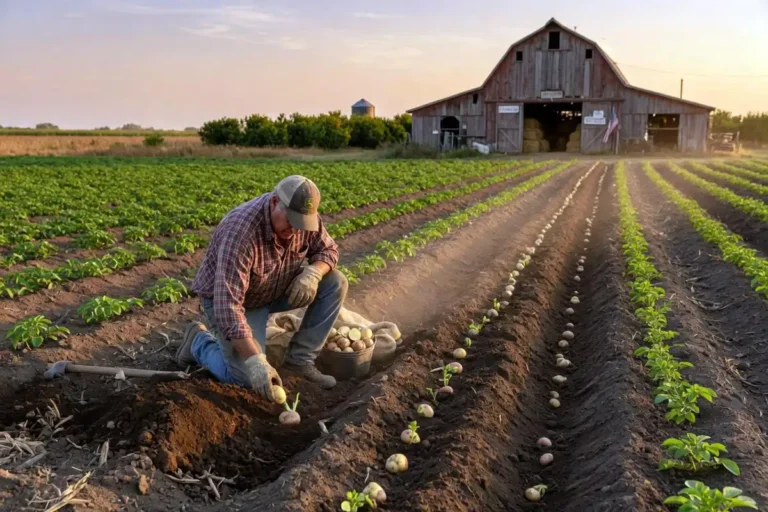
How to Dig Mature Potatoes: Step-by-Step
Step 1: Choose the right day. Dig on a dry day when soil is not saturated. Wet soil clumps on tubers and increases disease risk during storage.
Step 2: Cut back or remove dead vines. Clear the vine debris from the row so it does not tangle around your fork or shovel.
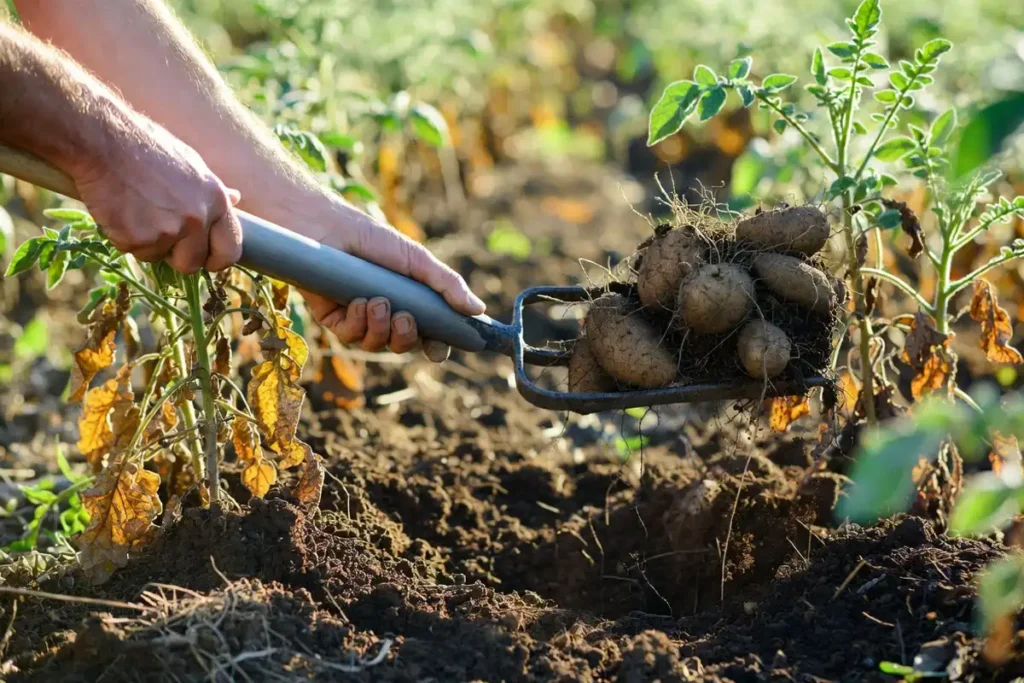
Step 3: Insert your digging fork 10 to 12 inches away from the plant center. Push the fork straight down, then lever upward to lift the soil mass. Digging too close to the center slices tubers.
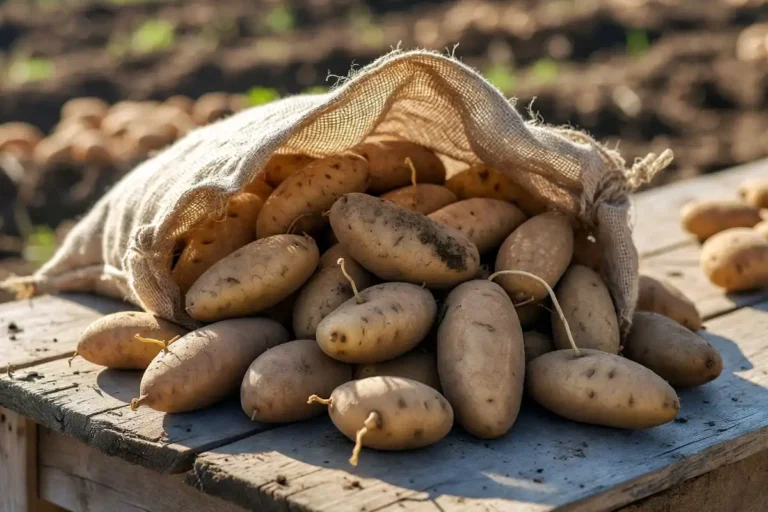
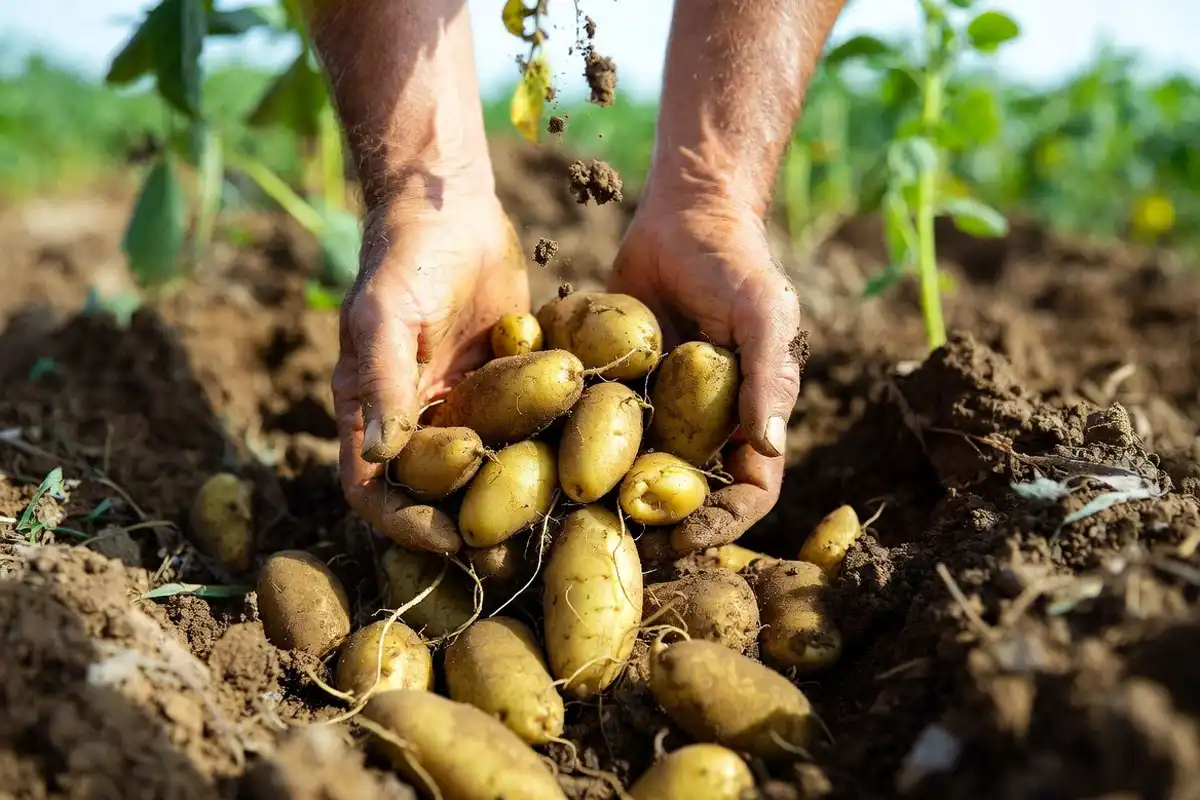
Step 4: Lift the entire hill and set it aside. Pull tubers from the loosened soil by hand. Search through the soil carefully — small tubers hide and left-behind potatoes sprout the following season as volunteers.
Step 5: Place harvested potatoes in a bucket or crate. Avoid stacking them more than two layers deep during field collection to reduce bruising.
Step 6: Keep harvested potatoes out of direct sunlight. Move them to a shaded area within 30 minutes. Sun exposure greens tubers quickly.
Understanding how to handle crops after harvest protects the quality you worked all season to grow.
Curing Potatoes After Digging

Curing toughens the skin and heals small cuts from the digging fork. Skipping this step shortens storage life significantly.
Curing conditions: 50 to 65°F (10 to 18°C), 85 to 95% relative humidity, good air circulation, darkness.
Curing duration: 10 to 14 days.
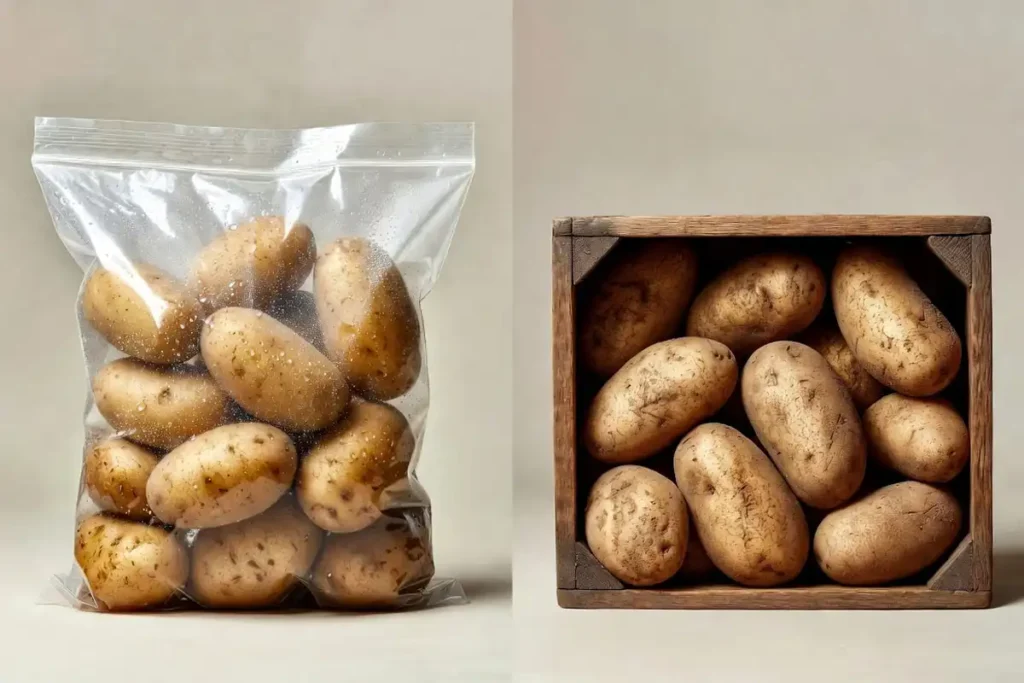
Spread potatoes in a single layer on slatted shelves, cardboard, or burlap in a barn, garage, or basement. Do not pile them in bags during curing — lack of airflow causes rot.
How to Store Potatoes After Curing
Cured potatoes store best at 38 to 40°F (3 to 4°C) with moderate humidity and complete darkness.
A root cellar, unheated basement corner, or insulated garage works well. Avoid storing near apples or onions — apples release ethylene gas that speeds sprouting; onions transfer flavor.
Check stored potatoes every 2 to 3 weeks and remove any that show soft spots or rot. One rotting potato spreads quickly to neighbors in the bin.
For a full breakdown of long-term options, potato and vegetable crop storage methods covers containers, humidity, and temperature management in detail.
What Happens If You Dig Too Early
Digging before skins set produces potatoes that lose moisture rapidly. These potatoes shrivel within days and do not hold in storage.
Early-dug potatoes also show more bruising and surface damage because the immature flesh is softer and more sensitive to impact.
If you harvest early by accident, use those potatoes within 1 to 2 weeks.
What Happens If You Wait Too Long
Leaving potatoes in the ground past their window creates different problems.
Soil temperatures above 65°F encourage rot and hollow heart development. Slugs and wireworms enter tubers through the soil. Tubers that re-sprout use stored energy and arrive in your kitchen soft and hollow.
In most climates, dig all mature potatoes within 3 to 4 weeks after the vines fully die back.
Common Mistakes to Avoid
Digging in wet soil. Wet conditions push soil into lenticels (the small pores on potato skin), which clogs them and accelerates rot in storage.
Stacking freshly dug potatoes in sealed bags. Condensation and heat buildup in sealed bags creates ideal rot conditions within 48 hours.
Washing before storage. Washing removes the protective surface layer and introduces moisture. Brush off loose soil by hand only. Wash potatoes when you are ready to cook them.
Storing bruised potatoes with unblemished ones. Bruised spots break down and spread bacteria to surrounding tubers. Sort carefully after digging and set aside any damaged ones for immediate use.
Avoiding these errors supports better crop farming profitability across the whole growing season.
Safety Notes for Harvesting Potatoes
Wear sturdy boots when using a digging fork. A misplaced foot under a driven tine causes serious injury.
Do not eat green potatoes. Solanine, the compound responsible for greening, causes gastrointestinal illness and is not removed by cooking. Cut away any green areas generously, or discard the potato entirely if greening covers more than a surface patch.
Keep children away from green or sprouted potatoes. Sprout tips also contain elevated solanine concentrations.
Troubleshooting: Why Your Potatoes Aren’t Ready
Vines are still green past the expected date. Cooler-than-average soil temperatures slow maturity. Wait for natural vine death rather than forcing harvest by a calendar date.
Test dig shows small tubers. Soil compaction, low fertility, or water stress during tuber bulking reduces size. Leave the crop another 1 to 2 weeks if vines are still partially green.
Skin still slips after the expected maturity date. Extended wet periods slow skin set. Pull back irrigation if possible and wait for a dry stretch before digging.
Tubers show hollow centers. Hollow heart results from rapid growth after drought stress during bulking. These potatoes are safe to eat but do not store as well.
Maintaining consistent soil moisture through the growing season reduces hollow heart risk. Understanding how crops use water helps you irrigate more precisely during critical growth stages.
Conclusion
Potatoes are ready to dig when the vines die back naturally, the skins resist a thumbnail scratch, and tubers have had 10 to 14 days of in-ground curing after vine death. Variety type determines your general timing window: 70 to 90 days for early types, up to 120 days for late storage varieties.
Dig on a dry day, handle tubers gently, cure them in dark humid conditions, and store in the cold. Follow these steps and your potato harvest holds through winter with minimal loss.