Crop Storage Methods: 11 Smart Ways to Keep Quality High
Crop storage methods protect yield by controlling moisture, temperature, pests, and handling damage from the day you harvest until the day you sell or feed. This guide walks you through a complete storage workflow you can use for grain, seed, vegetables, and root crops. You will learn how to choose the right storage type, prep the crop, prep the building, monitor condition, fix problems early, and unload safely with quality still intact.
What problems do crop storage methods solve?
Crop storage methods reduce spoilage, shrink, insects, mold, and quality loss by keeping the stored crop within safe moisture and temperature ranges and by blocking pest access.
After harvest, crop respiration and microorganisms keep working. Heat and moisture move inside a pile or bin. If you manage air, water, and pests, you keep quality. If you ignore them, you get hot spots, caking, odor, insects, mold, and dockage at sale.
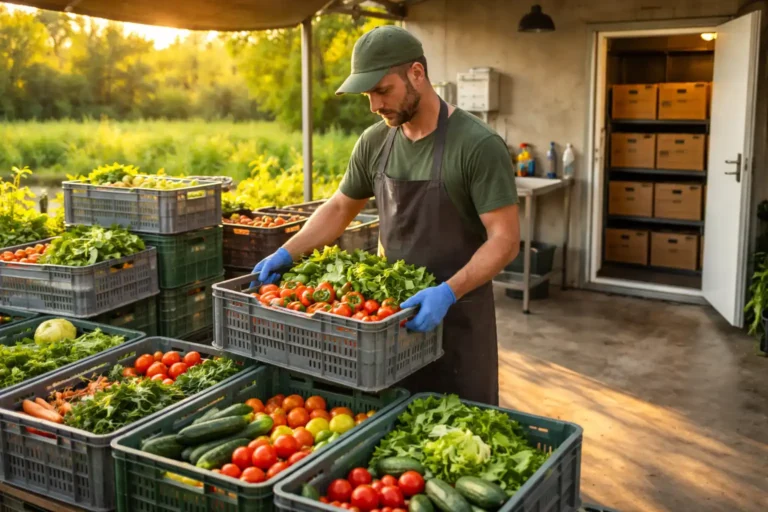
After harvest, smart handling produce after harvest such as quick cooling, gentle stacking, and clean containers helps you avoid bruising, dehydration, and early spoilage in storage.
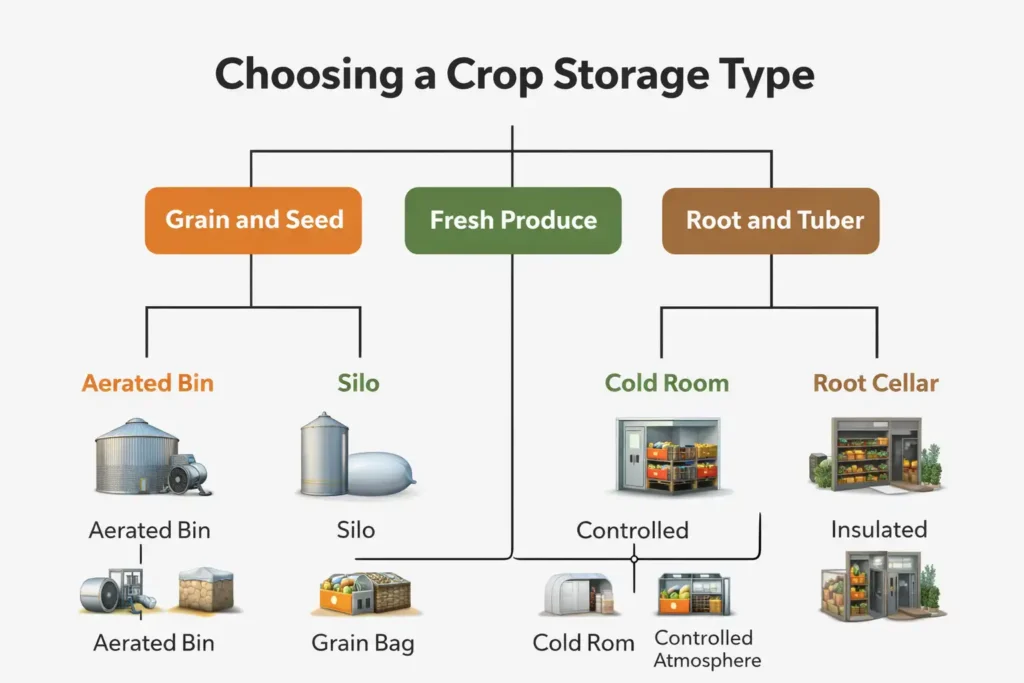
How do you choose the right crop storage method?
You choose a storage method by matching crop type, target storage length, climate, and risk tolerance to a structure that controls moisture and pests at a cost you can carry.
Use this decision map.
If the crop is grain or seed
- Short to medium term: aerated bin, silo, gravity wagon with airflow, or warehouse with bulk walls.
- Medium to long term: sealed bin with strong management, hermetic storage, or a commercial elevator contract.
If the crop is fresh produce
- Short term: shaded, ventilated holding area with fast cooling.
- Medium term: refrigerated storage (forced-air cooling for many vegetables), humidified storage for greens.
- Long term: controlled atmosphere storage for crops that respond well, usually handled by larger facilities.
And if the crop is root and tuber
- Medium to long term: root cellar style storage, insulated building with ventilation, or refrigerated storage depending on your scale and climate.
If you are building a farm plan from scratch, start with crop farming basics so storage matches acreage, harvest timing, and cash flow.
Good storage protects what you already grew, but pairing it with ways to improve crop yield per acre can raise your total sellable volume and make every bin, bag, or cold room pay back faster.
What are the core principles behind good crop storage?
Good storage works when the operator controls four drivers.
Moisture control
Moisture drives mold, heating, and caking. Drying, cleaning, and sealing limit free water and stop moisture migration.
Temperature control
Warm crop stores poorly. Cooling slows respiration, insects, and microbial activity. Aeration and refrigeration do the work.
Pest exclusion and suppression
Insects and rodents enter through gaps, doors, and poor sanitation. Tight structures, clean sites, and monitoring reduce pressure. For pest planning, use pest and disease management.
Gentle handling
Every transfer breaks kernels and bruises produce. Broken material stores poorly because it creates fines, blocks airflow, and feeds mold.
Step-by-step workflow for storing any crop
This is the full process I use on farms in Kansas, scaled for different crops.
Step 1: Set your storage goal before harvest
Write down three facts:
- How long you plan to store.
- What quality you need at delivery, such as food grade, feed, or seed.
- What risks you accept, such as “no fumigants” or “no long-term storage in summer.”
A clear goal prevents you from “storing it and hoping.”
Step 2: Harvest at the right maturity and protect the crop in the field
Harvest timing changes storage risk.
- Grain harvested too wet heats fast and costs more to dry.
- Produce harvested too mature softens and breaks down sooner.
- Roots harvested with cuts and bruises rot first.
Keep trucks, wagons, and totes shaded when heat is high. Move the crop off the field fast.
Step 3: Clean and sort before storage
Cleaning removes fines, cracked pieces, chaff, and dirt that hold moisture and block airflow.
- Grain cleaners reduce fines that build a core plug in bins.
- Produce sorting removes damaged items that spread decay.
- Potatoes and carrots store better when clods and trash stay out of the pile.
Step 4: Dry or cure the crop for its storage type
Drying and curing are not the same.
Grain and seed
- Dry to a safe storage moisture for your crop and expected storage length.
- Cool the grain after drying so the bin does not trap heat.
Onions, garlic, and some squash
- Cure to set skins and close necks.
- Provide warm airflow during curing, then cool for storage.
Potatoes and sweet potatoes
- Cure to heal minor skin damage, then move to the right temperature and humidity range for the crop.
If you lack drying capacity, do not “park” wet crop in a bin overnight. Wet grain heats in pockets. Warm produce sweats in containers.
Step 5: Prepare the storage site like you mean it
Storage success starts with sanitation and structural tightness.
Sanitation checklist
- Remove old grain, fines, and spilled feed around the site.
- Sweep ledges, floors, and fan housings.
- Remove weeds and tall grass near walls to reduce rodents.
Structure checklist
- Seal gaps at doors, eaves, and base plates.
- Fix roof leaks and downspouts so water does not run into foundations.
- Check that bin fans, vents, and ducts work before filling.
Safety note: Bins and enclosed storage areas create confined-space hazards. Use the right gear and rules. Review farm safety PPE and follow confined-space practices at your site.
Step 6: Load the crop to protect airflow and quality

How you fill matters.
Grain bins
- Use a spreader or manage your spout to reduce a tall center peak.
- Level the surface if your bin develops a cone, because a cone changes airflow.
- Remove a small amount after filling if you need to pull fines out of the center core.
Produce rooms
- Keep clear air paths for fans and evaporators.
- Stack pallets straight and leave planned air gaps.
- Do not push warm produce into cold storage without a cooling plan, because condensation forms.
Root cellars and bulk piles
- Build even piles with smooth surfaces to reduce air dead zones.
- Keep the pile away from wet walls and floor seepage.
Step 7: Control air and temperature from day one
Start management early.

Grain aeration
- Run fans when outside air helps cool and dry.
- Stop when conditions add moisture or heat to the bin.
Refrigerated storage
- Cool fast when the crop needs it, then hold steady.
- Maintain airflow across pallets and through vents.
Natural ventilation
- Use vents and fans to move humid air out.
- Avoid pulling warm, wet air into a cold crop mass.
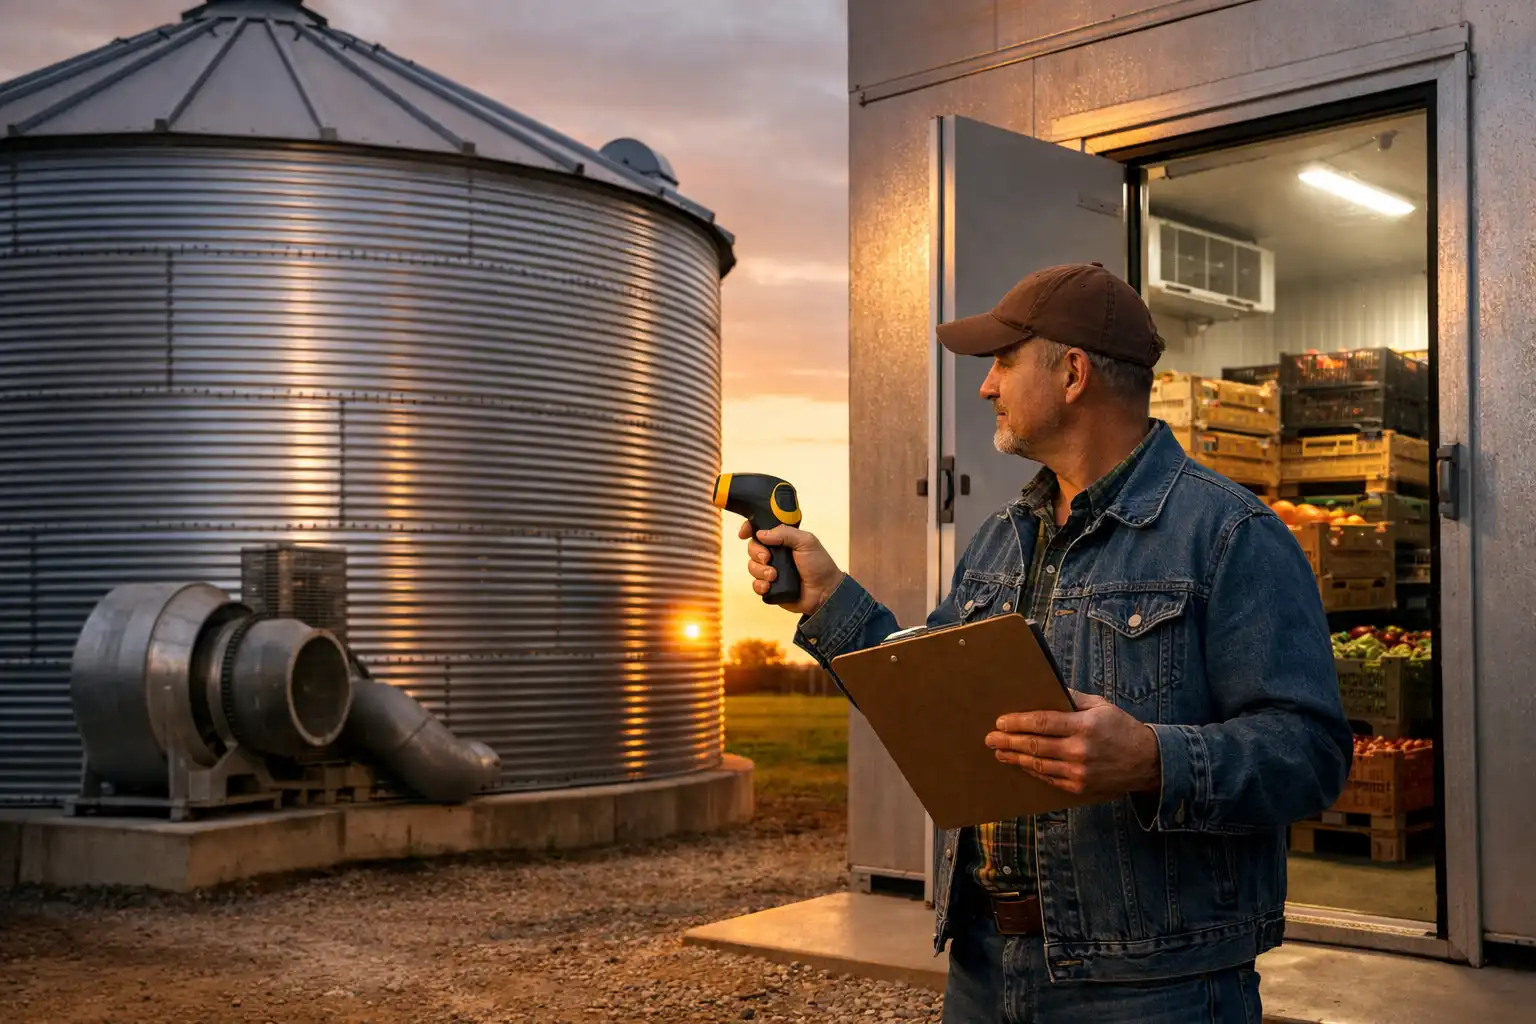
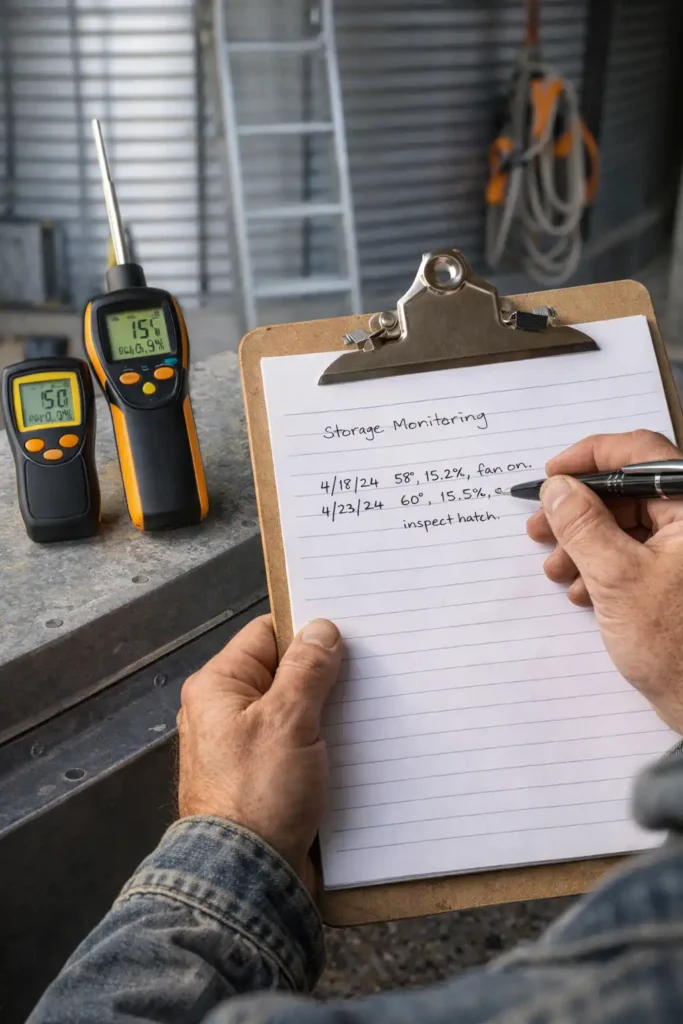
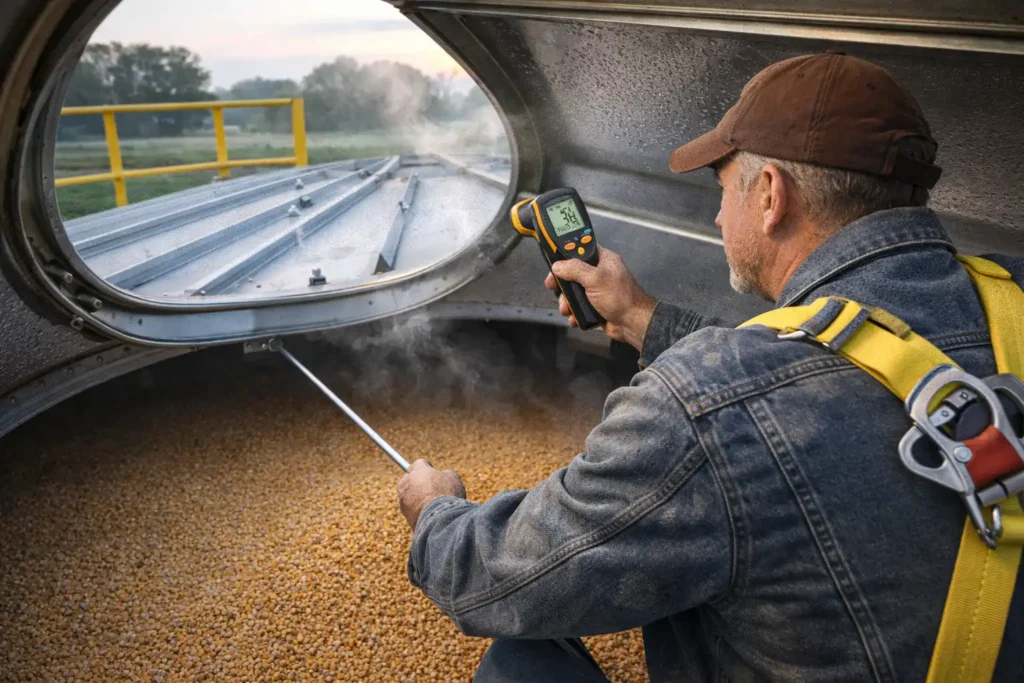
Step 8: Monitor on a schedule and write down what you find
Monitoring turns storage from guessing into management.
Grain
- Smell the headspace when you open the hatch. Odor warns early.
- Check temperature and look for crusting or condensation.
- Watch fan performance and airflow.
Produce
- Check room temperature, humidity, and condenser drain lines.
- Walk the stacks and remove any soft or leaking items.
- Watch for condensation on ceilings and pallet wrap.
Root crops
- Check for wet spots, seepage, and rot pockets.
- Watch for sprouting or shrivel depending on crop and conditions.
A simple log helps. Date, outside weather note, internal readings, and your action.
Step 9: Handle pests with an integrated plan
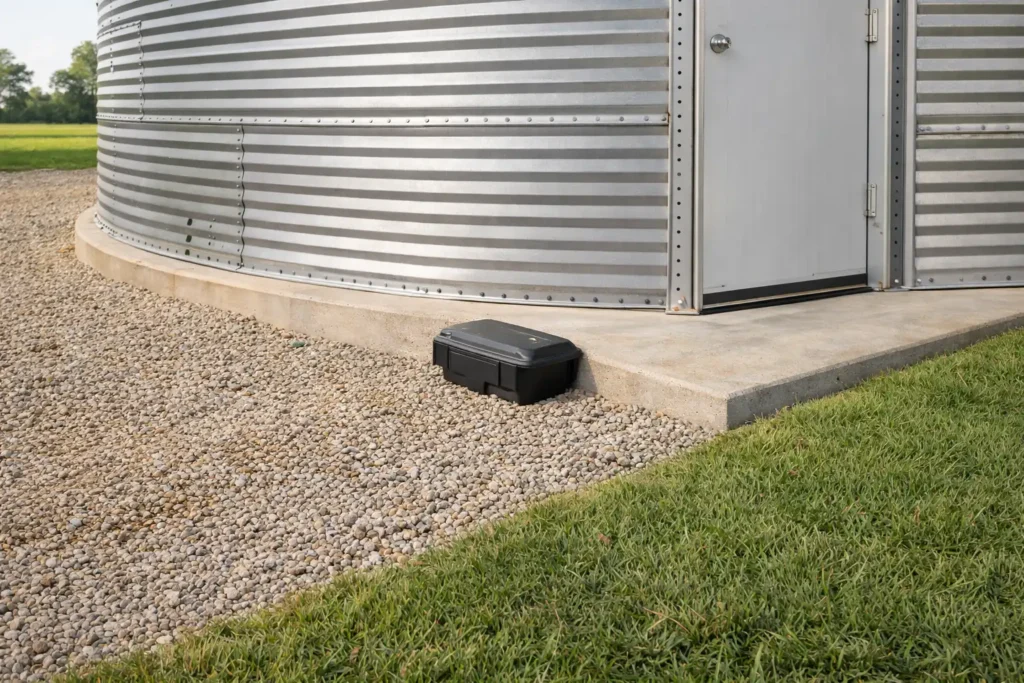
Storage pests respond to food and shelter. Remove both.
- Keep the site clean and dry to reduce insects and rodents.
- Use exclusion first: tight doors, sealed cracks, screened vents where appropriate.
- Use monitoring: traps, visual checks, and regular inspection.
Chemical control
If you use protectants or fumigants, follow the label and local rules. Fumigants and grain bins carry lethal risks. Only trained applicators should handle that work.
Step 10: Unload and move the crop without creating new damage
Unloading creates breakage and dust.
Grain
- Start unload slowly and watch for bridging or sudden flow changes.
- Keep people out of the bin. Flowing grain traps and buries fast.
- Manage dust and ignition sources around motors and augers.
Produce
- Temper product when needed to reduce condensation.
- Avoid drops and hard impacts during grading and packing.
Common crop storage methods and when each one fits
Different structures solve different problems. These are the main options you will see on farms.
Aerated grain bins
Aerated bins use fans and ducts to move air through grain. They fit farms that store grain on-site and manage temperature actively. They require cleaning, leveling practices, and monitoring.
Silos
Silos store bulk material vertically. Their value comes from protected storage and controlled unloading systems. They still need pest control and structural maintenance.
Grain bags and hermetic storage
Bags and hermetic systems reduce oxygen exchange and block water entry when managed correctly. They fit short to medium storage where permanent bins are not available. Site selection and rodent control decide success.
Warehouses and flat storage
Flat storage fits bulk grain or bagged product. It works when you control moisture entry, manage aeration if used, and keep a clean perimeter for pests.
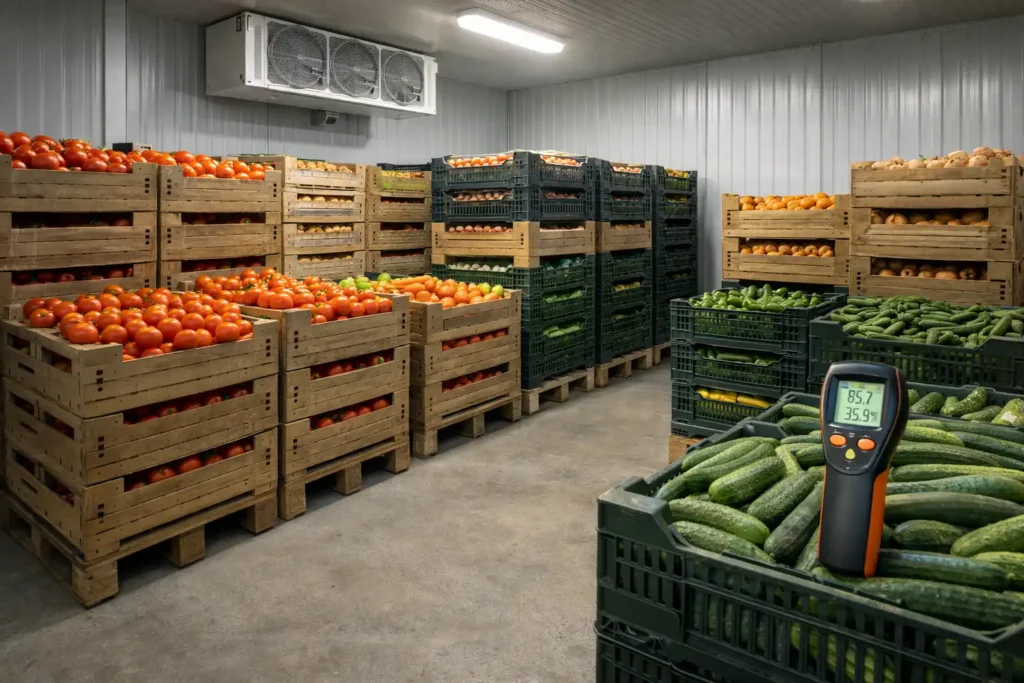
Refrigerated storage rooms
Cold storage fits vegetables and fruit that lose quality in heat. It works when the operator manages airflow, humidity, and sanitation. Cooling speed often matters as much as holding temperature.
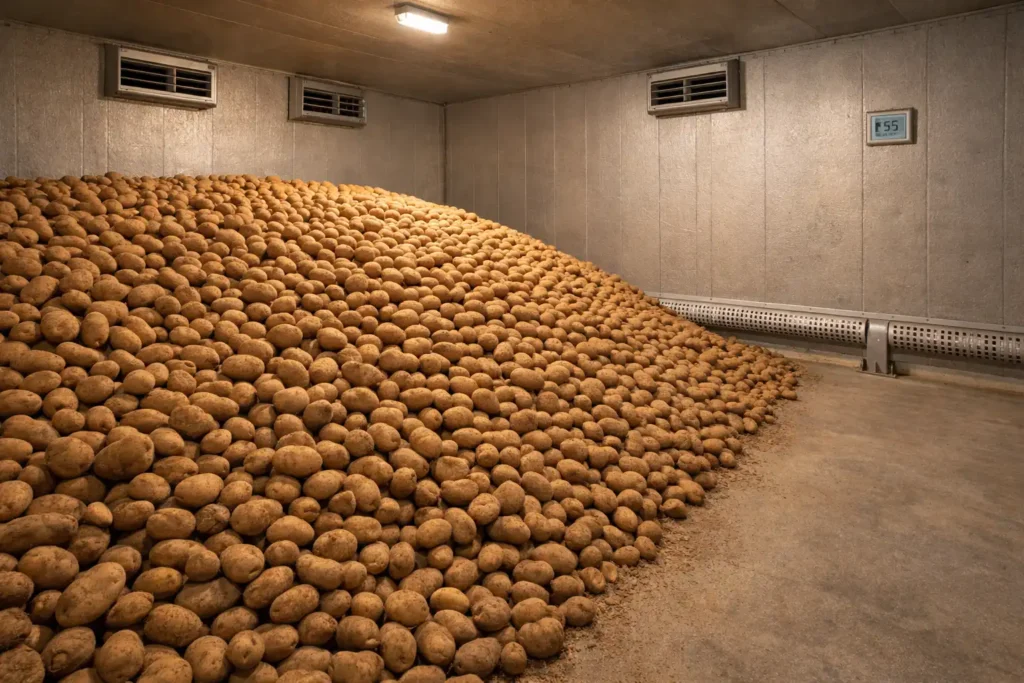
Root cellars and insulated bulk storage
Root cellars and insulated buildings fit potatoes, carrots, beets, and similar crops when temperature and humidity stay stable. Ventilation and drainage decide whether you store crisp product or a wet rot mess.
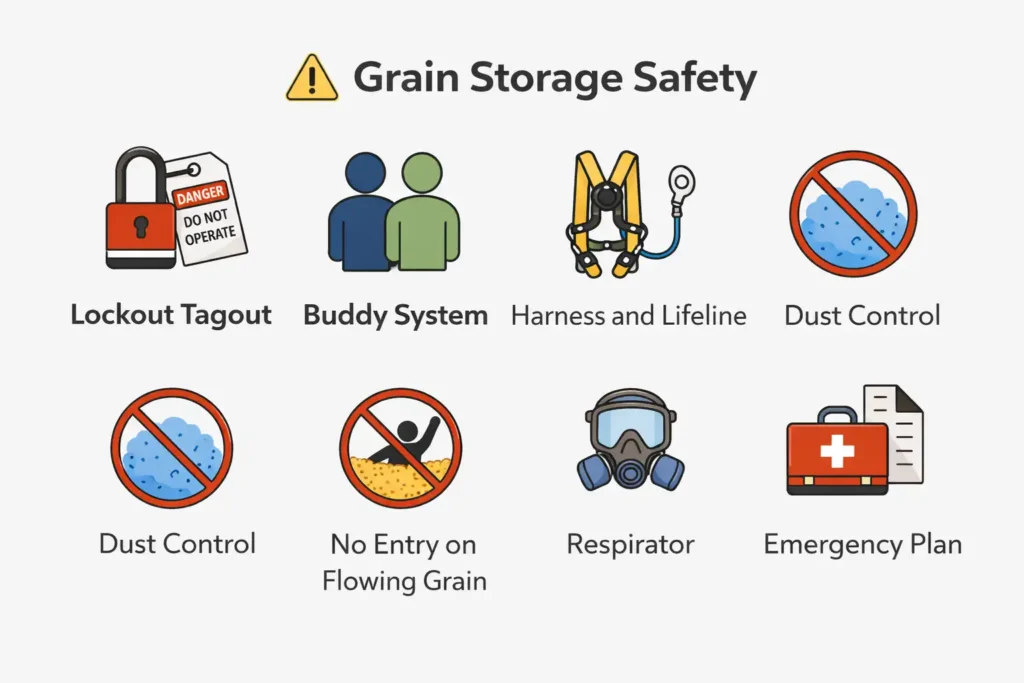
Safety notes you should not skip
- Confined spaces: Bins, silos, and sealed rooms can kill. Lock out equipment and use a buddy system and rescue plan.
- Dust: Grain dust burns. Keep wiring and motors maintained, and reduce open flames and sparks near dust.
- Chemicals: Fumigants and pesticides require training, label compliance, and PPE.
- Cold rooms: Refrigeration systems, ice buildup, and slippery floors create injury risk. Keep exits clear.
Troubleshooting: what to do when storage goes wrong
Why does stored grain smell musty?
Musty odor usually means moisture and microbial growth in a pocket. Increase inspection, break up crusting if safe and trained, and correct aeration strategy. If quality is slipping, move the grain sooner.
Why do I see condensation on bin roofs or cold-room ceilings?
Condensation forms when warm, moist air meets a cold surface. Reduce warm air entry, cool the crop mass evenly, and adjust ventilation or refrigeration cycles to stabilize temperature.
Why does produce soften fast in storage?
Softening follows heat, dehydration, and handling injury. Cool sooner, maintain the right humidity, and remove damaged items early so decay does not spread.
Why do rodents keep showing up near storage?
Rodents follow spilled grain, weeds, and gaps. Clean spills, mow the perimeter, and seal entry points. Use monitoring and control methods that match your local rules.
A simple quality checklist for day-to-day storage success
- Crop goes in clean and at the right condition for the storage type.
- Storage goes in clean, sealed, and functional.
- Airflow and temperature management starts on day one.
- Monitoring happens on a written schedule.
- Problems trigger action fast, not later.
Bottom line
Crop storage methods work when you treat storage like a crop practice, not a parking spot. Dry or cure to the right condition, load to protect airflow, control temperature early, and monitor with a plan. That routine keeps grain sweet, produce crisp, and losses low across the whole season.