How to Plant Potatoes in Straw Bales: 6 Easy Steps for Big Yields
Planting potatoes in straw bales gives you clean tubers, easy harvest, and no digging through compacted soil. This guide covers timing, bale conditioning, seed prep, watering, feeding, pest checks, and harvest so any backyard grower gets a full straw bale potato workflow from start to finish.
Place conditioned wheat straw bales in full sun, cut 4 to 5 pockets in the top, set seed potato pieces 3 inches deep in compost, water daily, and add a 4-inch layer of straw when shoots reach 6 inches tall. Harvest in 80 to 100 days.
What Is Straw Bale Potato Planting?
Straw bale potato planting uses a composting straw bale as the growing container. The bale holds warmth, feeds the plants as it breaks down, and stays loose for tuber formation. You set seed potatoes into the top of the bale instead of digging rows in the ground.
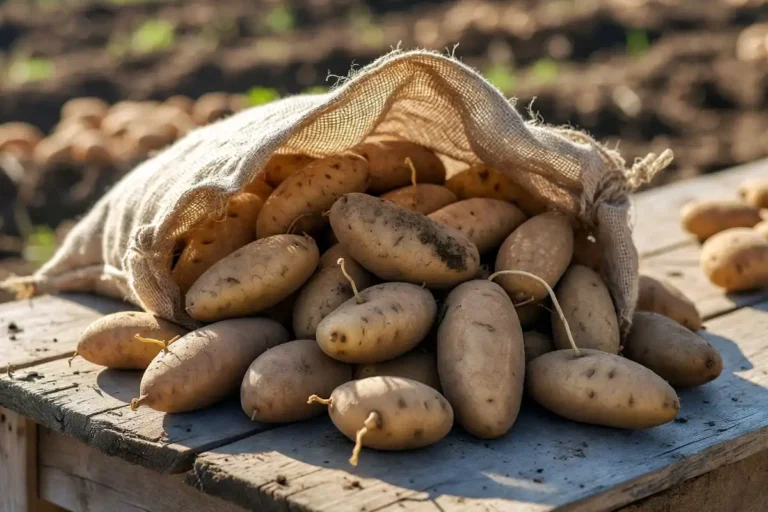
Certified seed potatoes work best. Hay bales do not. Hay carries grass seed and builds a weed problem fast. Wheat, oat, barley, and rye straw are the right picks.
When to Plant Potatoes in Straw Bales
Plant seed potatoes in straw bales 2 weeks after your last spring frost date, once the outside temperature holds above 45°F at night. Start conditioning the bale 10 to 14 days before planting day. For a fall crop, plant 12 to 14 weeks before your first frost.
I covered general potato planting timing by region in an earlier guide if you need a regional window.
Frost still kills young shoots above a warm bale. Cover plants with a frost blanket on cold nights.
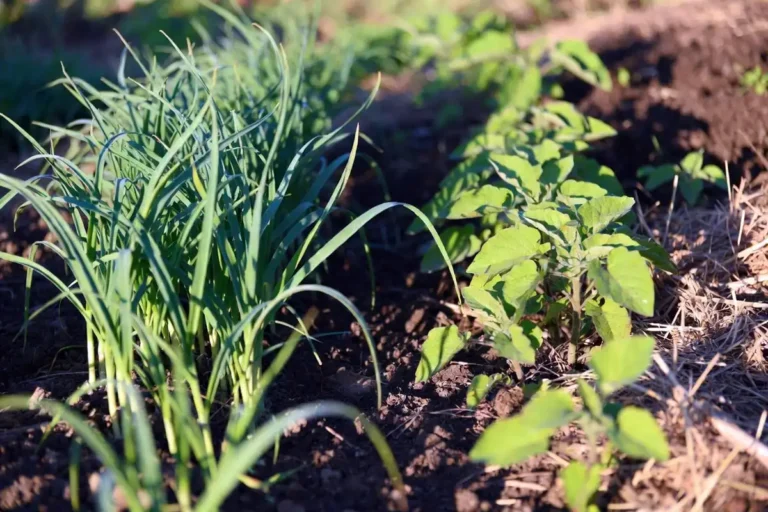
Where to Set Up Your Straw Bales
Pick a flat, sunny spot with 6 to 8 hours of direct sunlight. Potatoes need full sun for good tuber size. Place the bales near a hose or rain barrel. Straw dries out fast and wants daily watering in warm weather.
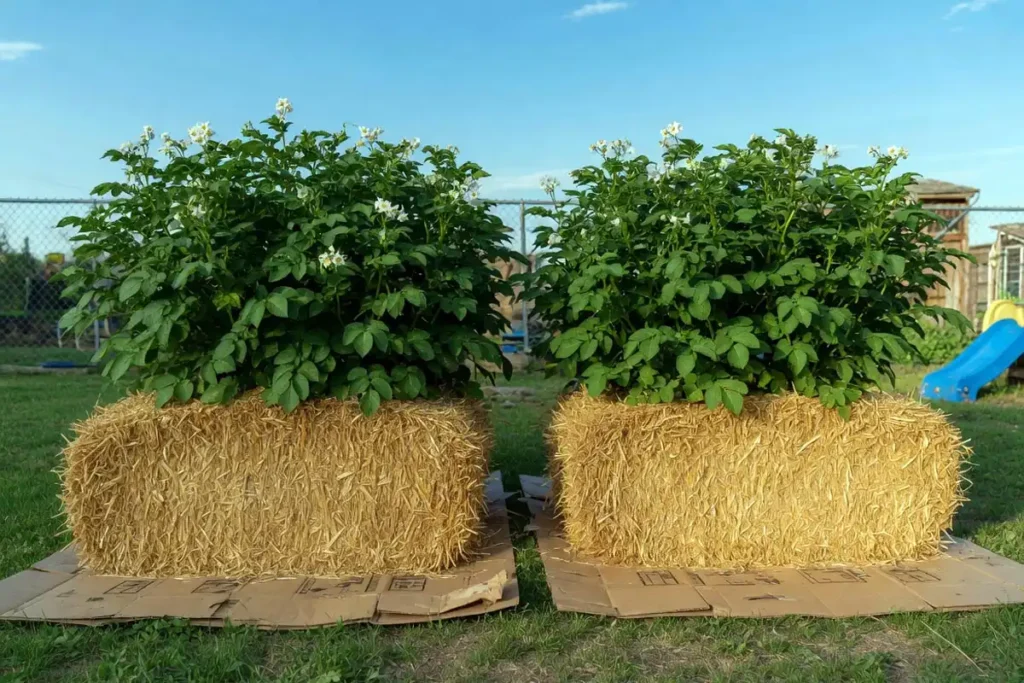
Set the bales on cardboard or landscape fabric. This stops weeds from growing up through the base. Run the bales north to south so both sides get even light. Leave 18 inches between bales for airflow.
How to Plant Potatoes in Straw Bales: Step by Step
Here is the full workflow from bale selection to planting day.
Step 1: Pick the Right Straw Bale
Choose tight, heavy wheat or oat straw bales. Skip hay. Skip bales from fields sprayed with long-residual herbicides. Ask the farmer about herbicide history. Aminopyralid and clopyralid residues stop potato growth for 2 to 3 years.
Step 2: Condition the Bale for 10 Days
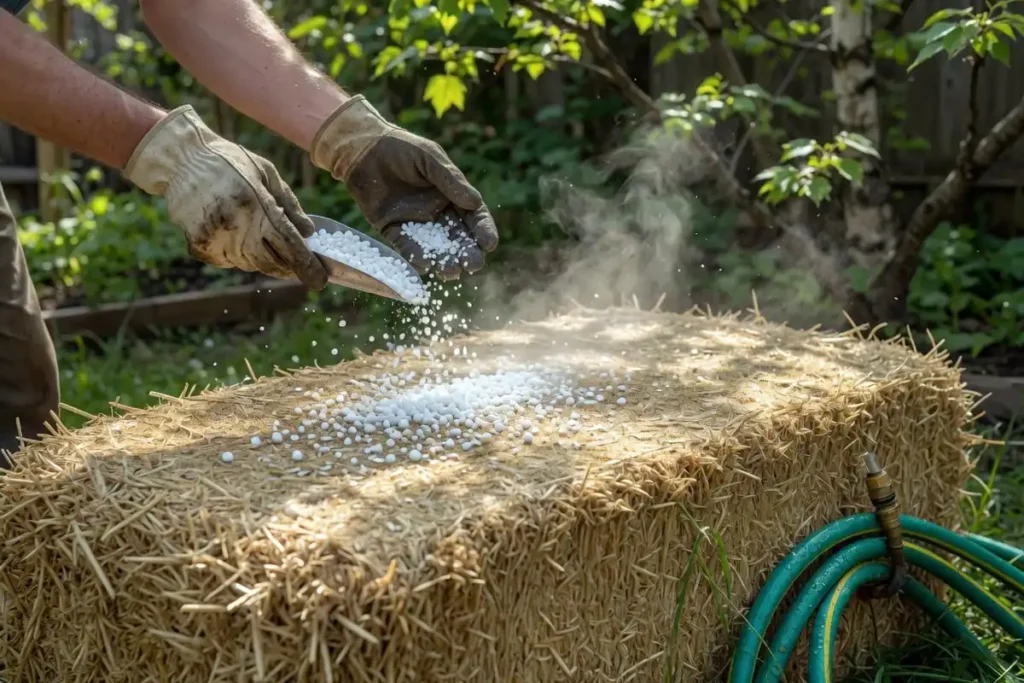
Conditioning starts the inside composting process.
- Days 1 to 3: Water the bale deeply every morning.
- Days 4 to 6: Add 1/2 cup of high-nitrogen fertilizer (blood meal or 21-0-0) per bale, then water it in.
- Days 7 to 9: Use 1/4 cup of the same nitrogen source daily, with water.
- Day 10: Add 1 cup of balanced 10-10-10 fertilizer and soak the bale.
The bale heats to around 120°F inside, then cools. Wait until the center feels warm, not hot, before planting. The University of Minnesota Extension straw bale gardens guide outlines a similar conditioning schedule.
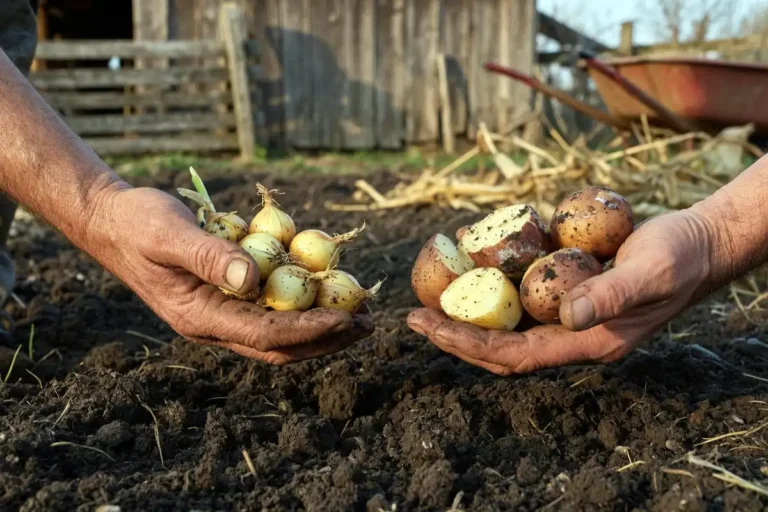
Step 3: Prep Your Seed Potatoes
Cut large seed potatoes into 2-ounce pieces with at least 2 eyes each. Let the cut sides heal in a dry, shaded spot for 2 days. Small seed potatoes under 2 inches go in whole. My earlier piece on cutting and curing seed potatoes properly walks through this in detail.
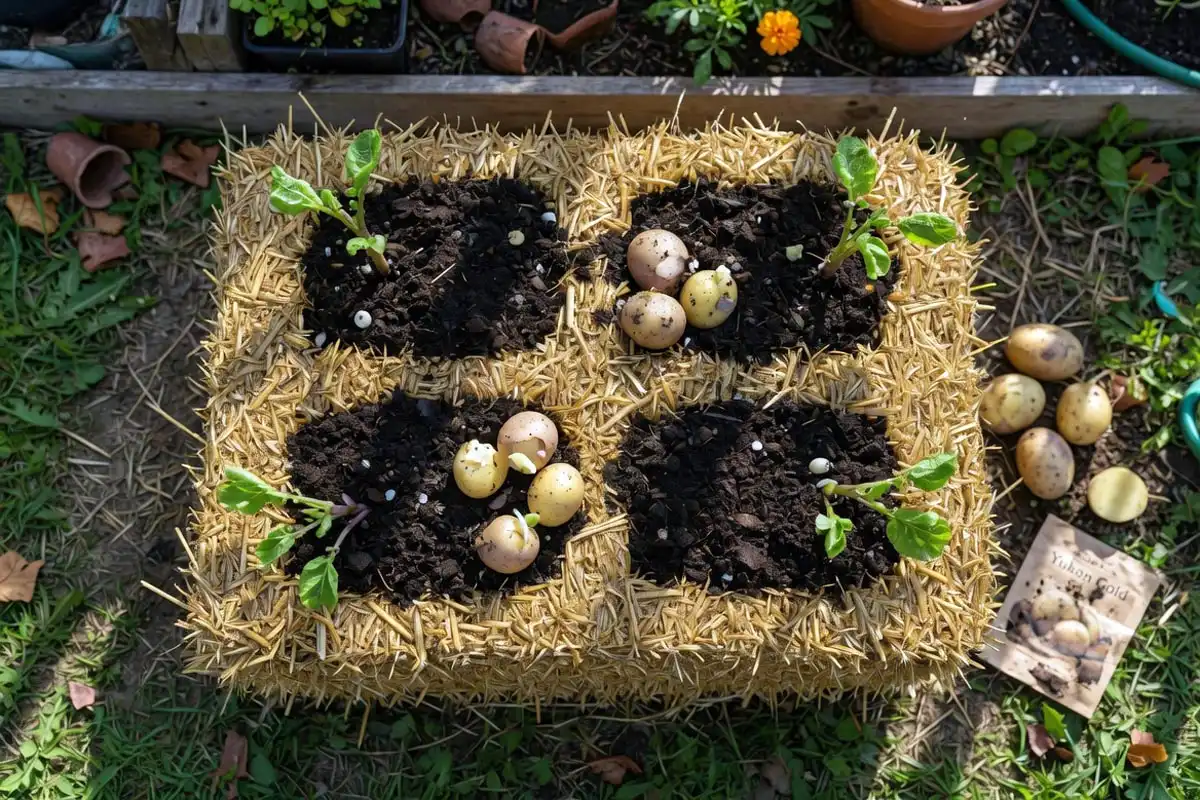
Step 4: Plant the Seed Pieces
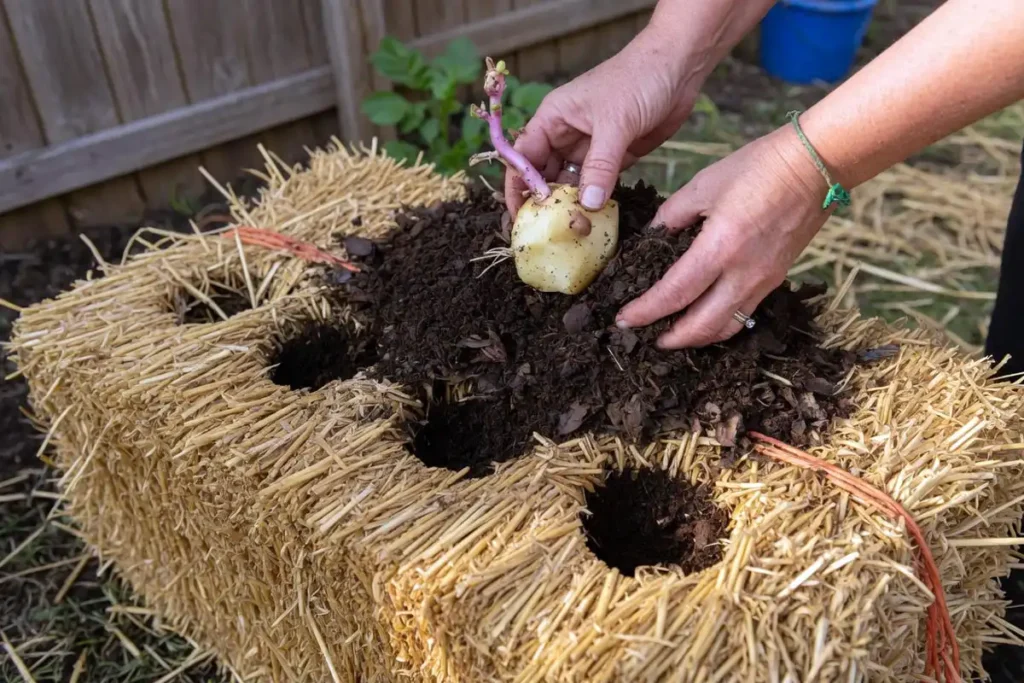
Cut 4 to 5 pockets across the top of the bale, each 3 inches deep. Fill each pocket with compost or quality potting mix. Set one seed piece in each pocket, cut side down and eye facing up. Cover with 2 inches of compost.
One standard bale fits 4 to 5 plants. Packing more cuts into your yield.
Step 5: Water the Bale Through
Water the bale until water runs out the bottom. Check moisture daily by pressing a finger into the top. Straw drains fast. In hot weather, water twice a day.
Step 6: Hill With More Straw
When shoots reach 6 inches tall, pack a 4-inch layer of loose straw around the stems. Repeat every 2 weeks until the plants flower. This works the same way as soil hilling. I wrote more about how hilling protects developing tubers from sun greening in an earlier post.
Care After Planting
Feed plants every 3 weeks with a balanced liquid fertilizer like 10-10-10 or fish emulsion. The bale provides some nutrients as it breaks down, but potatoes are heavy feeders.
Watch for Colorado potato beetles. Hand-pick adults and crush the orange egg clusters on leaf undersides. Check weekly for early blight spots and remove infected leaves right away. The Penn State Extension guide on potato production covers the main pest and disease cycle in useful detail.
Stop adding straw once plants flower. Ease off watering in the final 2 weeks before harvest to firm up the skins.
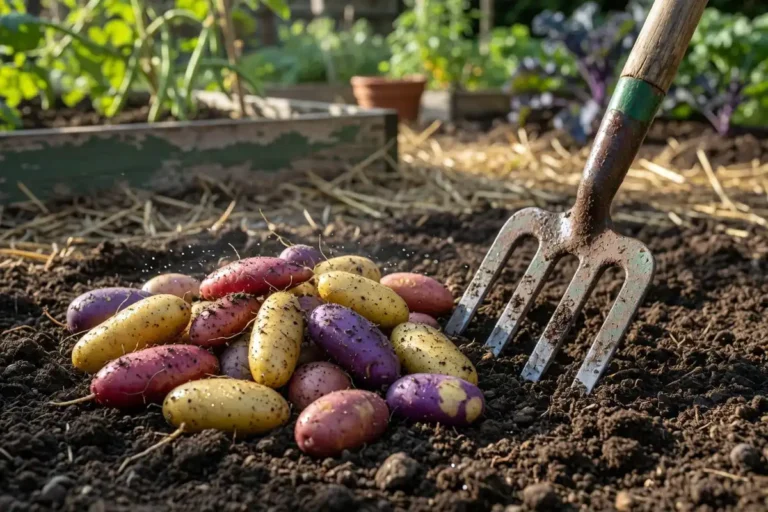
When to Harvest Potatoes from Straw Bales
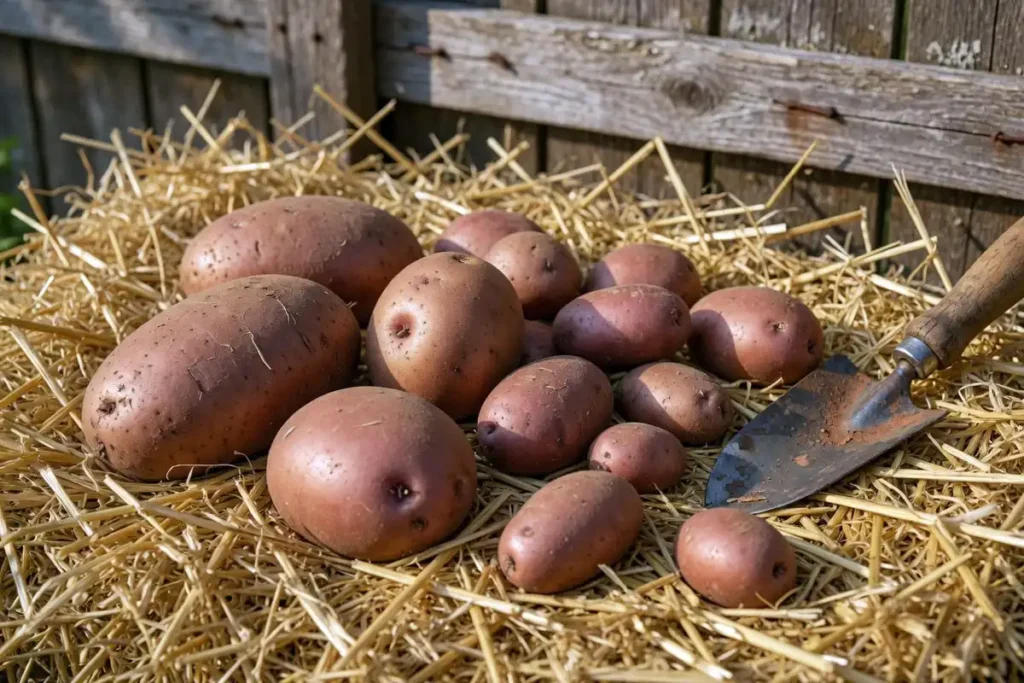
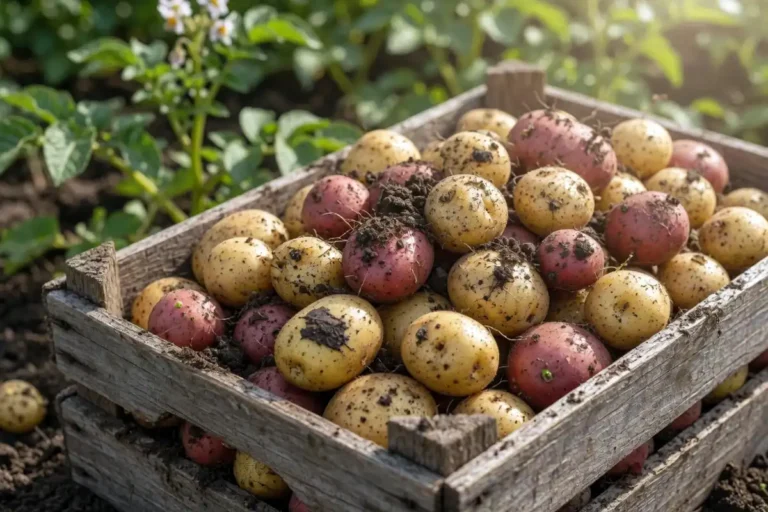
Harvest new potatoes 60 to 70 days after planting, around flowering time. Harvest mature potatoes 80 to 100 days after planting, once the vines yellow and die back. Pull the straw apart with your hands. Clean tubers sit inside the bale, not buried in heavy soil.
Common Mistakes to Avoid
- Using hay instead of straw. Hay sprouts weeds for months.
- Skipping conditioning. An unconditioned bale cannot feed plants.
- Overcrowding. Stick to 4 to 5 plants per bale.
- Under-watering. Straw dries within hours on hot days.
- Planting in herbicide-treated straw. This kills the crop outright.
Troubleshooting
Yellow leaves early in the season: Usually nitrogen deficiency. Apply a liquid nitrogen feed.
Plants wilt at midday but recover at night: Water stress. Water deeper, not more often.
Green patches on tubers: Light reached the potato. Add more straw next round. Green potatoes contain solanine and are not safe to eat.
Bale collapses mid-season: It composted faster than expected. Prop the sides with wooden stakes or wire mesh.
No tubers at harvest: Likely herbicide contamination in the straw. Source new straw from a trusted grower next season.
Safety Notes
Wear gloves when handling straw. Sharp stem ends cause splinters and small cuts. Store fertilizer away from kids and pets. Never eat green or heavily sprouted tubers. Wash your hands after working with decomposing straw, since hot bales can carry mold spores.
FAQs about Plant Potatoes in Straw Bales
Can I reuse straw bales for a second year of potatoes?
How many potatoes do you get from one straw bale?
Do potatoes grow better in straw or soil?
What kind of straw is best for planting potatoes?
Do I need to condition the straw bale before planting potatoes?
Final Takeaway
Straw bale potatoes work well when you start with clean wheat straw, condition the bale for 10 days, and water every day. The method trades a little prep time for a clean, no-dig harvest right on top of the bale. Follow the steps above, watch for pests, and you will pull a solid crop from a single bale that fits on a patio or driveway edge.