How to Know When to Harvest Crops: Smart Ways to Avoid Losses
Harvest when the crop reaches full maturity for its intended use and the field conditions let you cut, dig, or pick it clean without bruising, shattering, mold, or big storage losses. This guide shows a practical way to read plant signals, measure moisture or firmness, and time harvest around weather and equipment so you protect yield and quality. You will learn the key maturity checks that work across grains, beans, oilseeds, forage, vegetables, and fruit, plus what to do right after harvest so your hard work does not spoil in a wagon, bin, or cooler.
Start with the one decision that matters most: “What am I harvesting for?”
Harvest timing changes with the end use. Decide this first, because it sets your target maturity.
- Grain or seed for storage: prioritize low enough moisture to avoid heating and mold, with minimal shatter.
- Silage or hay: prioritize feed quality (digestibility, protein, sugars) and the right dry matter for packing or baling.
- Fresh market produce: prioritize appearance, flavor, tenderness, shelf life, and avoiding bruises.
- Processing produce (canning, freezing, chips, etc.): prioritize uniform maturity and the processor’s specs (size, solids, color).
When folks get harvest timing wrong, it’s usually because they aim for “fully ripe” when the buyer wants “mature but firm,” or they wait for “bone dry” and lose half the crop to shatter or lodging.
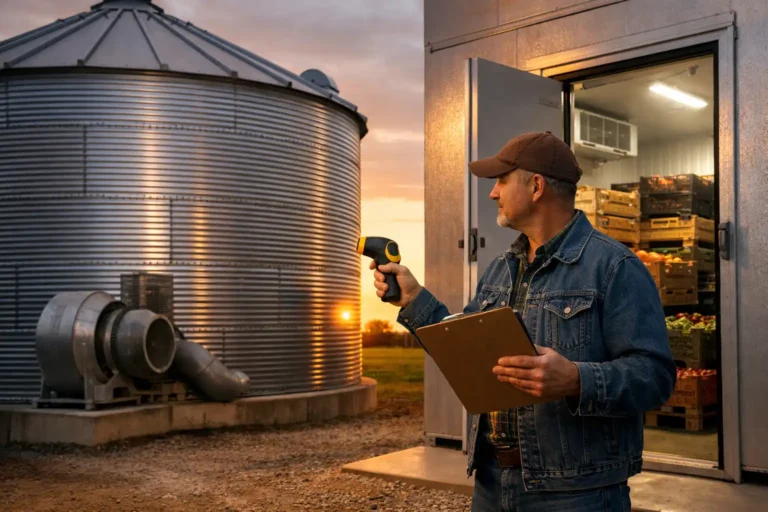
Crop farming harvest timing is a yield protector, since waiting too long can invite lodging, shatter loss, and quality issues. Harvest stays safe when you follow post harvest drying and cleaning steps that remove fines, cool grain fast, and protect bins from heating and mold.
Learn the three types of maturity
You will hear these terms from agronomists, buyers, and extension guides. They mean different things.
Physiological maturity: The plant has finished filling the seed or fruit. After this point, yield does not increase much, but losses can.
Harvest maturity: The crop is at the best stage to harvest for the chosen use. This may be before or after physiological maturity.
Market maturity: The crop meets what the buyer or consumer expects (size, color, sugar, firmness). This is common with fruit and vegetables.
Harvest timing improves cashflow when you track losses, hit quality grades, and apply how to improve farm profit margins through better storage, shrink control, and cleaner loads.
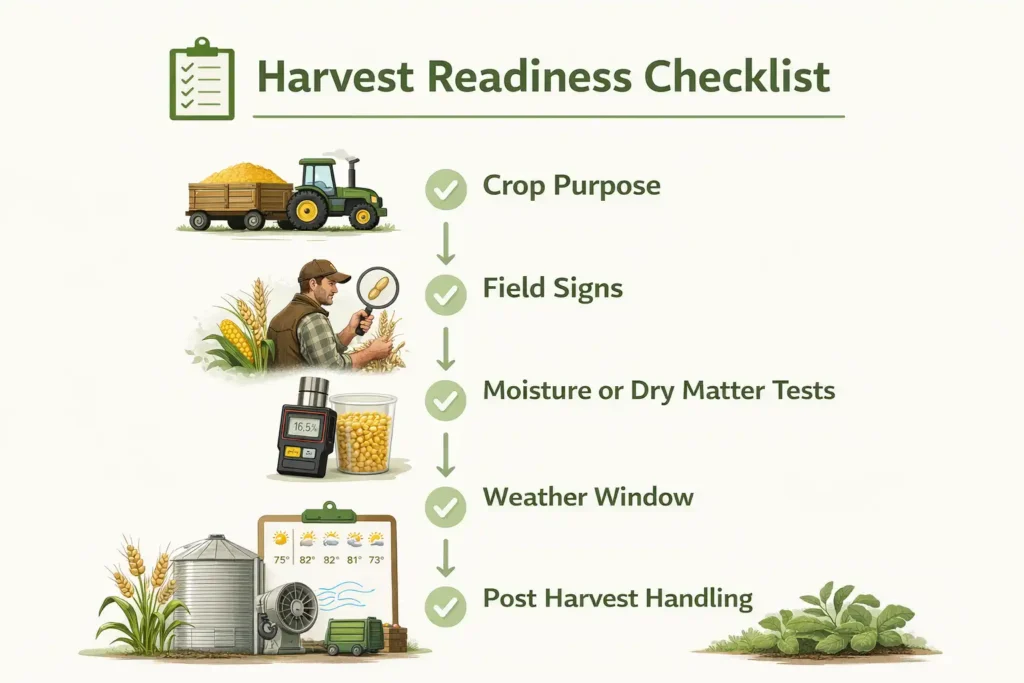
Use a simple harvest readiness checklist
Before you get fancy with numbers, walk the field and answer these plainly:
- Is the crop still adding weight or size? If not, you are near or past physiological maturity.
- Is the crop starting to lose quality or suffer losses? Shatter, drop, rot, sprout, bird damage, lodging, over-ripening.
- Can I harvest it clean today? Ground conditions, dew, wind, forecast, equipment readiness, labor, storage space.
If losses are accelerating, waiting is not “letting it finish.” Waiting is donating yield to the ground.
Know the field signs that reliably say “it’s time”
These are the signals that don’t lie, no matter the crop.
Dry-down and color change
- Plants shift from green to yellow, tan, or brown as they stop moving water and sugars.
- Leaves die back and stems lose flexibility.
- Pods, heads, husks, or fruit skins take on their mature color.
Watch-outs: Drought, disease, and frost can “fake” maturity by browning plants early. When plants die early, seed fill may be incomplete. That is when moisture testing and kernel or seed inspection matter most.
Seed or fruit separation cues
Many crops show a clear “separation” sign when they stop filling.
- Corn: black layer at kernel tip (common physiological cue).
- Some legumes: seeds rattle in pods; pods turn brown and brittle.
- Many fruits: ease of detachment, color break, and aroma increase.
Texture and firmness
- Vegetables and fruits often peak when firm but mature.
- Over-mature produce turns soft, fibrous, pithy, or mealy.
Shatter and drop risk
If pods are brittle, heads are dry, or fruit is falling with a light shake, you are already in the loss zone. Move.
Measure what you can: moisture, dry matter, and sugars
A good farmer uses eyes first, then numbers to confirm.
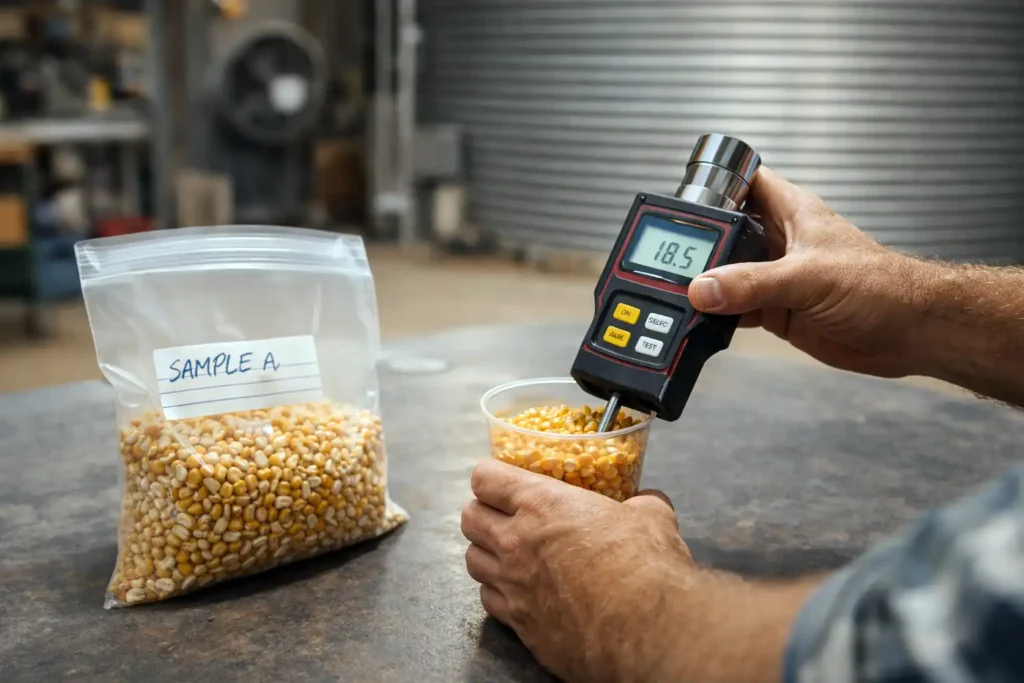
Moisture for grain and seed crops
Moisture drives storage risk. If you can measure only one thing, measure this.
- Use a handheld moisture meter for grain, or send a sample if accuracy matters.
- Sample in multiple spots. Field edges and low spots often differ from the middle.
- Check different parts of the plant (top vs. bottom pods, outside vs. inside ear rows).
Common sense rule: If moisture is still high, you can harvest and dry (if you have drying capacity), but if you wait too long you may pay in shatter, lodging, weather damage, wildlife, and sprouting.
Dry matter for silage and hay
For feed, dry matter (DM) is the steering wheel.
- Silage: DM affects packing, fermentation, seepage, and spoilage.
- Hay: DM affects baling safety (fire risk) and mold.

Use a microwave or Koster-style tester if you have one, or a reliable local method. The exact DM targets depend on forage type, storage method (bunker, bag, upright), and bale type.
Sugars and solids for produce
For fruit and some vegetables, flavor and processing value often track:
- Brix (sugar) readings
- Firmness tests
- Starch breakdown (common in apples and some other fruit)
If you sell to a buyer, ask which measure they care about and match it.
Crop-by-crop: the practical “ready” signs that matter
These are broad, dependable cues. For exact numbers by variety and region, local extension guides and your buyer specs win.
Small grains (wheat, barley, oats)
Ready signs
- Heads turn straw-colored; kernels are hard and no longer dent with a fingernail.
- Plants are mostly dry, with little green stem left.
Main risks if you wait
- Shattering, lodging, sprouting after rain, and quality downgrades.
Corn (grain)
Ready signs
- Kernels are fully formed and firm; husks dry down.
- Physiological maturity is near when kernels show the mature layer cue, but you still harvest based on moisture, weather, and standability.
Main risks if you wait
- Lodging, wildlife loss, ear drop, mold, and storms.
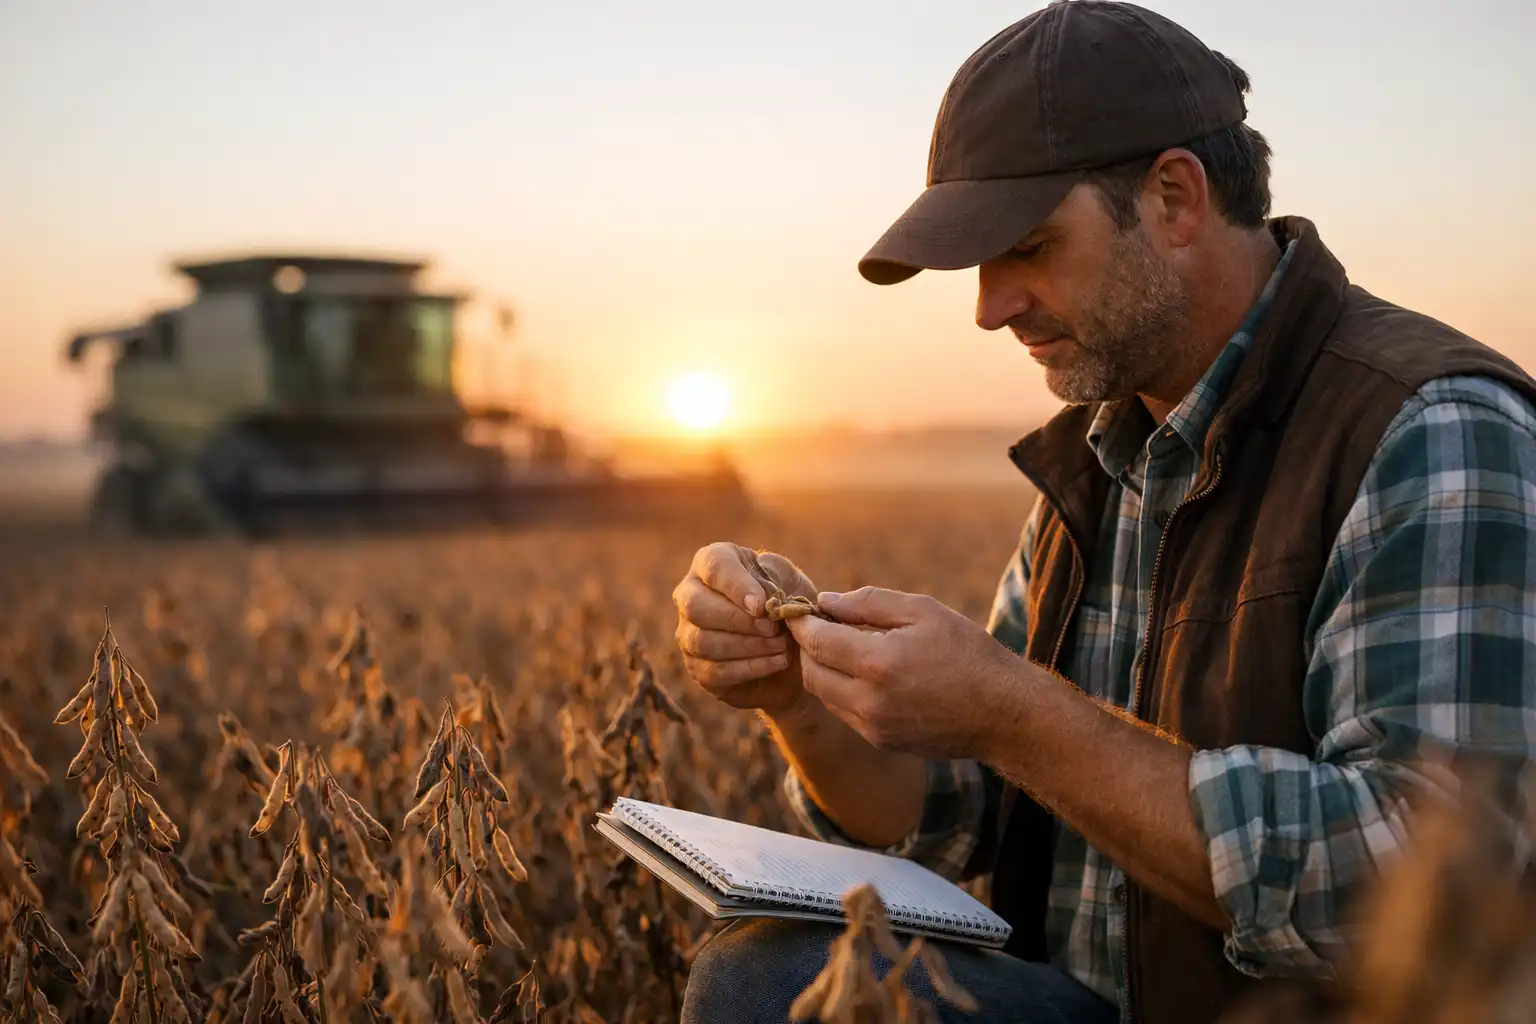
Soybeans and other dry beans
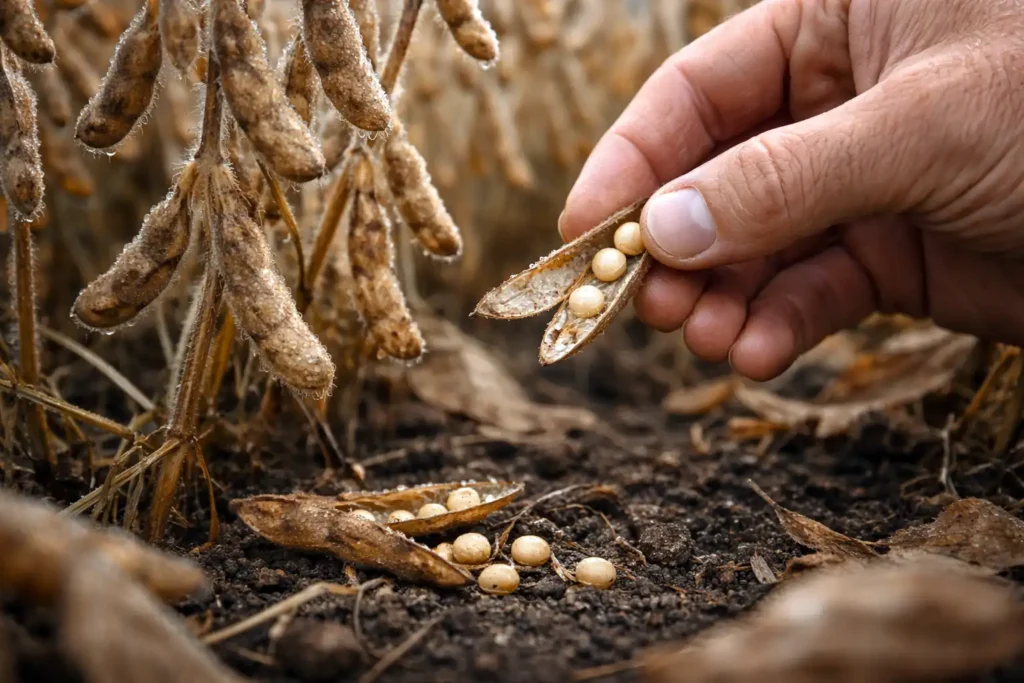
Ready signs
- Majority of pods are brown and dry; seeds are firm and separated inside the pod.
- Plants lose leaf and stem green.
Main risks if you wait
- Pod shatter on hot, dry afternoons; splitting; weather staining; delayed harvest from rain.
Practical tip: Many growers cut beans when conditions reduce shatter, then use drying and good handling to protect quality.
Canola and other oilseeds
Ready signs
- Pods and seed color shift toward mature; seeds are firm.
- Shatter risk rises fast once pods get brittle.
Main risks if you wait
- Shatter in wind, uneven maturity, weathering.
Forage grasses and legumes (hay and silage)
Ready signs
- Stage of growth matters as much as dryness. Many forages lose feed value as they head out and get stemmy.
- For legumes, leaf retention is key. Leaves hold much of the protein.
Main risks if you wait
- Lower digestibility, leaf shatter during raking, rain damage, and bale heating if baled too wet.
Potatoes and root crops
Ready signs
- Tops die back naturally or are killed off; skins “set” so they do not rub off easily.
- Tubers size up, then stabilize.
Main risks if you rush
- Skinning, bruising, and poor storage life.
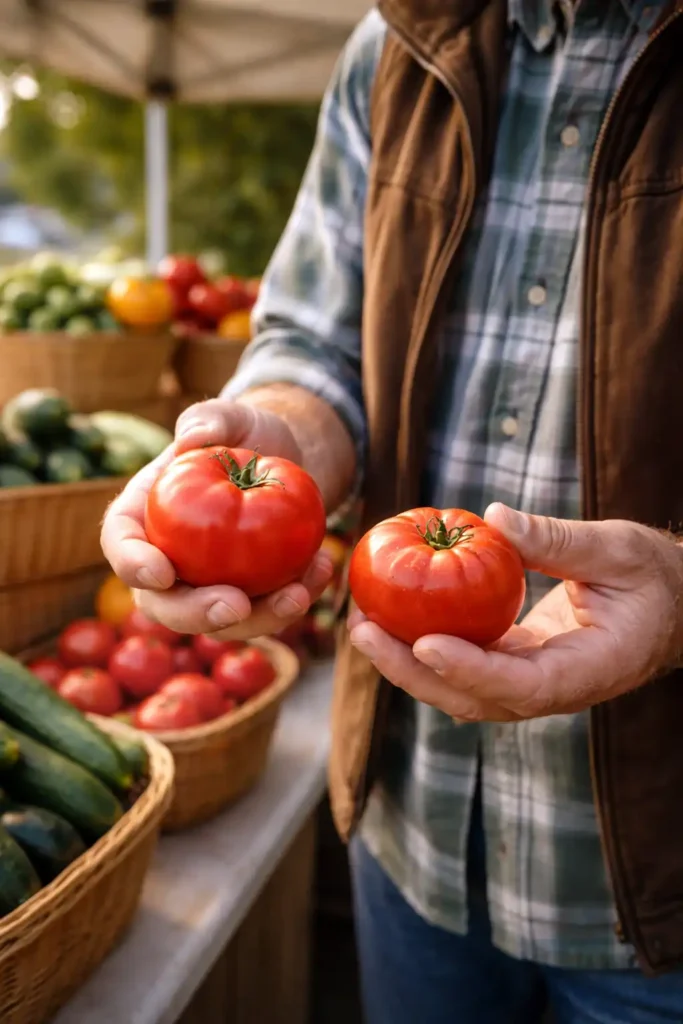
Vegetables (general rule)
Ready signs
- Size and color match the market.
- Texture is still tender, not fibrous.
- Harvest window is often shorter than people expect.
Main risks if you wait
- Toughness, oversized product, seediness, bitter flavor, cracking, bolting.
Fruit (general rule)
Ready signs
- Background color changes, aroma increases, and fruit detaches with the right pull.
- Firmness drops gradually as sugars rise, but perfect eating quality may be later than the best shipping quality.
Main risks if you wait
- Bruising, short shelf life, drop, birds, and rot.
Time harvest around weather like your yield depends on it, because it does
Weather does not just slow harvest. It can destroy quality in a few days.
Watch the next 7 to 10 days, not just tomorrow
- Rain after maturity can trigger sprouting in grains, splitting in fruit, cracking in some vegetables, and mold in many crops.
- Wind can shatter pods and lodge tall crops.
- Heat can speed shatter and reduce picking quality.
- Frost can harm sensitive produce and stop seed fill if the crop is not mature.
Use dew and temperature to reduce losses
- Many shatter-prone crops cut cleaner in the early morning or evening when humidity is higher.
- For produce, cool harvest temperatures protect shelf life.
Sample the field the right way

Bad sampling causes bad decisions.
- Walk a W pattern across the field.
- Pull plants from high and low spots and along different soil types.
- For uneven stands, sample by zone and harvest zones separately if possible.
- Record results by date. A little notebook data saves a lot of arguing with yourself later.
Harvest day best practices that protect quality
Once the crop is ready, the biggest losses come from rough handling and poor logistics.
Set up equipment to reduce damage and loss
- Sharp knives, correct reel speed, correct concave and rotor settings, and the right fan speed matter.
- Slow down if you see cracked seed, excess trash, or grain on the ground.
- For produce, padded bins, gentle drops, and shaded staging areas protect quality.
Keep harvested crop moving
- Grain sitting warm in a wagon can sweat and heat.
- Produce sitting in the sun loses firmness and shelf life fast.
- Silage delayed at the pile can heat and pack poorly.
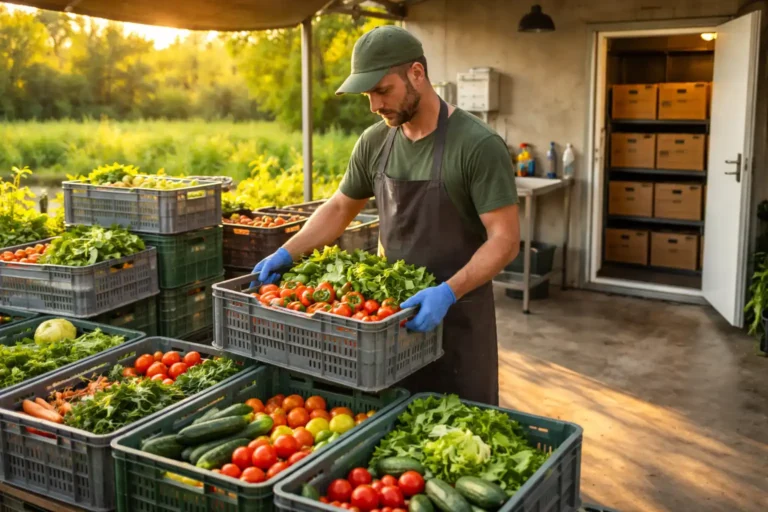
Separate “good storage” from “needs attention”
Make a plan for:
- Higher moisture loads
- Dirty loads
- Loads from lodged or diseased patches
Blend carefully or store separately so one problem load does not spoil the whole pile.
Post-harvest checks that tell you if you nailed the timing
You learn a lot by checking results within 24 to 72 hours.
- Grain: smell for heating, check moisture again, and look for fines and cracked kernels.
- Hay: monitor bale temperature in the first days if moisture was borderline.
- Silage: watch packing density and cover timing, then track heating at feedout later.
- Produce: track shrink, bruising, and shelf life. If it breaks down fast, harvest stage or handling needs tightening.
Common harvest timing mistakes and how to avoid them
Mistake: waiting for the whole field to look uniform.
Fix: harvest the best acres first and manage uneven areas separately.
Mistake: chasing “drier is always better”.
Fix: balance drying cost against shatter, lodging, and weather risk.
Mistake: using leaf color alone.
Fix: confirm with kernel, seed, tuber skin set, or a moisture and DM check.
Mistake: harvesting fast with poor settings.
Fix: calibrate, then re-check loss behind the machine. Small tweaks can save real bushels.
Mistake: ignoring storage readiness.
Fix: clean bins, confirm aeration, and plan drying before you start.
A practical rule you can live by
Harvest is a race between your crop’s quality window and the next weather event. When the crop has reached harvest maturity for its use and field losses start climbing, move. You can fix moisture with drying or cooling. You cannot fix grain that shattered, fruit that bruised, or hay that molded.
FAQs about Know When to Harvest Crops
How do you know when to harvest if you grow multiple crops?
What is the fastest way to check ripeness?
What if bad weather is coming and the crop is almost ready?
Bottom line
Harvest timing works best when you treat it like a field decision, not a date on a calendar. Let the plant show maturity, confirm it with a quick test, and protect quality with good handling right after you pick. When you repeat that process across seasons, your harvest windows get easier to predict and your losses shrink.