How to Plant Store Bought Potatoes in 8 Simple Steps That Work
It is possible to plant store bought potatoes and grow full plants from them if they have sprouted, remain firm, and come from an untreated batch. This guide walks through timing, prep, planting depth, and aftercare, so your grocery store tubers produce a real harvest instead of just rotting away in cold, wet soil.
Plant store bought potatoes once sprouts reach half an inch and soil warms to 45–55°F. Cut large tubers into 2-inch pieces with 2 eyes each, cure for 2–3 days, then plant 4 inches deep and 12 inches apart in loose, well-drained soil. Hill the rows as shoots grow.
I have done this on my own plot in Topeka, and the results depend almost entirely on the potato you start with. Below is the same workflow I use, with the safety checks and recommended planting window that keep store bought tubers from rotting before they sprout.
What Are Store Bought Potatoes for Planting?
Store bought potatoes are table potatoes sold for eating. Most grocery potatoes are washed, graded, and often treated with a sprout inhibitor called chlorpropham (CIPC) to keep them firm on the shelf, as outlined in USDA ARS research on potato storage. Treated tubers rarely sprout, even in warm light. Untreated or organic potatoes usually sprout within 2–4 weeks on the counter and can grow into real plants.
For better odds, I use certified options when I can. I compared the differences in an earlier post on picking seed potato stock, and the short version is that store tubers carry more disease risk than certified seed.
When to Plant Store Bought Potatoes
Plant store bought potatoes 2–3 weeks before your last spring frost, once soil temperature reaches 45–55°F at a 4-inch depth, per University of Minnesota Extension guidance on potatoes. In Kansas, this lands in late March to mid-April.
Cold, wet soil is the main reason store bought seed pieces rot. I wait until the soil is workable and no longer sticks to my boots. Fall plantings work in mild climates, but spring is the safer window for most growers.
Where to Plant Them
Pick a spot with 6–8 hours of direct sun and loose, well-drained soil. A pH of 5.0–6.5 suits potatoes and lowers scab risk.
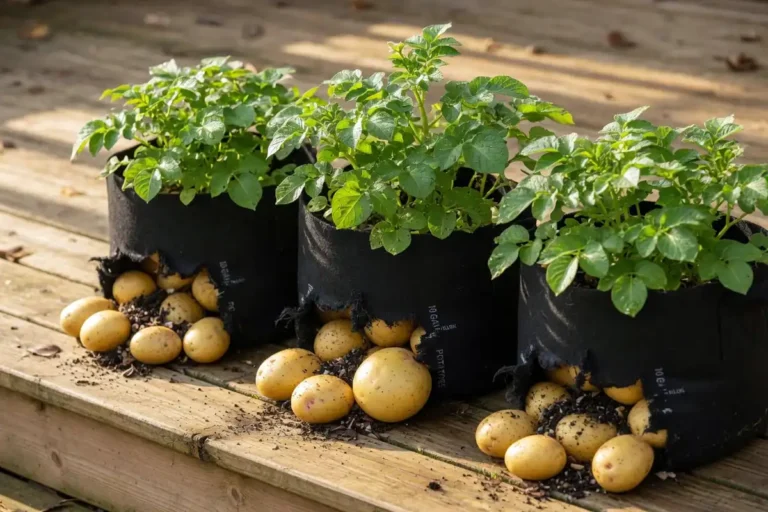
Avoid beds where tomatoes, peppers, or eggplant grew last year. All four crops share the same disease pressure, including early blight and verticillium wilt. Raised beds, deep containers, and even grow bags work if your ground soil is heavy clay.
How to Plant Store Bought Potatoes Step by Step
Step 1: Pick the Right Tubers
Choose firm potatoes with clear, healthy eyes. Skip any with soft spots, dark rot, or green patches. Organic tubers sprout more reliably because they are less likely to carry CIPC residue.
Step 2: Chit (Pre-Sprout) the Potatoes
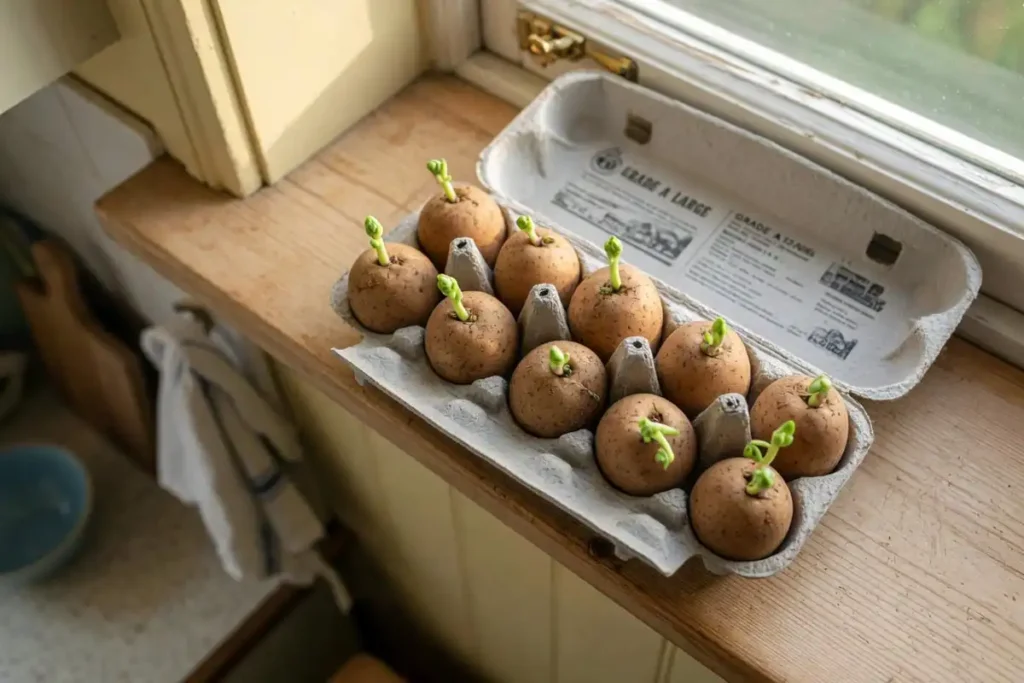
Place the tubers in a single layer inside an egg carton or shallow tray. Keep them in a bright, cool room at 50–70°F for 2–3 weeks. Short, stout green sprouts form. These sprouts give the plant a head start once it hits the soil.
Step 3: Cut Large Potatoes

Tubers larger than a chicken egg should be cut. Each piece needs 2 eyes and 2 ounces of flesh. Small potatoes can be planted whole. I walked through this in more detail in my post on cutting and curing seed pieces the right way.
Step 4: Cure the Cut Pieces
Spread cut pieces on newspaper in a dry, shaded spot for 2–3 days. The cut side forms a corky layer. This skin reduces rot once the piece meets damp soil.
Step 5: Prepare the Soil
Loosen the bed 10–12 inches deep. Mix in 2–3 inches of compost. Skip fresh manure, which raises scab risk.
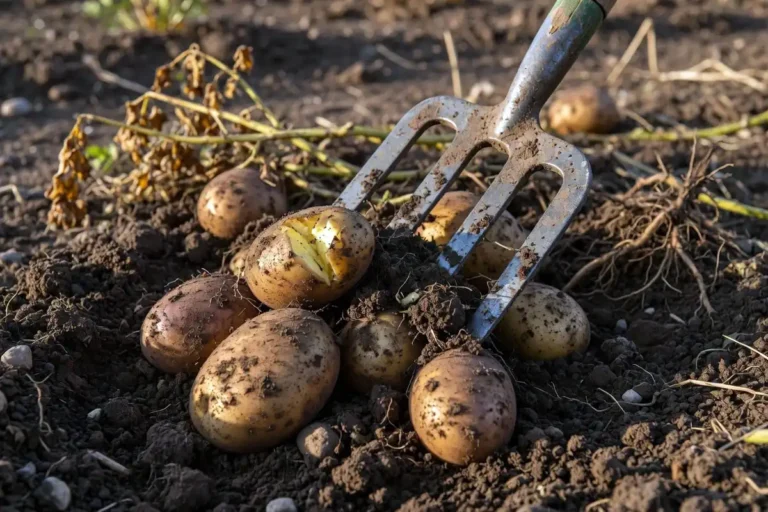
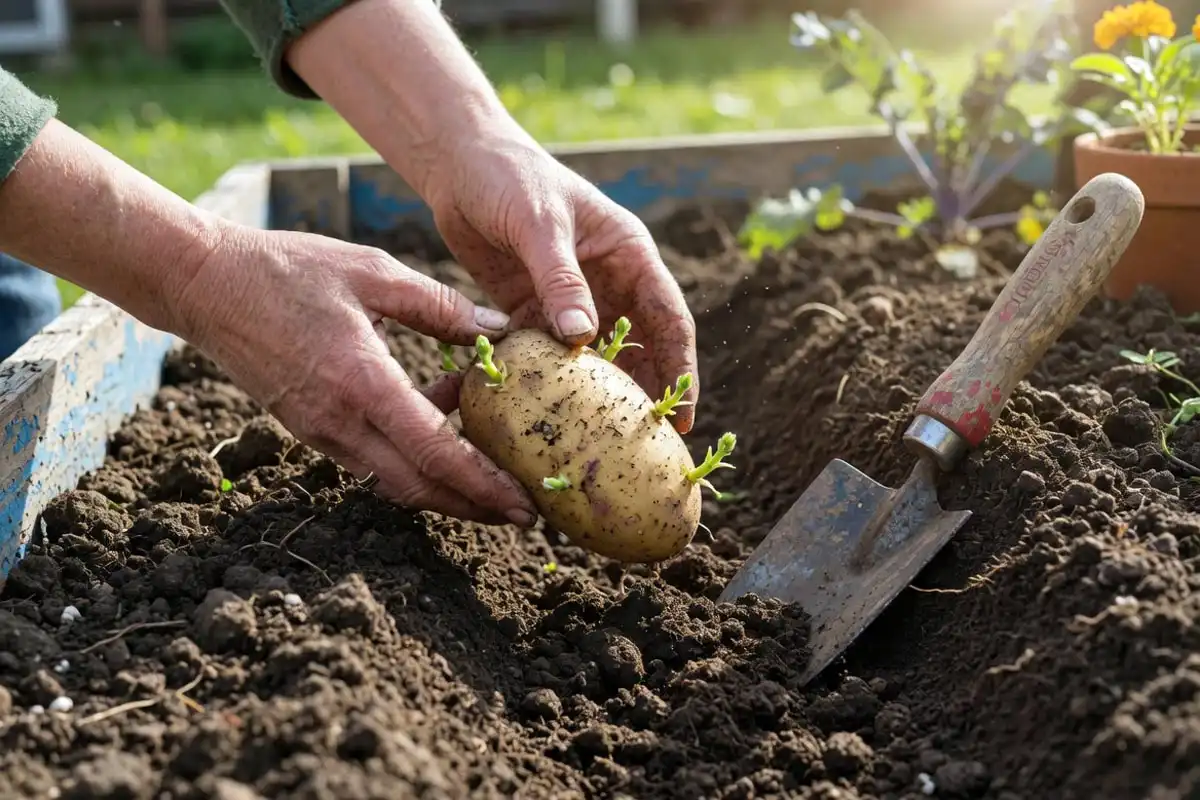
Step 6: Dig the Trench and Plant
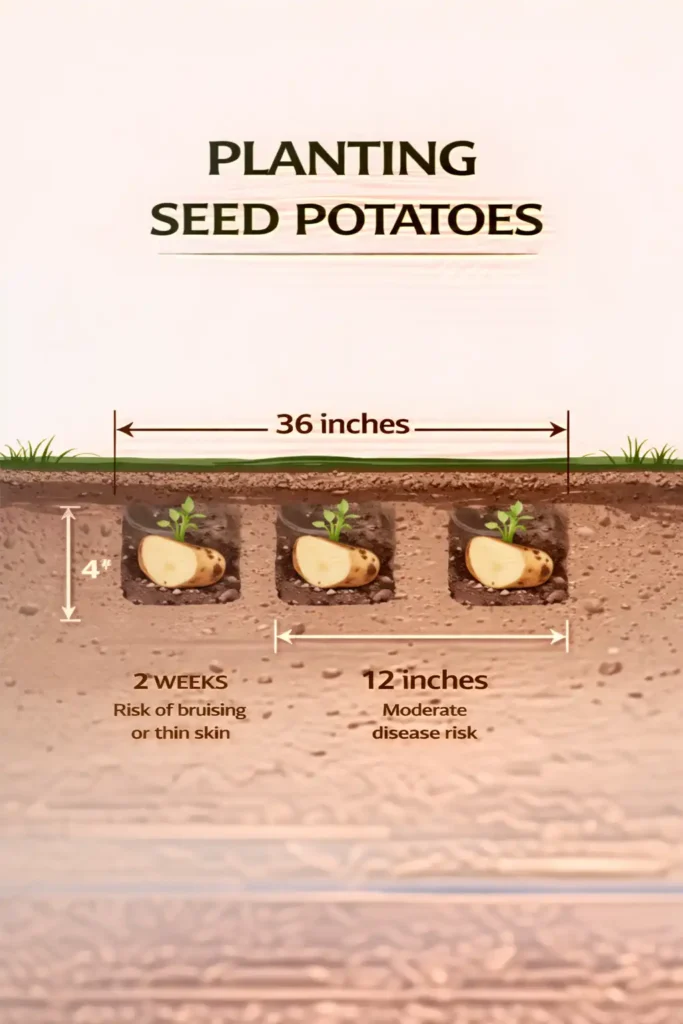
Dig a trench 4 inches deep. Space seed pieces 12 inches apart with the sprouts pointing up. Cover with 3–4 inches of soil. Rows should sit 30–36 inches apart.
Step 7: Water Lightly
Water the trench once at planting. Then wait. Overwatering cold seed pieces invites rot. Shoots break ground in 14–28 days.
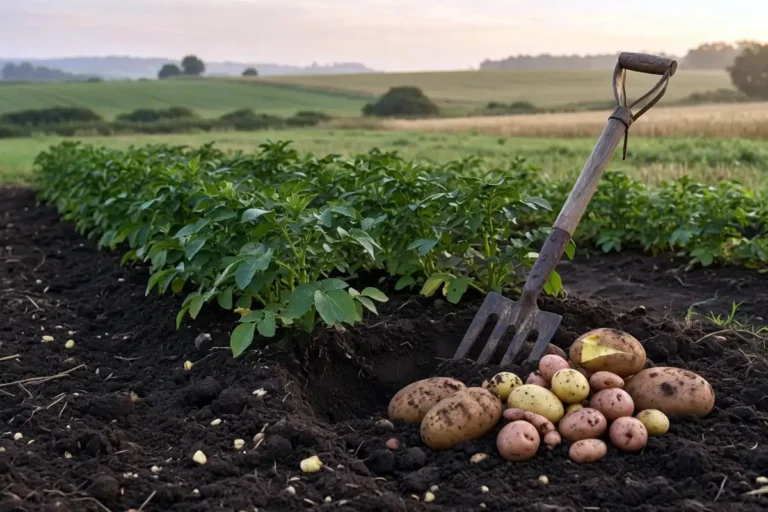
Step 8: Hill the Rows
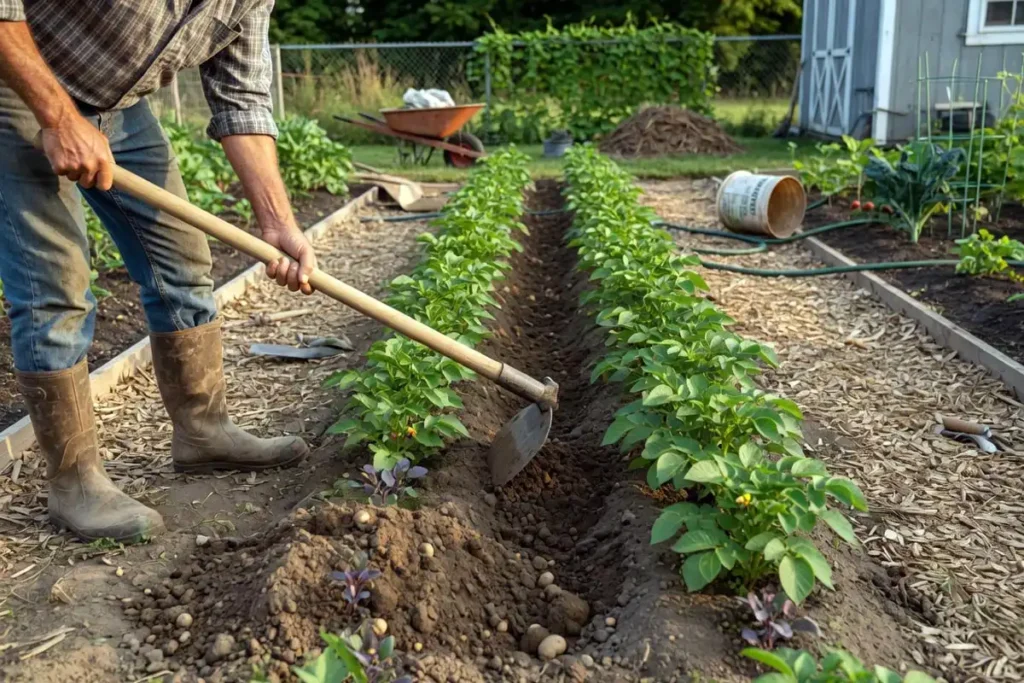
Once plants reach 6–8 inches tall, pull 3–4 inches of soil up around the stems. Hill again 2–3 weeks later. Hilling protects developing tubers from sunlight, which prevents green skin. I broke down the method in a separate guide on why hilling potatoes increases yield.
Care After Planting
Water deeply 1–2 inches per week once plants are established. Potatoes need steady moisture during tuber formation, which starts around flowering.
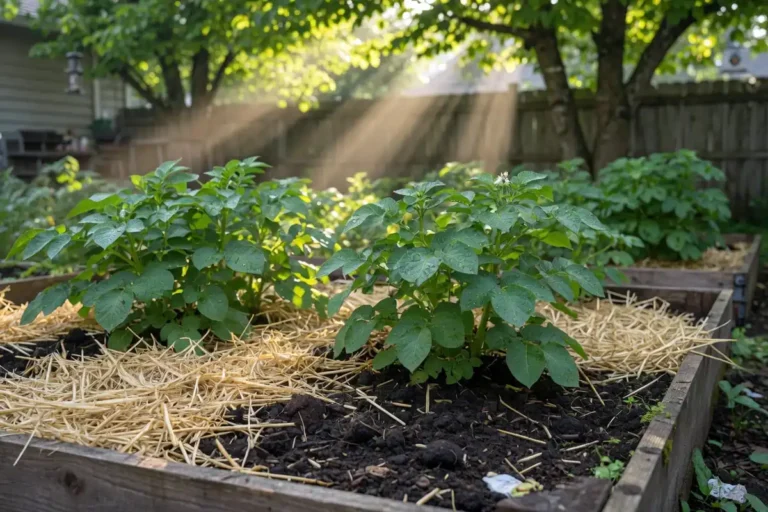
Feed with a balanced fertilizer at planting and again at first hill. Too much nitrogen produces heavy leaves and small tubers. Mulch between rows to hold moisture and block weeds.
Mistakes to Avoid
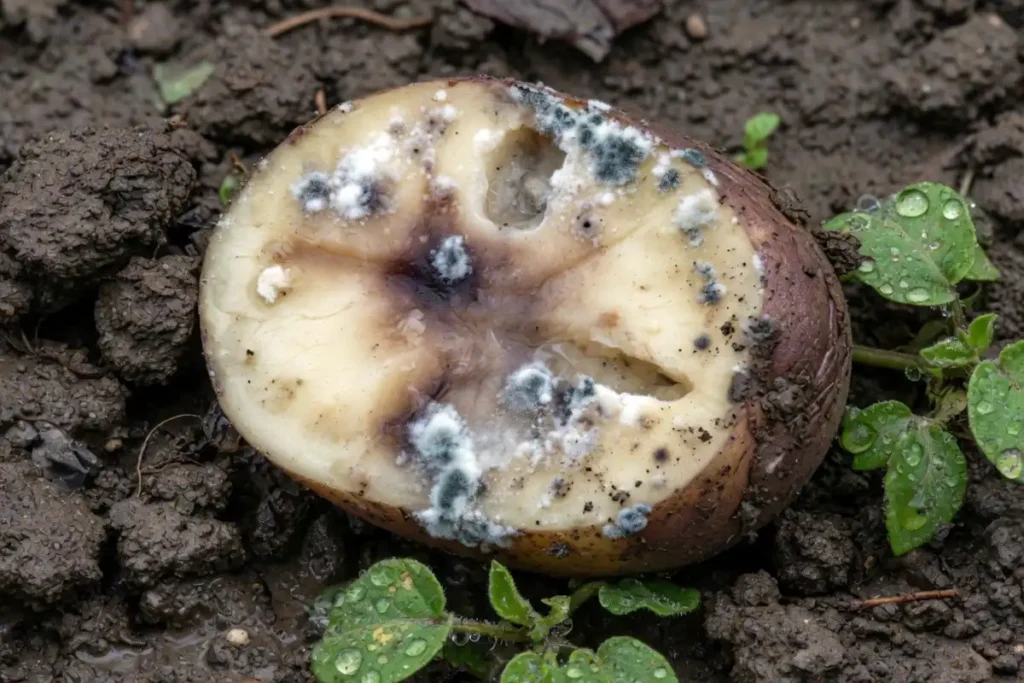
- Planting soft or rotting tubers that spread disease in the soil.
- Using CIPC-treated potatoes without pre-sprouting first.
- Burying pieces deeper than 4 inches in cold, wet ground.
- Skipping the cure step and planting fresh-cut pieces.
- Watering heavily before shoots break the surface.
- Growing potatoes in the same bed two years in a row.
Troubleshooting Common Problems
No sprouts after 4 weeks on the counter. The batch likely received CIPC. Swap to organic potatoes.
Seed pieces rot in the ground. Soil was too cold or too wet. Pull the rest, let soil warm, and replant.
Slow, yellow growth. Check drainage and soil pH. Yellow lower leaves often point to nitrogen loss from heavy rain.
Colorado potato beetles on leaves. Handpick adults and eggs early. Neem oil helps with young larvae.
Green tubers at harvest. Hilling was too shallow. Add more soil next season.
For harvest timing cues, I covered the signals in a separate post on knowing when potatoes are ready to dig.
Safety Notes
Green potatoes and sprouts contain solanine, which is toxic in large amounts. Never eat green-skinned tubers or raw sprouts. Cut away green patches before cooking, or compost them.
Wear gloves if you handle many cut seed pieces, since cut flesh can irritate skin. Wash tools between seed batches to stop disease transfer. Keep children and pets out of freshly planted rows until shoots emerge.
FAQs on Plant Store Bought Potatoes
Can any grocery store potato be planted?
Do I need to cut store bought potatoes before planting?
How long do store bought potatoes take to grow?
Can I plant store bought potatoes in containers?
What if my store bought potatoes never sprout?
Last Notes
Store bought potatoes can absolutely produce a real harvest, but only if the tubers sprout, stay firm, and go into warm, loose soil. Start with organic or unsprayed potatoes, cure cut pieces, plant 4 inches deep, and hill as they grow. A clean bed and patient watering turn kitchen leftovers into a full row of homegrown potatoes.