How to Plant Tomatoes from a Tomato Without Wasting a Single Seed
Plant tomatoes from a tomato by extracting, fermenting, and drying the seeds before sowing them indoors. This guide covers every step from selecting the right fruit to transplanting healthy seedlings into the ground, so you get viable plants without buying seed packets. It applies to home gardeners and small-scale farmers who want to save and regrow tomatoes season after season.
To plant tomatoes from a tomato, cut a ripe heirloom tomato, scoop the seeds into water, and ferment them for 2 to 3 days. Rinse and dry the seeds fully, then sow them 6 to 8 weeks before your last frost date, about 1/4 inch deep in seed-starting mix. Keep the soil at 70 to 80°F. Seedlings emerge in 5 to 10 days. Transplant outdoors after the last frost once plants reach 6 to 8 inches tall.
Does This Method Work with Any Tomato?
No. Seed type determines whether regrown plants produce the same fruit.
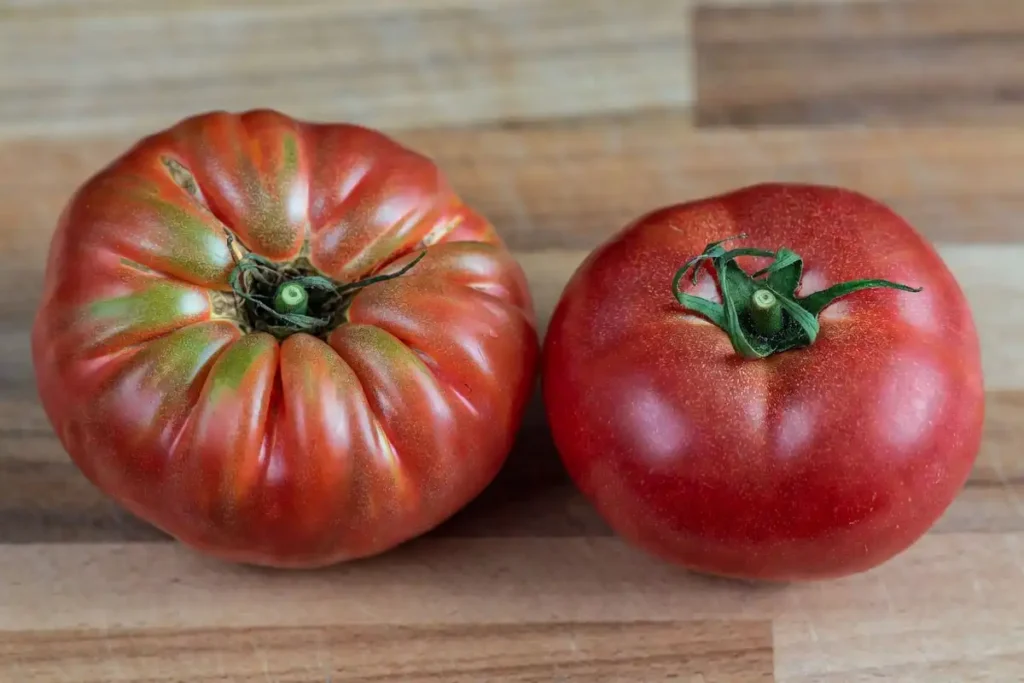
Heirloom tomatoes produce seeds that grow true to the parent plant. Varieties like Brandywine, Cherokee Purple, and San Marzano are reliable choices for seed saving.
Hybrid tomatoes (labeled F1 on packaging) do not grow true from seed. The regrown plant produces fruit that differs from the parent, often with lower quality or unpredictable traits.
Store-bought tomatoes are frequently hybrids. For consistent results, use tomatoes from a known heirloom variety. Learn more about the differences between seed types before selecting your source fruit.
What You Need Before You Start
Gather these items before extracting seeds:
- One fully ripe heirloom tomato (soft, deeply colored, no rot)
- A clean knife and cutting board
- A small glass jar or cup
- Clean water
- Paper towels or a mesh screen for drying
- Seed-starting mix (not garden soil)
- Small pots or seedling trays with drainage holes
- A spray bottle for watering
Know more: How to Replant Tomatoes Right Way: 7 Steps
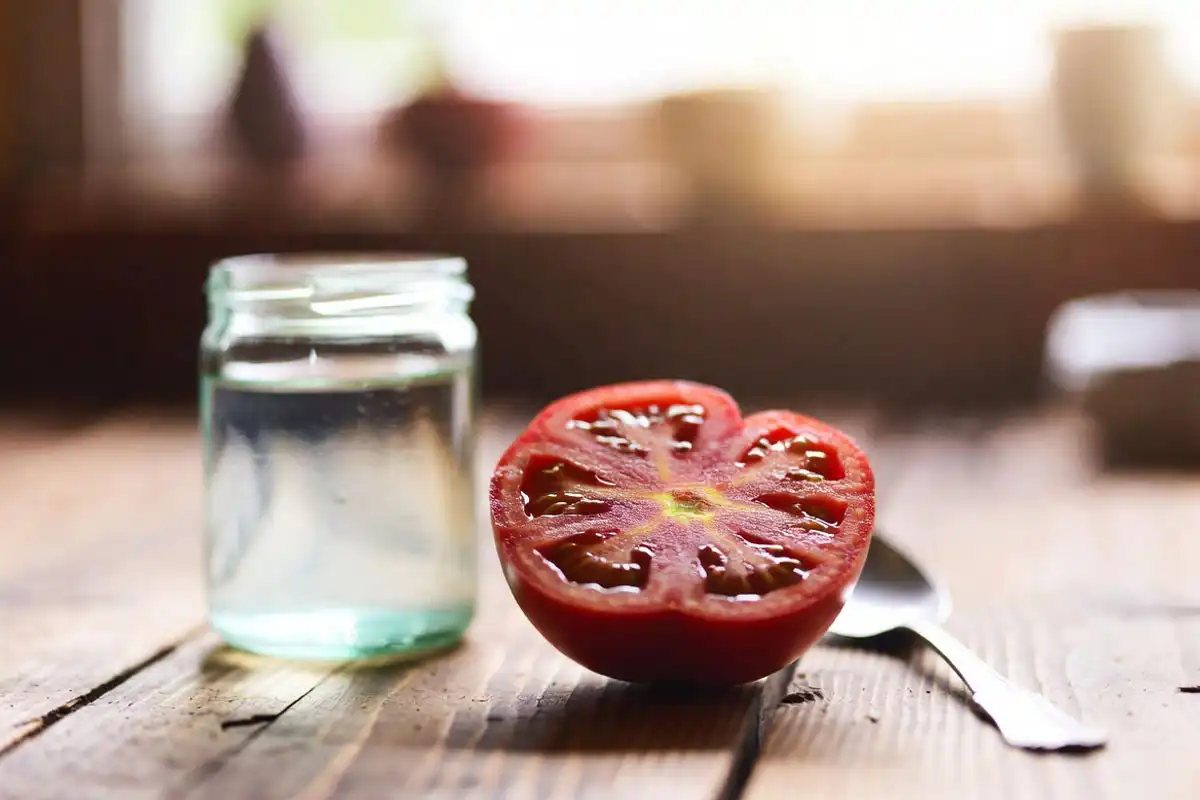
Step 1: Select and Cut the Tomato
Choose a tomato that reached full ripeness on the vine. Soft flesh, deep color, and a strong tomato scent indicate full maturity. Underripe fruit produces seeds with low germination rates.
Cut the tomato in half crosswise (not top to bottom). This exposes the seed cavities directly.
To know more: How to Plant Tomatoes in California for a Good Harvest
Step 2: Extract and Ferment the Seeds
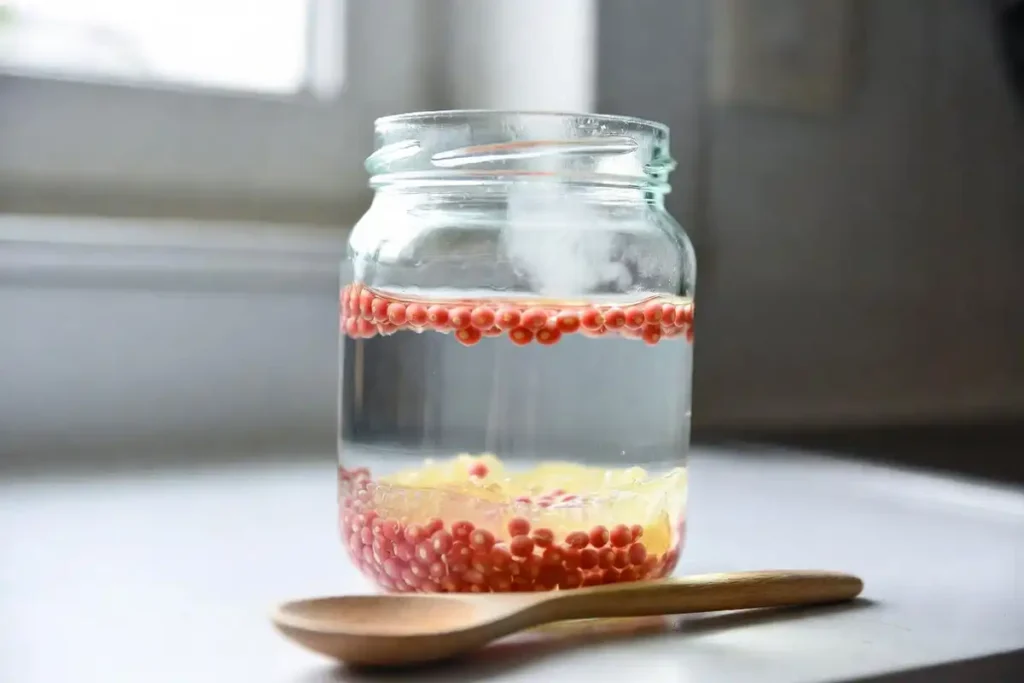
Squeeze or scoop the seed gel into a small jar. Add an equal amount of water and stir.
Leave the jar uncovered at room temperature for 2 to 3 days. During fermentation, a white or gray mold layer forms on the surface. This process breaks down the gel coating that inhibits germination in the soil.
Stir the mixture once per day. Viable seeds sink to the bottom. The gel, mold, and non-viable seeds float to the top.
Why fermentation matters: The gel coat around each seed contains germination inhibitors. Fermenting removes this layer and increases germination success rates. Skipping this step reduces the percentage of seeds that sprout.
Step 3: Rinse and Dry the Seeds
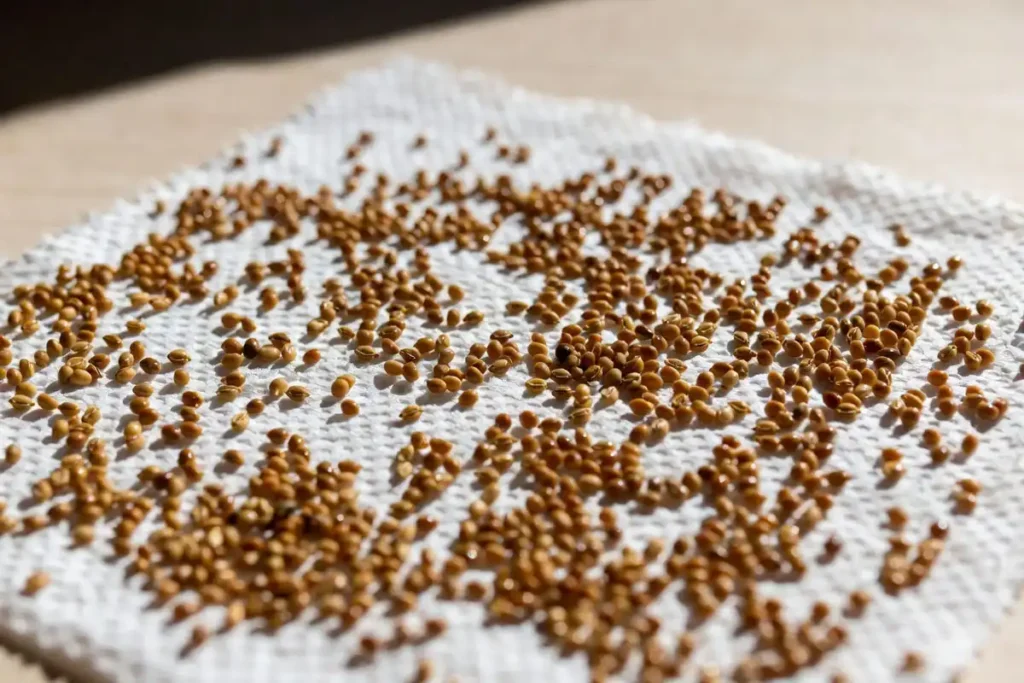
After 2 to 3 days, pour off the floating material and water carefully. Rinse the sunken seeds through a fine mesh strainer under running water for 30 seconds.
Spread the clean seeds in a single layer on a paper towel or mesh screen. Keep them in a dry, well-ventilated area out of direct sunlight.
Allow seeds to dry for 1 to 2 weeks until they no longer stick together or to the surface. Incompletely dried seeds mold during storage and lose viability.
When to Plant Tomato Seeds Indoors
Sow seeds indoors 6 to 8 weeks before your area’s last expected frost date. This timing gives seedlings enough growth before outdoor conditions support transplanting.
For farmers in Kansas and similar central states, indoor sowing falls between late February and early March. Gardeners in warmer climates sow later to avoid transplanting seedlings that outgrow their containers. Check your local tomato planting window to confirm the right start date for your region.
Step 4: Sow the Seeds
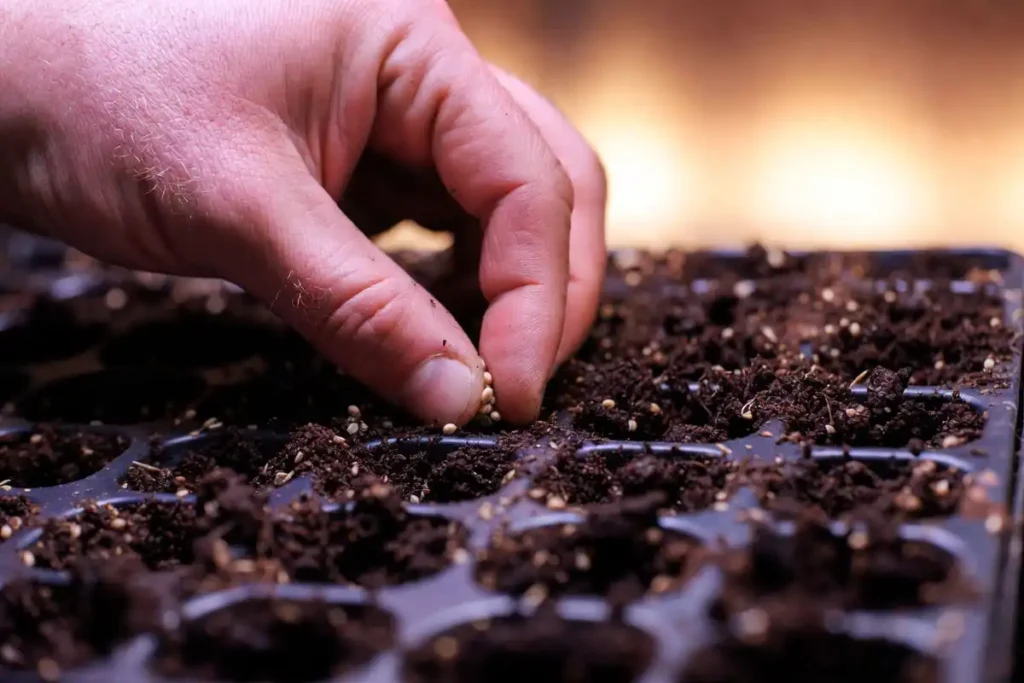
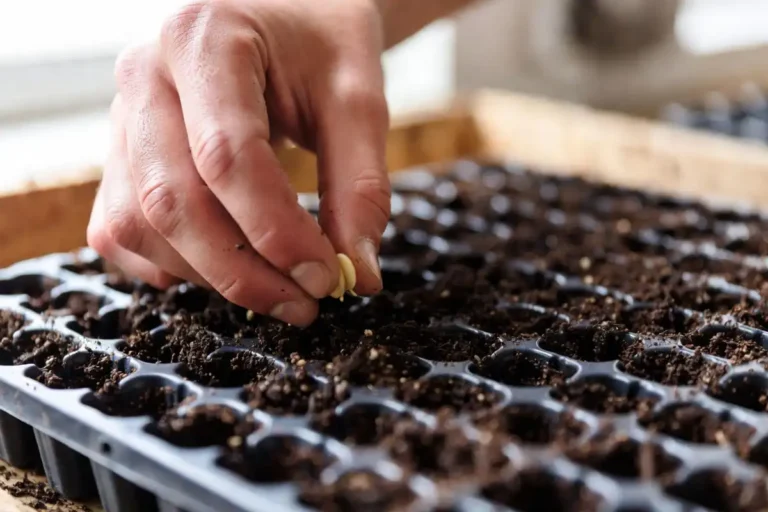
Fill seedling trays or small pots with pre-moistened seed-starting mix. Do not use garden soil indoors; it compacts easily and carries pathogens that attack seedlings.
Place 2 seeds per cell or pot. Sow each seed 1/4 inch deep and cover lightly with mix. Press the surface gently to ensure soil contact.
Label each container with the tomato variety and the sow date. This prevents confusion once multiple seedlings are growing side by side.
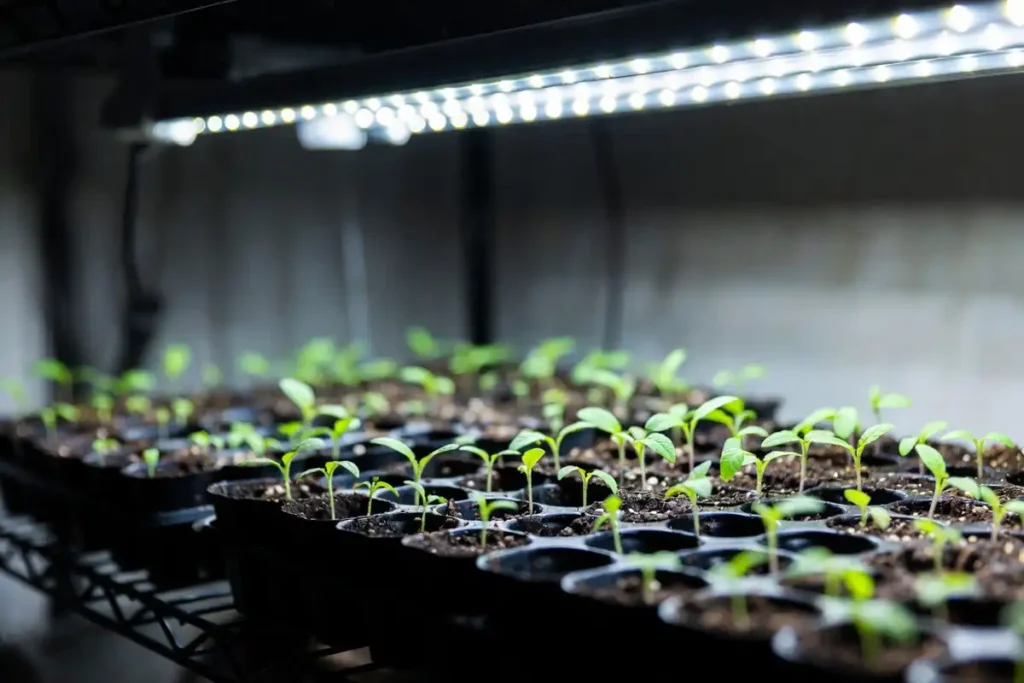
Step 5: Provide the Right Germination Conditions
Tomato seeds germinate best at soil temperatures between 70 and 80°F. A heat mat placed under the trays maintains consistent bottom heat and speeds germination.
Cover trays with a clear plastic dome or plastic wrap to retain moisture. Check daily and mist the surface if it begins to dry out.
Seeds do not require light to germinate. Once sprouts appear, remove the cover immediately and move trays under a grow light or into a bright south-facing window.
Expected germination time: 5 to 10 days under proper conditions.
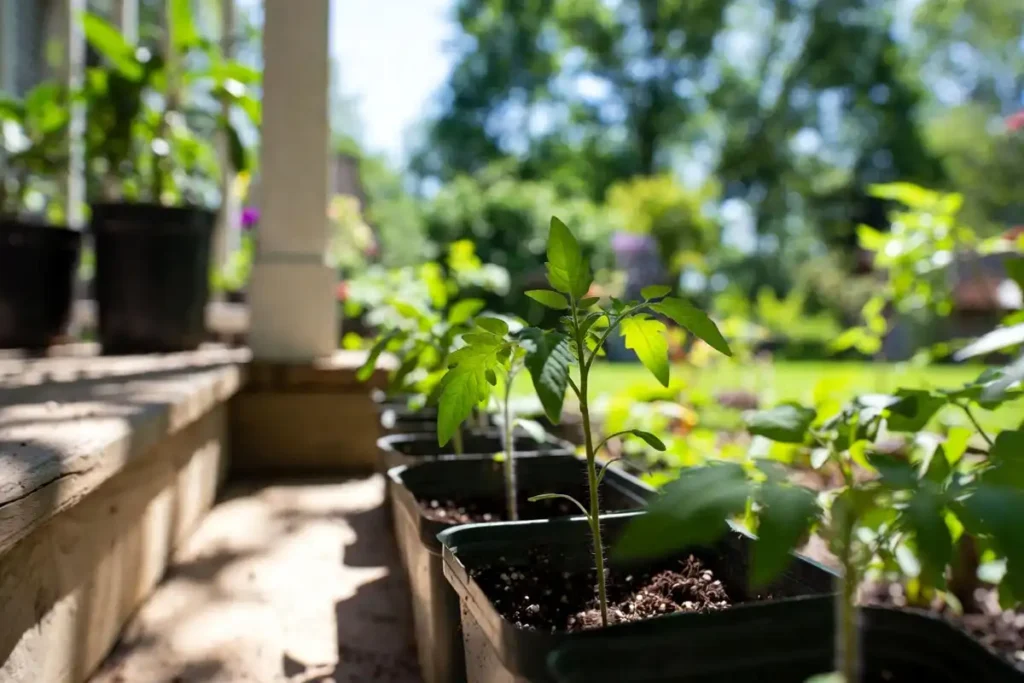
Step 6: Care for Seedlings Indoors
Once seedlings emerge, they need consistent light, temperature, and water.
Light: Provide 14 to 16 hours of light per day using a grow light positioned 2 to 3 inches above the seedlings. Insufficient light causes leggy, weak stems.
Water: Water seedlings when the top 1/2 inch of soil feels dry. Water at the base, not from overhead. Overhead watering creates conditions that favor damping off and early seedling loss.
Temperature: Maintain indoor temperatures between 65 and 75°F during the day. Temperatures below 55°F slow growth significantly.
Thinning: Once seedlings develop their first true leaves, thin each cell to one plant by snipping the weaker seedling at soil level. Pulling it out disturbs the roots of the remaining plant.
Fertilizing: Begin fertilizing at half strength with a balanced liquid fertilizer once seedlings produce their first set of true leaves. Before that point, seed-starting mix provides adequate nutrients.
Step 7: Harden Off Seedlings Before Transplanting
Seedlings grown indoors need a transition period before moving outside. This process is called hardening off.
Start 7 to 10 days before your target transplant date. Set plants outside in a sheltered, partly shaded spot for 1 to 2 hours on the first day. Increase outdoor exposure by 1 to 2 hours each day over the following week.
By day 7 to 10, plants tolerate full sun and outdoor wind without wilting or showing stress. Skipping this step causes transplant shock, which delays growth by 1 to 2 weeks. For a more detailed walkthrough, the guide on hardening off tomato transplants for the field covers each stage clearly.
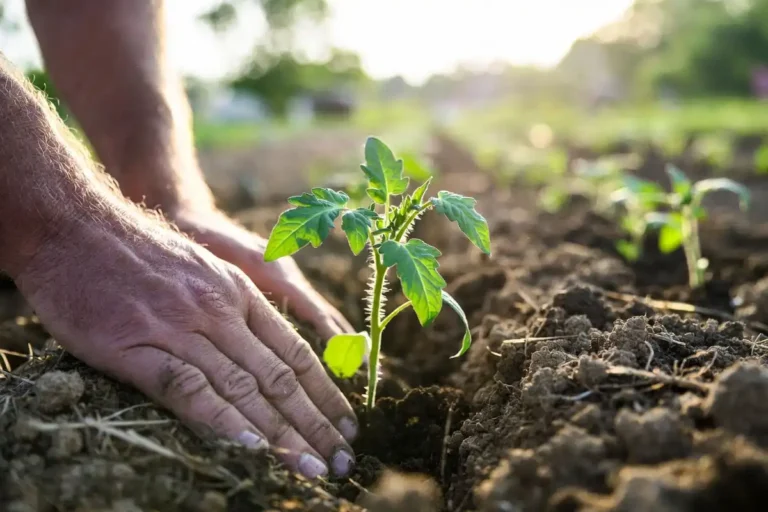
Step 8: Transplant Seedlings Outdoors
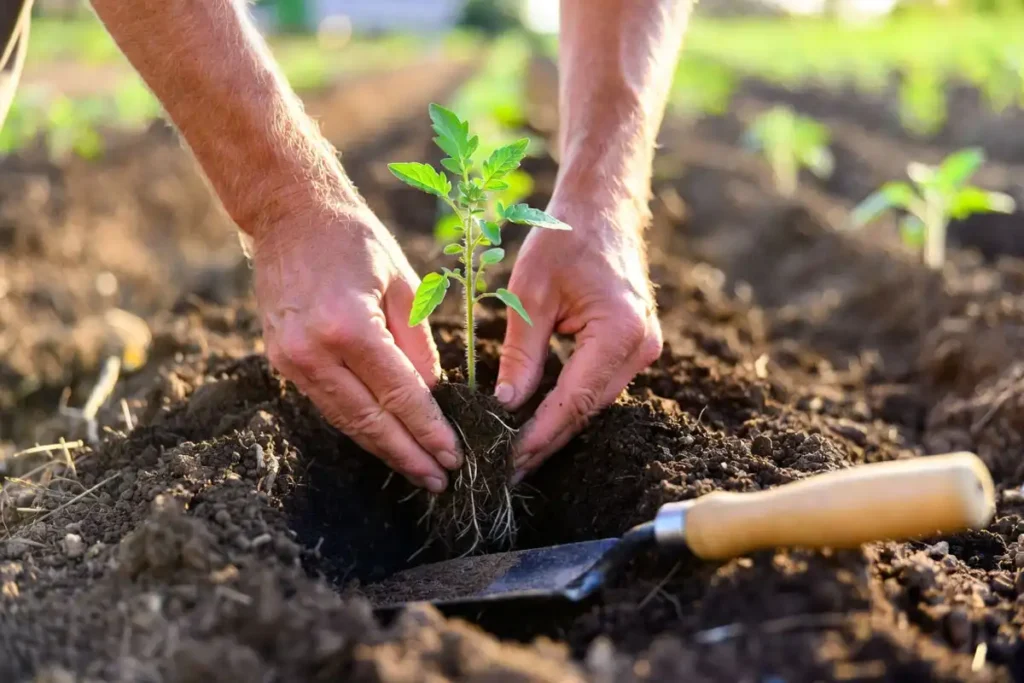
Transplant after the last frost date when nighttime temperatures stay consistently above 50°F.
Choose a site that receives at least 6 to 8 hours of direct sunlight daily. Tomatoes planted in shade produce lower yields and develop more disease pressure.
Dig a hole deep enough to bury the seedling up to its lowest set of leaves. Tomatoes produce roots along their buried stem, which strengthens the plant and improves drought resistance.
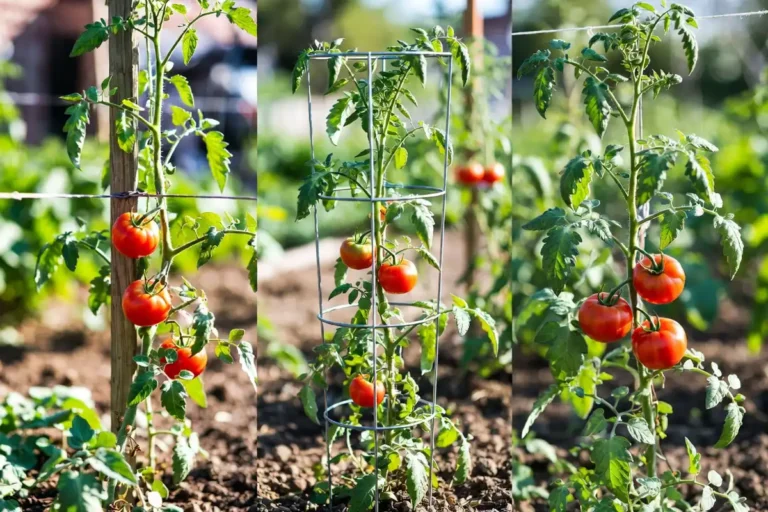
Space plants 18 to 36 inches apart depending on variety. Determinate (bush) types grow more compact; indeterminate (vining) types spread further and need more room. Review spacing and transplanting timing to match your variety and bed size.
Water transplants thoroughly at the base immediately after planting.
Common Problems and How to Fix Them
Seeds do not germinate after 14 days Soil temperature likely stayed below 65°F. Move trays to a warmer location or add a heat mat. Also check seed age; seeds older than 4 years have reduced viability.
Seedlings fall over at the soil line This indicates damping off, a fungal condition caused by overwatering and poor air circulation. Remove affected seedlings immediately. Improve drainage and add a small fan to increase airflow around remaining plants.
Seedlings stretch toward the light The light source sits too far away or runs for too few hours. Lower the grow light to 2 to 3 inches above the canopy and extend the light period to 16 hours per day.
Leaves turn yellow after transplanting Yellow lower leaves after transplanting often signal nitrogen deficiency triggered by root disturbance. Apply a diluted balanced fertilizer. New growth returns to green color within 7 to 10 days.
Fruit from regrown plants looks different The source tomato was a hybrid, not an heirloom. Hybrid seeds do not produce plants identical to the parent. Use only confirmed heirloom varieties for seed saving.
Mistakes to Avoid
Using fruit from a hybrid variety. Hybrid seeds produce inconsistent plants. Confirm the variety is an open-pollinated heirloom before saving seed.
Skipping the fermentation step. Seeds planted without fermenting carry the gel coat, which reduces germination rates and introduces mold into the growing medium.
Planting seeds too early. Seedlings that outgrow their containers before the last frost date become root-bound and stunted. Count back 6 to 8 weeks from your frost date and start then, not before.
Overwatering seedlings. More seedlings die from overwatering than underwatering. Water only when the top layer of soil dries out.
Transplanting before hardening off. Moving seedlings directly from indoors to full sun causes leaf scorch and wilting. Allow the full 7 to 10 day hardening period.
Safety Notes
Wear gloves when handling fertilizers. Concentrated liquid fertilizers cause skin irritation with prolonged contact.
Wash hands after handling tomato plant material. Tomato foliage and stems contain solanine, a mild irritant. Avoid touching eyes or mouth after handling plants and before washing hands.
Do not compost diseased seedlings. Seedlings affected by damping off or other fungal diseases carry pathogens that survive in compost piles. Dispose of them in the trash to prevent spreading the problem to other plants or beds.
Conclusion
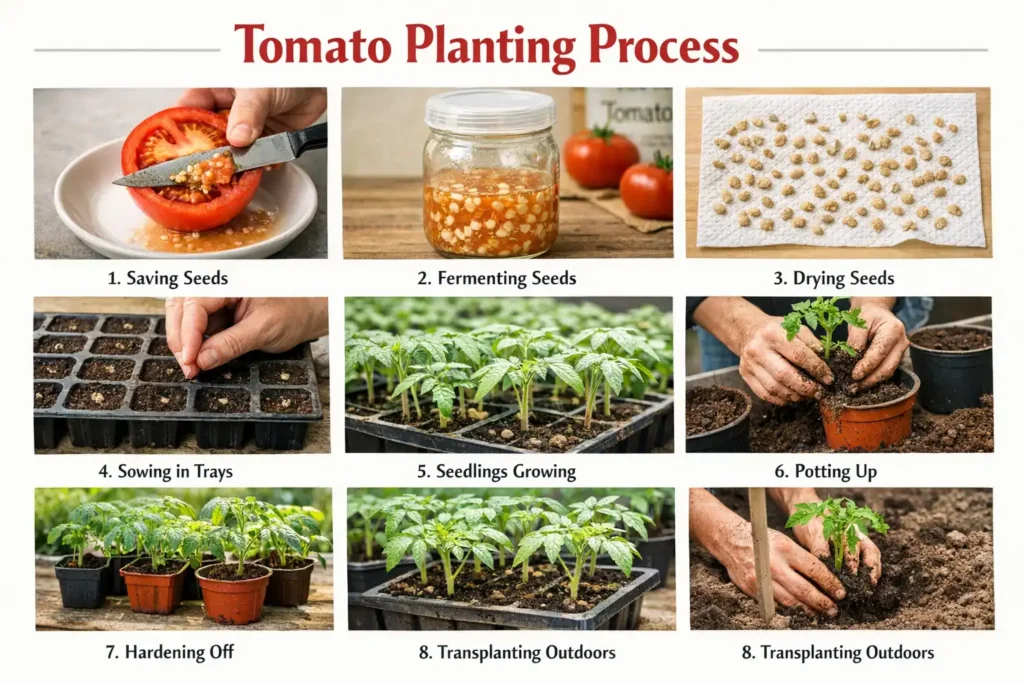
Planting tomatoes from a tomato requires four main stages: fermenting and drying the seed, sowing indoors at the right time, growing strong seedlings with proper light and water, and hardening plants off before transplanting.
Each step builds on the one before it. Using a confirmed heirloom variety and giving seeds the fermentation treatment they need are the two factors that most directly determine whether the whole process succeeds.