What Is the Best Way to Harden off Tomato Transplants for the Field
The best way to harden off tomato transplants is to expose them to outdoor sun, wind, and temperature swings in small daily steps over 7 to 14 days. This guide covers when to start, where to stage plants, a field-ready schedule, simple readiness checks, and fixes for common weather problems so your transplants root fast and keep growing after setting.
Harden off tomato transplants for 7 to 14 days by moving trays outdoors daily, starting in bright shade and adding more sun, breeze, and cooler nights in steps. Keep plants out of freezing weather and avoid exposures below about 45 to 50°F for warm-season crops. Reduce watering frequency without letting plants wilt, and pause heavy fertilizer until after planting.
What Does “Hardening Off” Mean for Tomato Transplants?
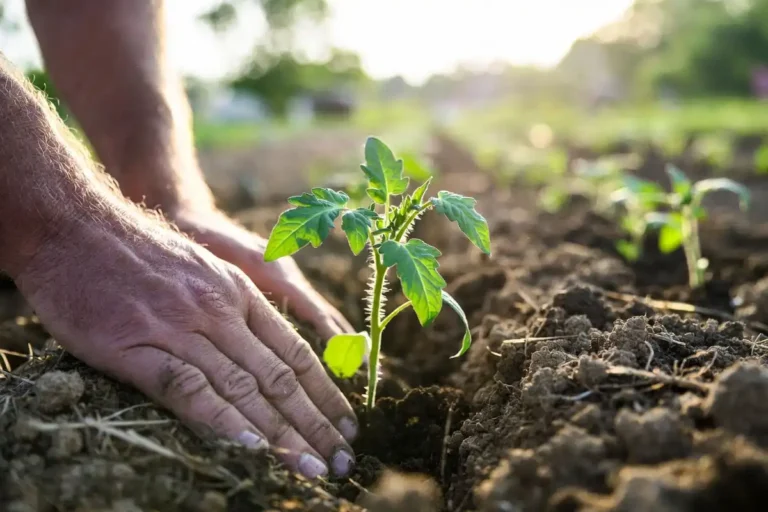
Hardening off is the acclimation process that moves tomato seedlings from protected conditions into open-field conditions. The process reduces transplant shock by training leaves and stems to handle higher light, lower humidity, wind, and cool nights. A gradual transition pushes plants toward firmer growth and stronger establishment.
If you want the bigger picture on why growers pick transplants in the first place, see this breakdown of transplanting compared with direct sowing.
When Do You Start Hardening off Tomatoes for Field Planting?
Start when plants are healthy and close to field size, then work backward from your target planting date.
Use these timing rules:
- Begin 1 to 2 weeks before transplanting.
- Plan around temperature. Keep warm-season crops like tomatoes out of freezing conditions and avoid hardening exposures below about 45 to 50°F.
- Watch the forecast, not the calendar. A cold snap during hardening slows growth and raises risk, so stretch the schedule instead of forcing it.
For region-to-region timing, your crop planting calendar helps you line up seed-start dates and field windows.
Where Is the Best Place to Harden off Tomato Transplants?
Pick a spot that gives outdoor conditions without full punishment on day one.
A good hardening area has:
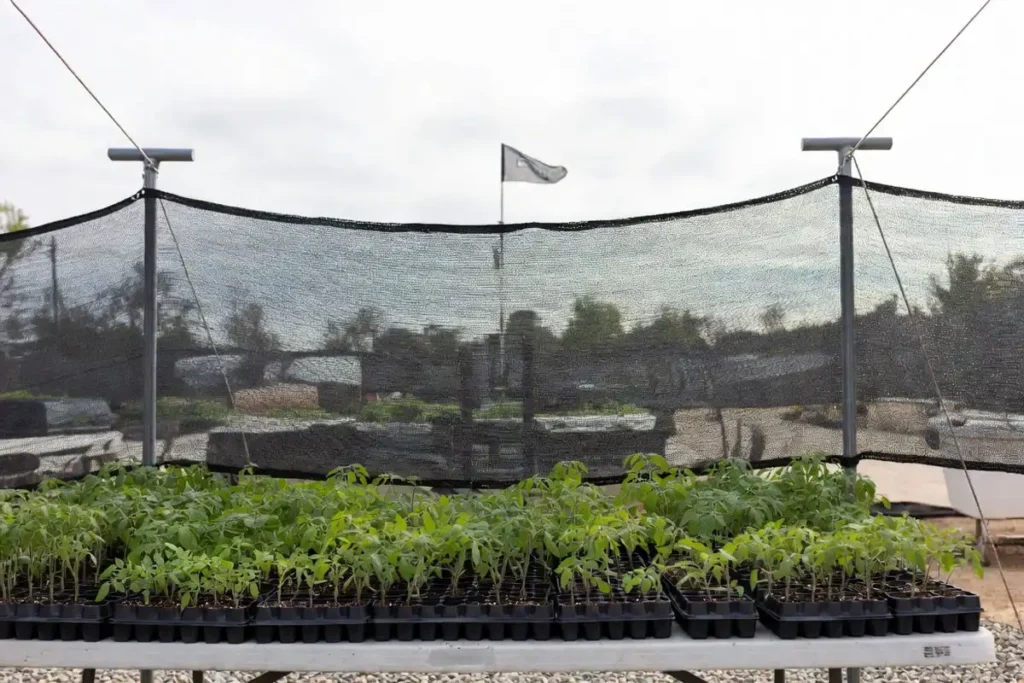
- Bright shade or dappled light the first few days, then access to full sun later.
- Wind protection such as the lee side of a building, a hedge, stacked hay bales, or a shade house. Extension guidance flags wind as a key stressor to avoid early.
- Rain management so trays do not sit in water after a downpour. Use pallets, benches, or gravel.
A cold frame or protected structure also works well for controlled exposure, especially when spring weather flips fast.
How Do You Harden off Tomato Transplants for the Field?
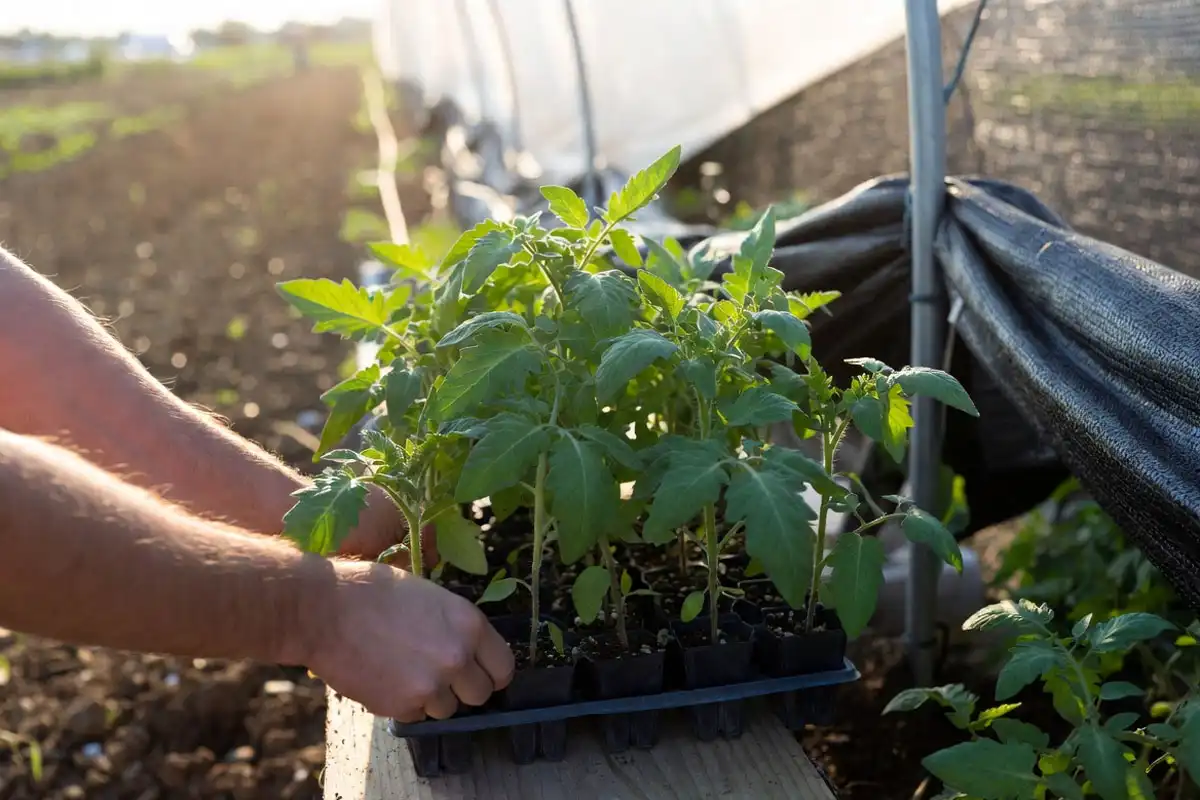
Hardening off works best as a simple routine: stage plants outside, increase exposure, control moisture, then finish with an overnight test when temperatures allow.
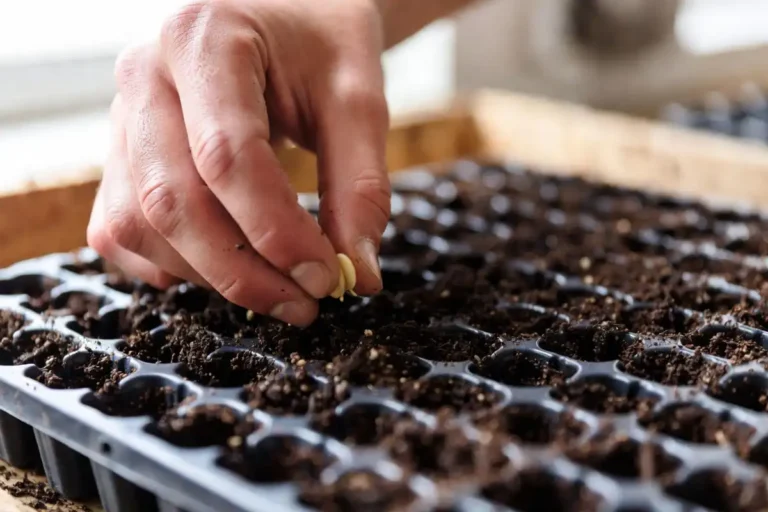
Prep checklist before day 1
Run this checklist the day before you start:
- Fix seedling health problems first. Weak plants harden poorly. If you see stem pinching, algae, or collapse, address it before field exposure. This guide on damping-off and seedling losses helps you confirm causes.
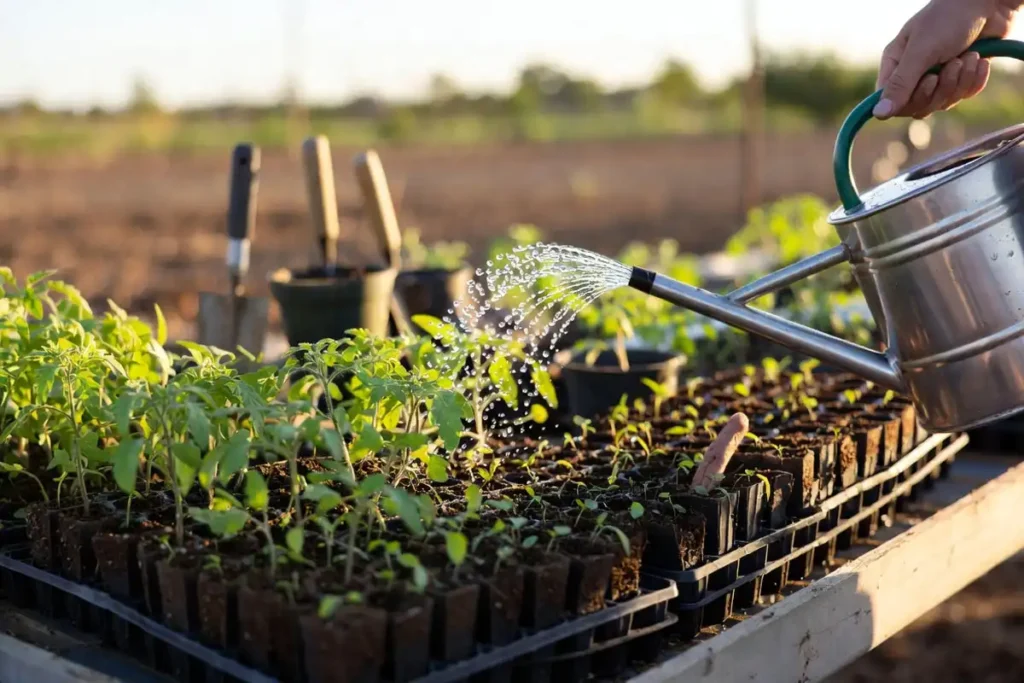
- Water to “evenly moist,” not soggy. Start hardening with a well-watered root ball, then shift to less frequent watering during the process.
- Stop pushing soft growth. Avoid heavy fertilizing during hardening when plants look healthy.
- Label flats by variety and planting block. Mix-ups cost time on planting day.
A field-ready 10-day hardening schedule
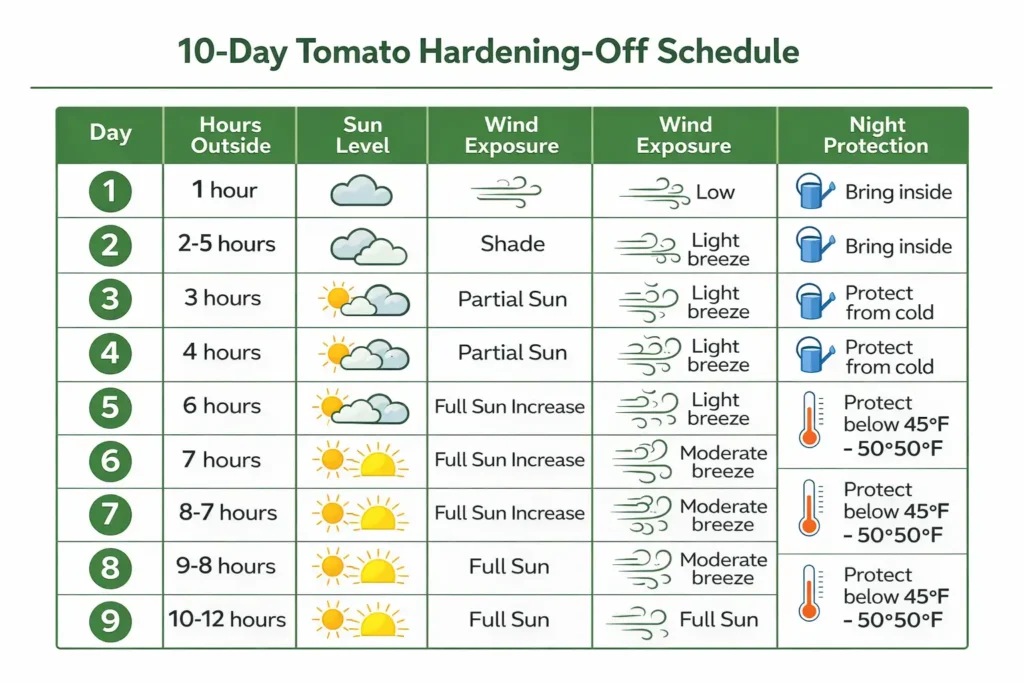
Use this schedule as a practical baseline. Add days when weather turns cold, windy, or stormy.
- Days 1 to 2: Bright shade, short exposure
Set trays outside in a protected spot for 3 to 4 hours during the warmest part of the day, then bring them back under protection. - Days 3 to 4: Longer time outside, introduce gentle sun
Extend outdoor time by a few hours. Shift from full shade into morning sun, then back to shade. - Days 5 to 7: More sun and normal breezes
Increase direct sun time daily. Keep wind protection in place if gusts pick up. Early shade exposure then gradual full sun exposure is a standard extension approach. - Days 8 to 9: Full-day outdoor conditions
Keep plants outdoors most of the day. Manage water closely since wind and sun dry cells fast. Reduce watering frequency, but do not allow wilting. - Day 10: Overnight test when temperatures allow
Leave plants out for 24 hours only when nighttime temperatures look favorable. Extension guidance describes finishing with full outdoor exposure in the last one to two days when nights cooperate.
Temperature guardrail: Keep tomatoes away from freezing conditions and avoid exposures below about 45 to 50°F during hardening.
Watering and nutrition during hardening
- Water less often, not less thoroughly. Let the surface dry slightly between irrigations, then water to re-wet the root zone. Extension recommendations emphasize reducing watering frequency without letting seedlings wilt.
- Pause “growthy” fertilizer. Avoid routine fertilizing during hardening when plants look healthy. Resume nutrition after transplanting once plants re-root and start new growth.
How Do You Know Transplants Are Ready for the Field?
A field-ready tomato transplant shows these signs after completing the hardening schedule.
The stem feels firm and slightly thickened compared to the start of hardening. Leaves show a slightly deeper green color and a waxy or leathery surface texture. The transplant tolerates 8 or more hours of direct outdoor sun without wilting, bleaching, or leaf curl.
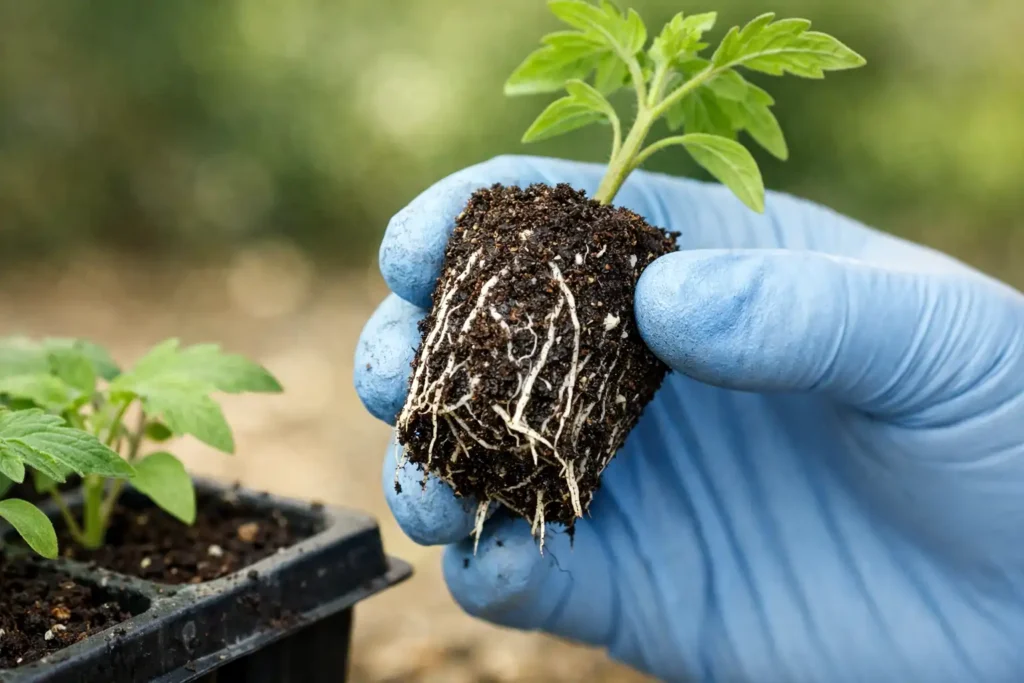
Roots hold the growing media firmly when you lift the transplant from its cell or pot. Loose, crumbly root balls indicate underdeveloped root density and suggest the plant needs more time or a slightly larger container before field placement.
For detailed steps on what comes next, the guide on establish a crop farm covers field preparation and transplanting workflows that apply after hardening.
Solutions for Common Field-Hardening Problems
These fixes keep the process moving when spring weather turns rough.
Cold nights or a late frost advisory
- Move plants back under protection overnight.
- Add days to the schedule instead of forcing the finish.
- Use row cover fabric over trays only when airflow stays adequate and plants do not overheat in sun.
Guidance from multiple extensions flags temperature limits around 45°F for tender seedlings during the process.
Wind that snaps stems or desiccates plugs
- Shift trays behind a windbreak or into a shade house.
- Use pallets and spacing so air moves around trays instead of funneling through stacks.
- Water early in the day so plugs enter wind periods hydrated.
Sun scorch after the first “full sun” day
- Step back one stage for 1 to 2 days.
- Use morning sun only, then shade through peak afternoon intensity.
- Remove any clear plastic covers in sun. Plastic can spike heat fast.
Heavy rain that saturates trays
- Elevate flats on pallets or benches.
- Improve drainage under the staging area.
- Resume hardening after plugs drain and oxygen returns to the root zone.
Troubleshooting: What to Do When Problems Appear
Leaves show white or tan bleached patches. Sunscald from too much direct sun too early. Move trays to shade for 2 days and restart the sun exposure phase more gradually.
Leaves curl upward during outdoor sessions. Wind or heat stress. Reduce outdoor time by 1–2 hours and add a windbreak such as a board or mesh screen.
Stems look thin and floppy after several days outside. Insufficient stem hardening from lack of air movement. Increase exposure to light wind in daily sessions. A small fan set on low indoors can supplement air movement on days when outdoor sessions are not possible.
Yellowing lower leaves appear mid-schedule. Often a watering imbalance or nutrient washout from frequent overhead watering. Switch to bottom watering (setting trays in shallow water for 20 minutes) to reduce nutrient leaching.
Seedlings stop growing during hardening. Normal temporary response to outdoor stress. Growth resumes within 3–5 days as the plant adjusts. If stalling continues past day 10, check for root-bound conditions or disease at the soil line.
Avoid These Hardening-off Mistakes
- Skipping straight from greenhouse to field. Sudden exposure leads to scorch, wilting, and slow establishment.
- Starting on a windy day. Extensions warn against putting tender seedlings out in strong wind or below about 45°F.
- Letting plugs dry to the point of wilt. Reduced watering targets firmer growth, not collapse.
- Fertilizing hard during the process. That pushes soft growth that struggles outside.
- Stacking trays tight. Poor airflow raises disease risk and creates uneven hardening.
Safety Notes for Field Crews and Solo Growers
- Use carts or wagons for large batches. Hand-carrying flats invites back strain and dropped plants.
- Set staging benches level to prevent tip-overs in wind.
- Keep walkways clear of hoses and row cover fabric to reduce trips and falls.
- Wear gloves when handling wire hoops, landscape staples, and row cover edges.
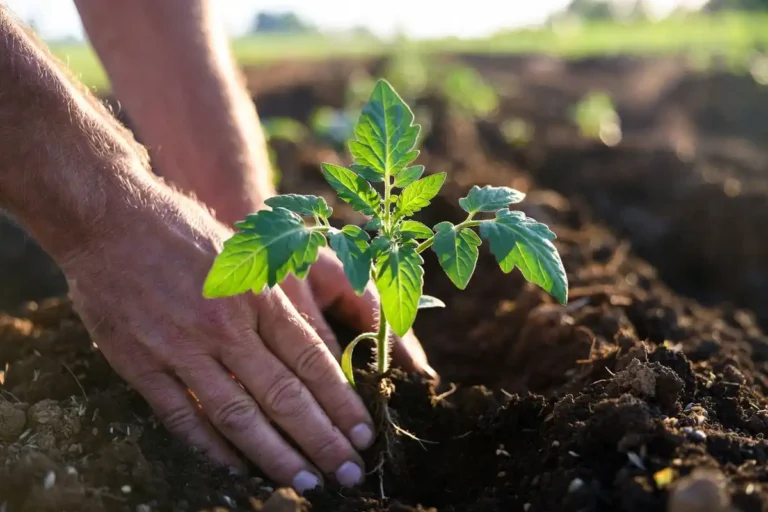
After Hardening Off: Transplanting Practices That Prevent Shock
Hardening off sets the plant up, but transplant day closes the deal.
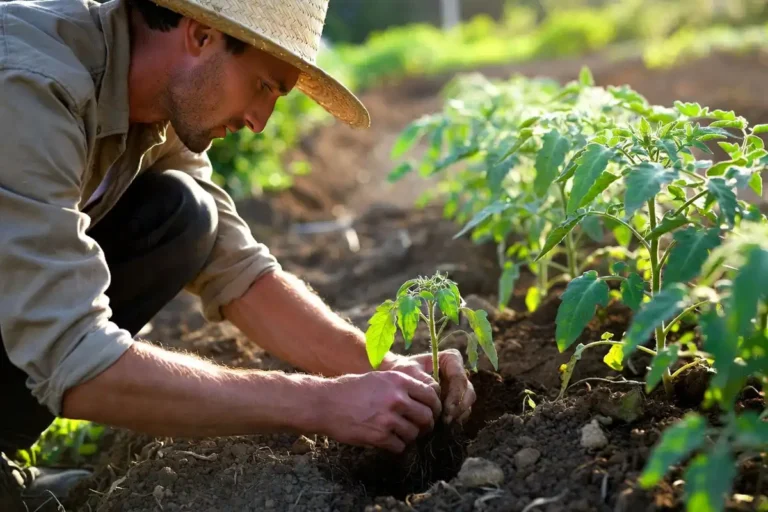
- Prepare the field bed first. Soil structure and fertility drive early root growth. Start with a realistic soil plan using soil testing basics.
- Plant during mild conditions. Cloud cover or morning planting reduces immediate stress.
- Water in right away. Moist soil around the root ball speeds root contact and reduces air gaps.
- Protect moisture after planting. A clean mulch layer reduces surface evaporation and limits weed pressure. Use these mulching practices as a reference.
- Match irrigation to establishment needs. New transplants often need more frequent irrigation until roots spread. This guide on calculating crop water needs helps you plan.
Conclusion
Harden off tomato transplants by moving them outdoors in steps over 7 to 14 days, starting with protected shade and ending with full outdoor exposure when nights cooperate. Keep tomatoes out of freezing weather, avoid hardening exposures below about 45 to 50°F, and manage water so plugs stay moist without constant saturation. When plants hold up through a full outdoor day and recover cleanly by evening, they are ready for the field.