Mulching in Crop Farming: Mistakes to Avoid This Season
Mulching in crop farming is the practice of covering soil with plant material or manufactured covers to control weeds, manage moisture, and protect soil structure. A good mulch plan reduces bare-soil time, keeps rainfall from sealing the surface, and gives seedlings a steadier root zone.
The right mulch also cuts soil splash that spreads disease onto leaves and fruit. This guide walks through mulch types, where each one fits, how to apply it, and what to watch so mulch helps your yield instead of creating pests, nitrogen stress, or cleanup headaches.
What is mulching in crop farming?
Mulching in crop farming is a soil-covering method where a farmer places organic matter, living cover, or a sheet material on the soil surface to change the field environment. The mulch layer blocks sunlight from weed seeds, reduces evaporation from wind and sun, and softens raindrop impact that causes crusting and erosion.
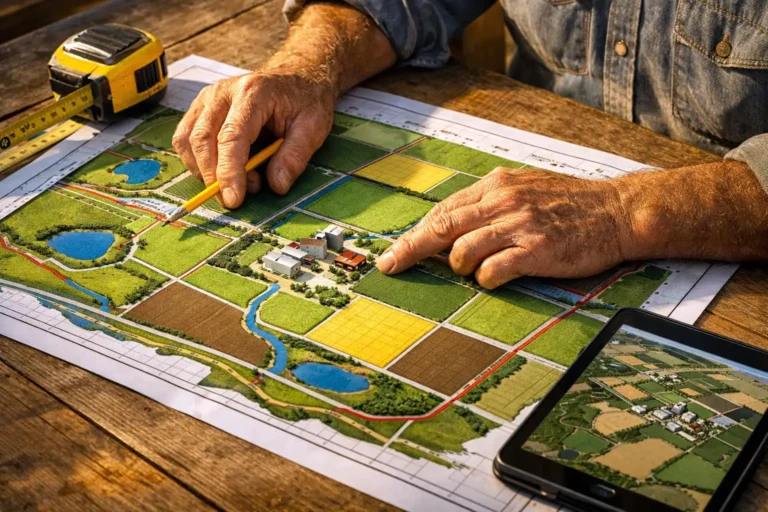
Mulch works best when it matches your layout, so row spacing for crops helps you choose between full-bed coverage, strip mulching, or just mulching the in-row zone without wasting material.
Mulch choices change with crop vigor, so a quick read of hybrid seeds vs heirloom seeds helps you match mulch thickness and early-season soil warmth to how fast your stand will close the canopy.
Why do farmers mulch?
Farmers mulch to protect soil and stabilize crop growing conditions. Mulch reduces weed pressure by shading the germination zone. Mulch slows surface drying so irrigation water stays in the root zone longer. Mulch also reduces soil splash, which lowers leaf spotting and fruit blemishes in crops that sit near the ground.
Mulch usually pays off when it targets one main problem:
- Weed suppression in wide-row vegetables or perennials
- Moisture protection in sandy or wind-exposed fields
- Soil protection on slopes or fields prone to crusting
Mulch works best when you start clean, so keep crop farming cultivation tools handy for a quick pass between rows before you lay mulch and lock in that weed-free head start.
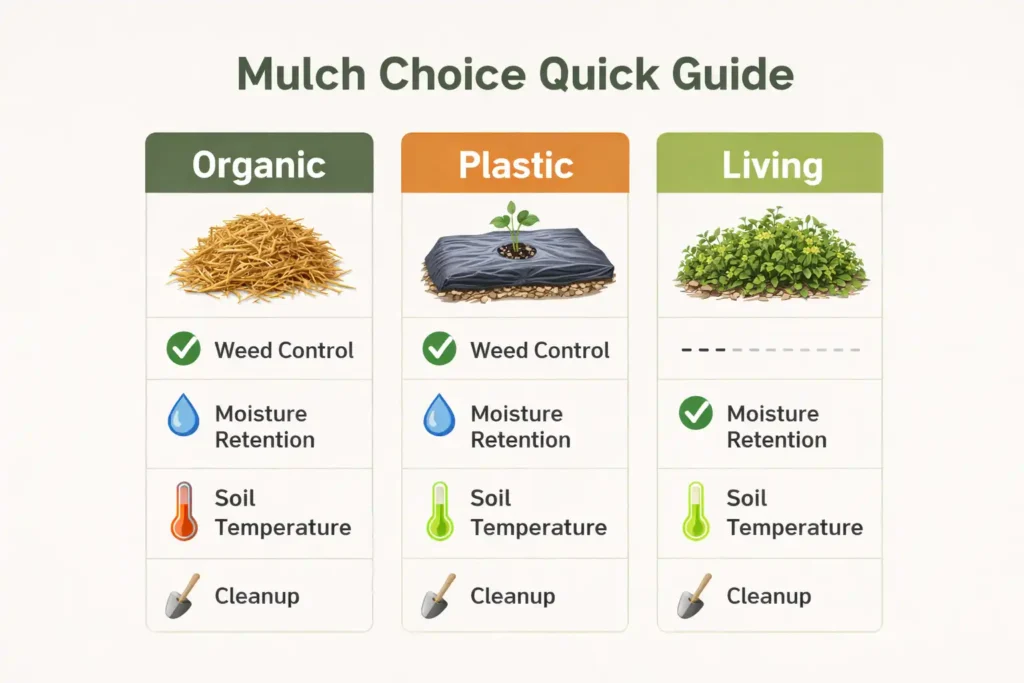
Which mulch types work in crop farming?
Mulch types fall into three working groups: organic mulches, synthetic mulches, and living mulches.
Organic mulches
Organic mulches cover soil with plant-based material that breaks down over time.
Common options:
- Straw or small-grain residue
- Shredded leaves or composted yard material (when clean)
- Grass hay (only when seed-free)
- Wood chips (mainly for orchards, vines, and non-tilled rows)
- Cover crop residue from roller-crimping or mowing
Best fit: soil protection, moisture control, long-term soil organic matter building.
Synthetic mulches
Synthetic mulches use sheet material to block weeds and warm or cool soil.
Common options:
- Black plastic film for weed control and warming
- White-on-black film for cooling in hot periods
- Woven landscape fabric for longer-term rows
- Biodegradable mulch films (performance varies by product and conditions)
Best fit: high-value vegetables, drip irrigation systems, early season warming.
Living mulches
Living mulches use a low-growing plant cover between rows or under a main crop.
Common options:
- Clover in orchards or vineyards
- Managed grass alleyways
- Interseeded covers timed to avoid crop competition
Best fit: erosion control and traffic management, mainly where equipment lanes stay consistent.
How do you choose the right mulch for a field?
You choose the right mulch by matching the mulch to the crop, the irrigation plan, and the biggest limiting factor in that block.
Make these checks before you buy or haul anything:
- Crop growth habit: Low-growing crops need mulch that stays put and stays clean.
- Planting system: Transplants handle thicker organic mulch better than small direct-seeded crops.
- Irrigation method: Drip pairs well with plastic film and with heavy organic layers.
- Wind and slope: Light mulch blows; sheet mulch can lift; steep ground needs anchored residue.
- Pest history: Some mulches create cover for slugs, rodents, or insects.
- Cleanup capacity: Plastic demands removal and disposal planning before installation.
If you do not have recent soil data, start with soil testing and measuring tools so you do not confuse a nutrient issue with a mulch issue later.
How thick should mulch be?
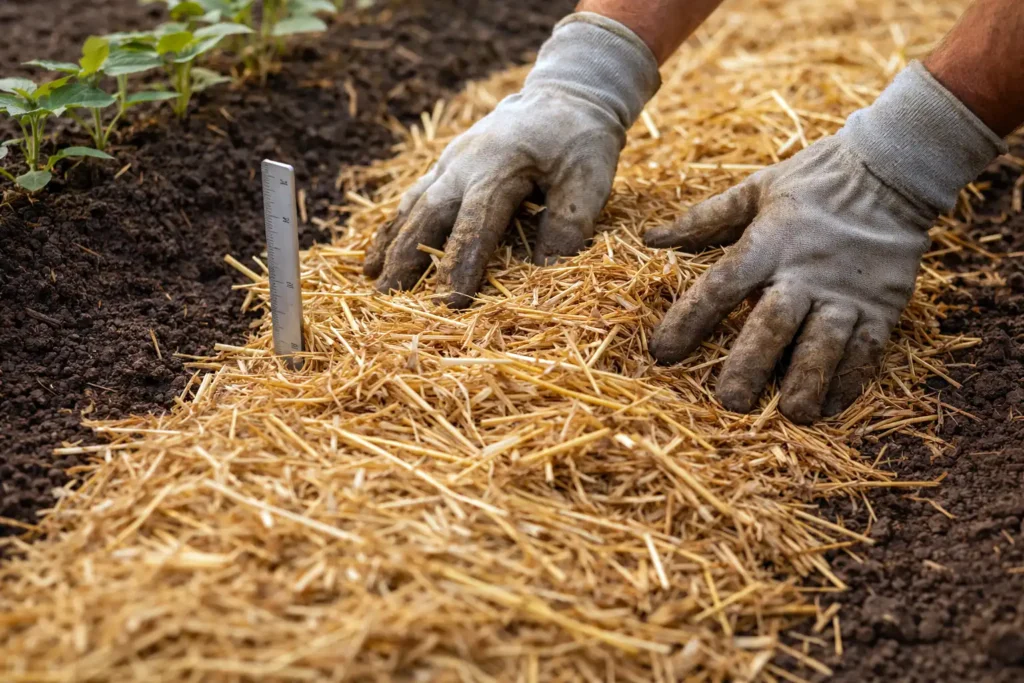
Mulch thickness depends on material, crop, and weather, so the goal is coverage that blocks light without smothering the crop row. In practice, organic mulches often work when spread in a thin to moderate layer that shades soil but still lets water move through. Straw usually needs a deeper layer than compost because straw has more air space.
Two field rules that prevent most problems:
- Keep mulch pulled back from stems and crowns to reduce rot.
- Keep mulch even, not piled, so water infiltration stays uniform.
When should you apply mulch?
Apply mulch when the crop can handle it and when the soil surface is ready to benefit.
Typical timing patterns:
- Direct-seeded crops: wait until seedlings establish and rows are visible, then mulch between rows.
- Transplanted vegetables: mulch soon after transplanting once plants stand upright.
- Plastic mulch: install before planting, then plant through holes.
- Cover crop residue mulch: terminate the cover at the right stage for maximum mat strength, then plant with suitable equipment.
If your main goal is moisture management, align mulching with your watering plan and review irrigation and water management so mulch supports the schedule you can actually run.
How do you prepare the soil before mulching?
Soil prep determines whether mulch works or turns into a mess.
- Control existing weeds first. Mulch blocks new weeds better than it kills established weeds.
- Level the surface. A smooth seedbed prevents air gaps under plastic and prevents organic mulch from sliding.
- Fix compaction before coverage. Mulch hides problems; it does not remove them.
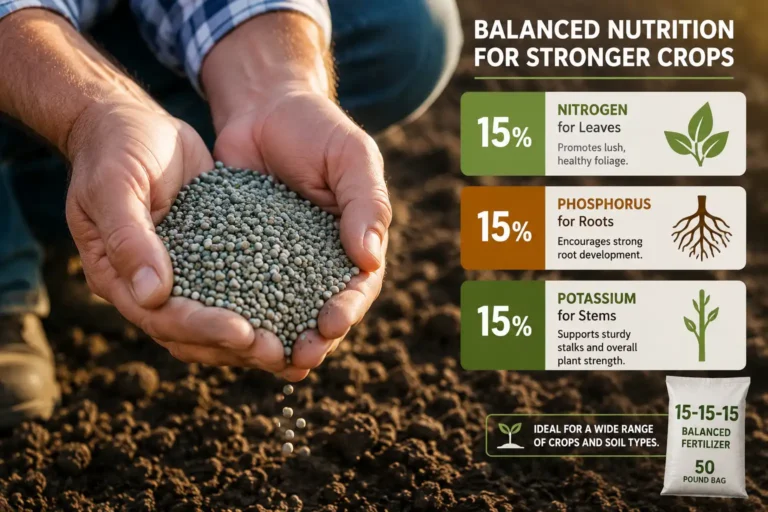
- Apply fertilizers and amendments with intention. Many nutrients need incorporation or placement near roots before you cover the soil.
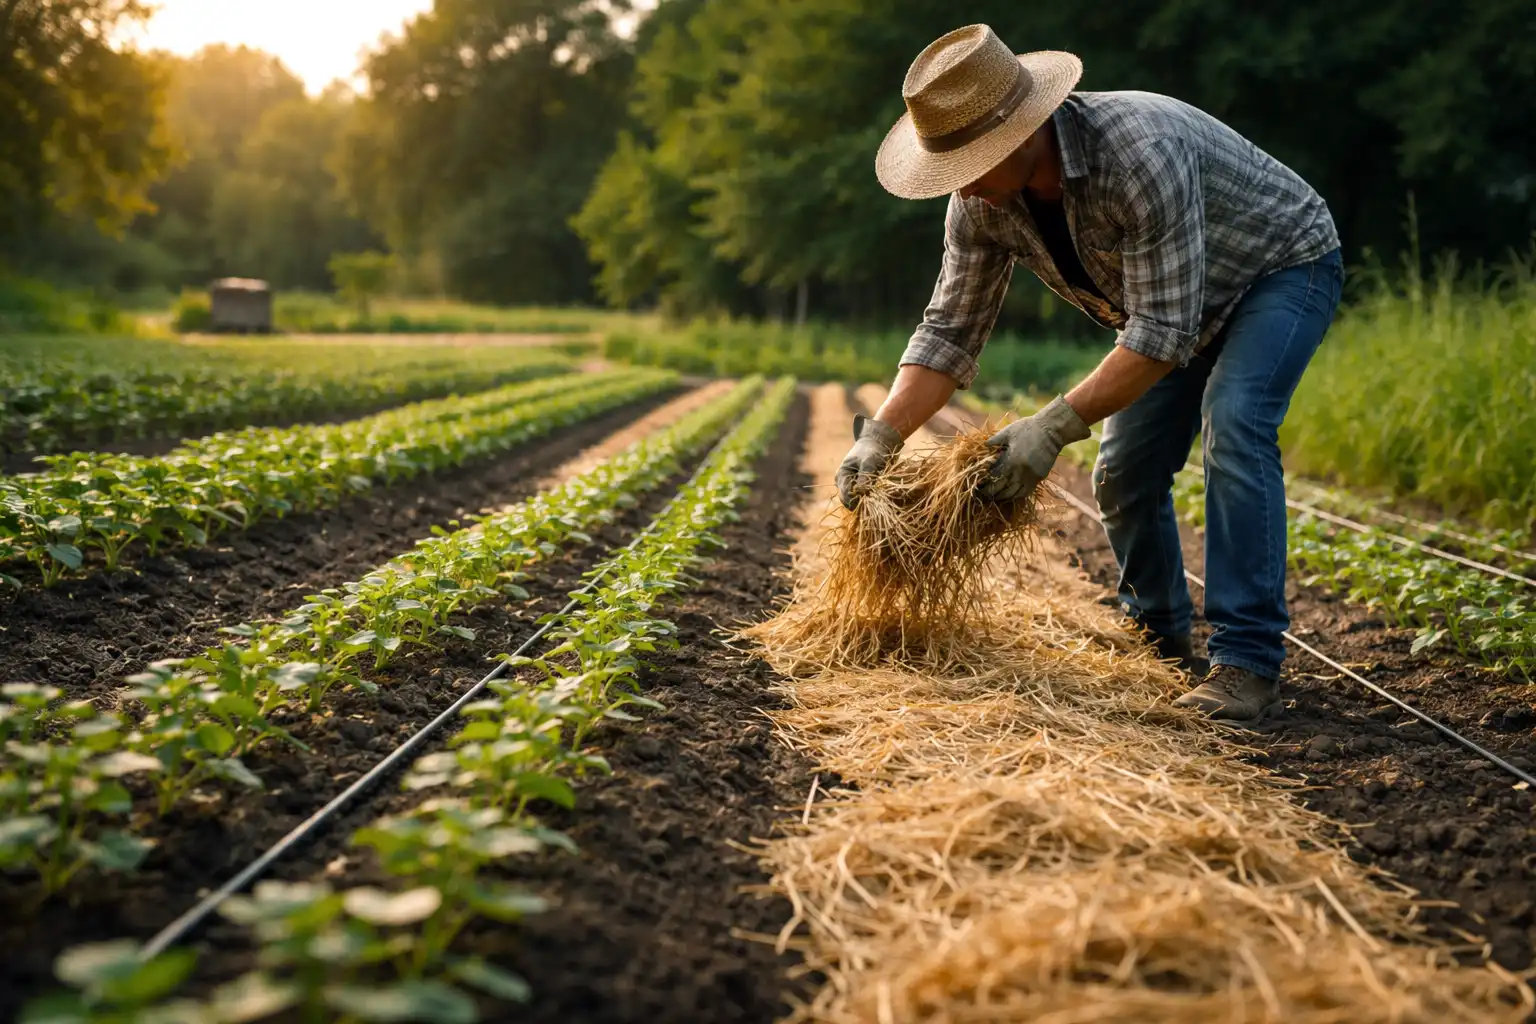
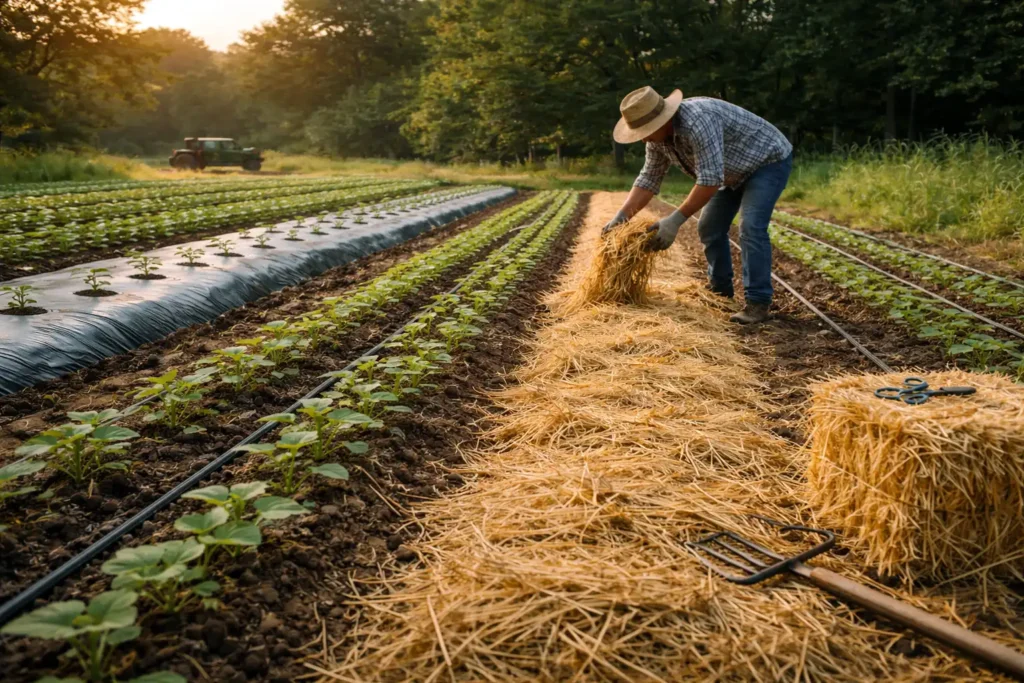
How do you apply organic mulch without hurting the crop?
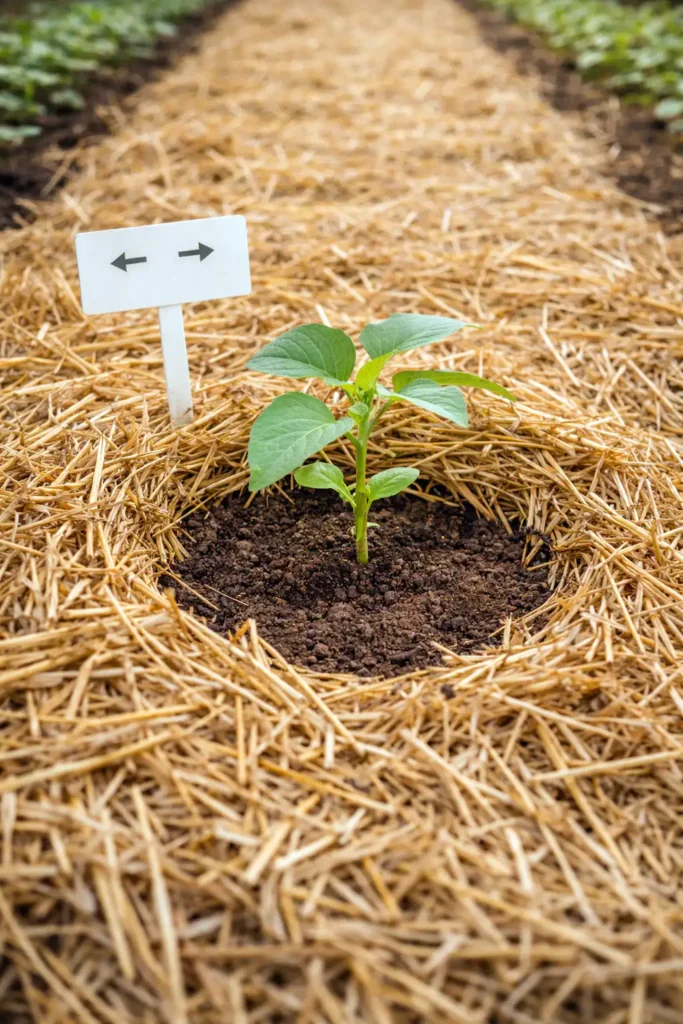
Organic mulch application succeeds when you protect the crop row and keep the layer consistent.
- Start with clean material. Avoid hay full of seedheads and avoid manure-contaminated straw.
- Place mulch after the crop stands. Young seedlings lose light and warmth fast.
- Keep stems dry. Pull mulch back around the base of plants to prevent crown rot.
- Anchor light mulch in wind. Wetting the layer or mixing heavier material can reduce blowouts.
- Maintain access for cultivation or harvest. Leave walking alleys and irrigation access points.
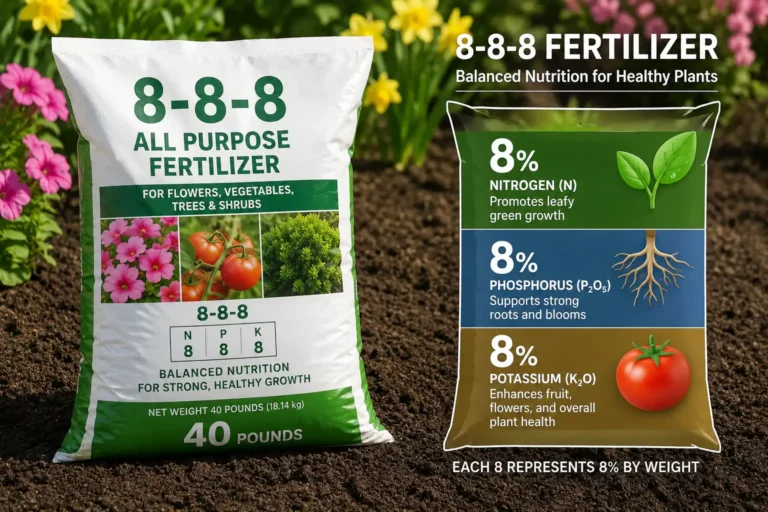
How does mulch affect nitrogen and fertilizer performance?
Mulch changes how nutrients cycle in the topsoil because microbes feed on carbon-rich material and can tie up available nitrogen during breakdown. Straw and fresh residues push this effect more than composted materials. A field shows nitrogen tie-up as slow early growth and pale color even when moisture stays steady.
Practical ways farmers manage this:
- Place nitrogen near the crop row where roots access it first.
- Use composted mulch when early growth is the limiting factor.
- Monitor crop color and growth and adjust sidedress timing with your normal fertility plan.
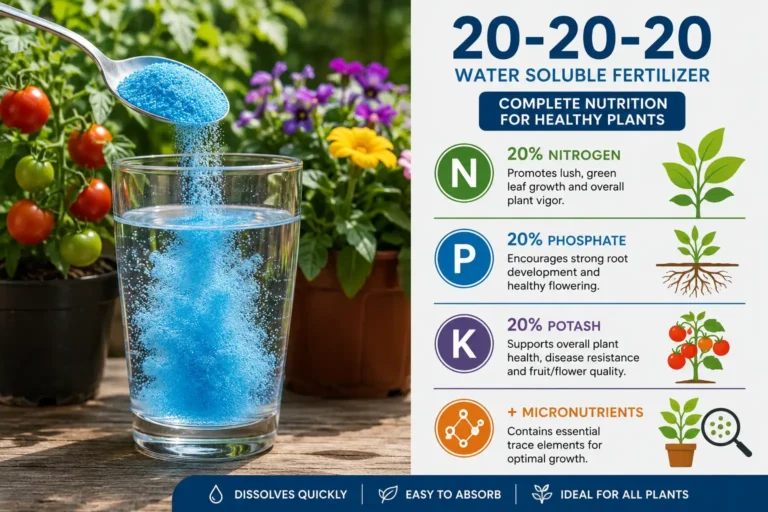
For a fertilizer system that matches your crop stage, keep your base approach consistent with soil fertility practices.
Does mulch reduce weeds?
Mulch reduces weeds by blocking light at the soil surface and by forming a physical barrier that weak seedlings cannot push through. Weed control improves when the mulch layer is continuous and when weed seed sources stay low around the field edges.
Mulch control is strongest on small-seeded annual weeds. Perennials with rhizomes and tubers still push through, so mulching works best as part of a broader plan that includes your normal weed control program.
How does mulch change irrigation needs?
Mulch reduces evaporation and keeps surface temperatures steadier, so the field often holds moisture longer between irrigations. That benefit gets larger on sandy soils and in wind. Plastic film also sheds rainfall away from the bed top, so drip placement and run time matter more with plastic than with straw.
Check these in mulched fields:
- Soil moisture under the mulch, not on top of it
- Drip line flow and clogging
- Wetting pattern width, especially in raised beds
What pest and disease issues can mulch create?

Mulch can increase pest pressure when it creates cool, wet hiding cover near the crop row.
Common field problems:
- Slugs and snails: show up under dense, damp organic layers.
- Rodents: use thick mulch as travel lanes, especially near field edges.
- Crown and stem rots: increase when mulch touches stems and stays wet.
- Certain insects: increase when mulch shelters them during the day.
If disease pressure is a concern, keep your scouting and action thresholds aligned with your usual pest and disease management.
How do you manage plastic mulch correctly?
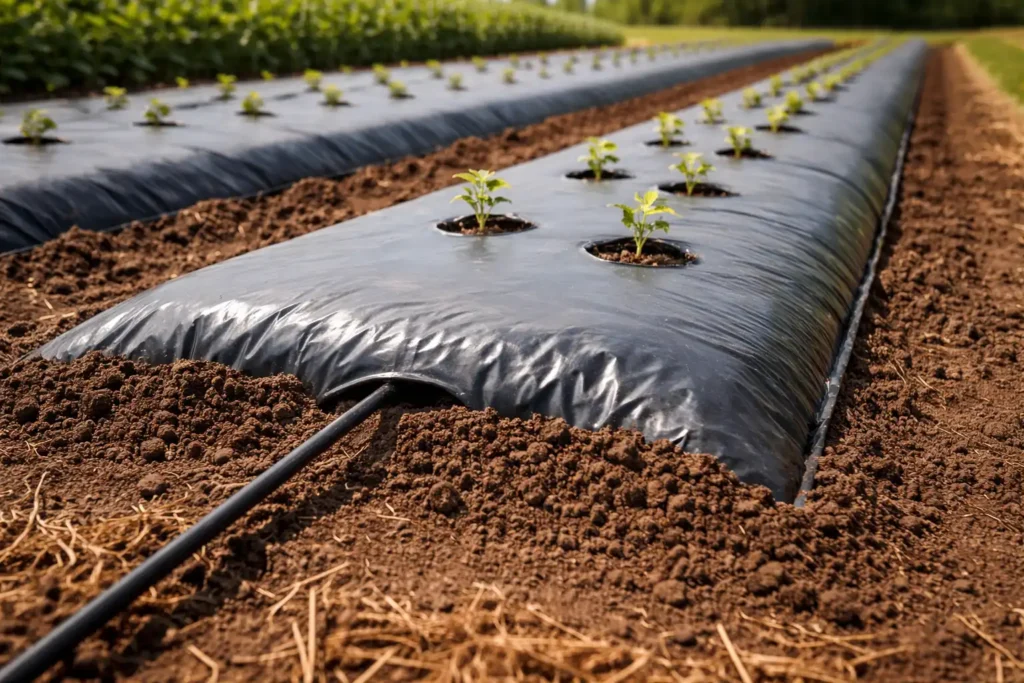
Plastic mulch works when installation is tight and water delivery is planned.
Install plastic with these priorities:
- Tight contact with soil to prevent flapping and heat loss
- Drip tape installed before laying film and tested for leaks
- Edges buried well to resist wind lift
- Plant holes sized to the transplant, not oversized
End-of-season planning matters:
- Pull plastic before it shreds into small pieces.
- Keep removal tools ready and schedule labor early.
- Use collection and disposal options that match local rules.
Is biodegradable mulch worth using?
Biodegradable mulch can reduce removal labor when it breaks down as designed, but performance depends on film type, soil conditions, moisture, and temperature. Some films break down slowly in cool regions, and some lose strength early in wet heat. A farm treats biodegradable film like a field trial first, not like a full-farm switch.
What equipment helps with mulching?
Mulching gets easier when tools match the scale of the farm.
Useful equipment options:
- Straw blower or mulch spreader for even coverage
- Bed shaper and plastic mulch layer for film systems
- Drip tape installer and pressure regulation for uniform watering
- Wheel hoes or between-row cultivators for early weed control before mulching
When you handle film, staples, knives, and tensioned plastic, protect your hands and eyes with basic farm safety and PPE.
Crop-specific mulching notes
Vegetables
Vegetables respond well to mulch when weed pressure and soil splash limit quality. Tomatoes and cucurbits often benefit from cleaner fruit and steadier moisture. Direct-seeded carrots and onions need more caution because heavy mulch can reduce emergence and slow soil warming.
If you grow fresh-market crops, compare mulch fit across your vegetable crop guides.
Grains and broad-acre crops
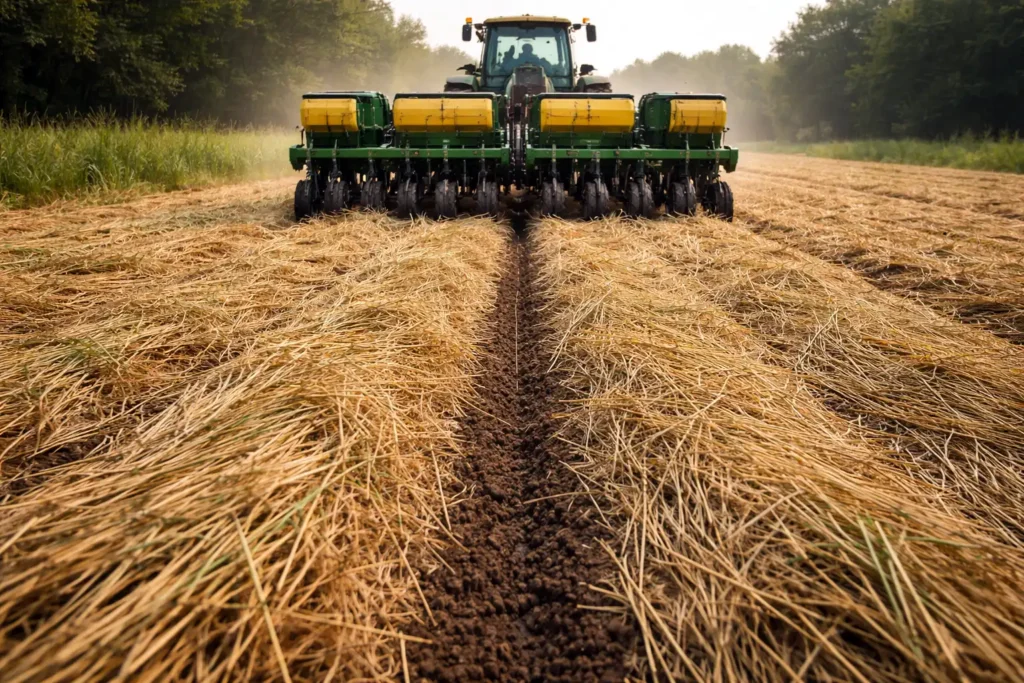
Broad-acre systems use residue management and cover crop mats more than hauled-in mulch. The “mulch” is often crop residue left on the surface to protect soil and reduce erosion. These systems depend on planter setup, residue distribution, and weed control timing.
Orchards and vineyards
Perennials use wood chips, shredded bark, or managed living covers to protect soil and reduce mowing dust. Keep mulch away from trunks to reduce rodent girdling and trunk disease.
Troubleshooting: what to do when mulch causes problems
Problem: weeds grow through the mulch.
Cause: thin spots, wind displacement, or established weeds at application.
Fix: patch thin areas, control weeds before mulching, and tighten coverage near edges.
Problem: crop looks pale and slow.
Cause: cool soil, nitrogen tie-up, or saturated root zone.
Fix: check moisture under mulch, adjust fertility placement, and reduce mulch contact with the row.
Problem: slugs increase.
Cause: damp organic cover near the crop base.
Fix: open the canopy around plants, pull mulch back, and scout at dawn and after irrigation.
Problem: plastic lifts in wind.
Cause: poor edge burial or loose bed shape.
Fix: re-bury edges, tighten film during installation, and repair tears early.
Common mistakes farmers make with mulching
- Using hay that contains weed seed and spreading a future weed bank
- Mulching too early on direct-seeded crops and reducing emergence
- Packing mulch against stems and creating rot problems
- Installing plastic without confirming drip performance
- Skipping an end-of-season removal plan for film and row materials
FAQs about Mulching in Crop Farming
Does mulching replace herbicides or cultivation?
Can mulch reduce fertilizer needs?
Does mulch increase yield?
Final Words
Mulching is a field tool that protects soil, cuts weed pressure, and steadies moisture when the material matches the crop and the system. The best mulch jobs start with clean ground, correct timing, and a clear plan for irrigation, fertility, and cleanup. Treat mulch like any other input: apply it with purpose, scout the results, and adjust the method to your soil, weather, and labor capacity.