Crop Farming Basics: 8 Essential Checks Before You Plant
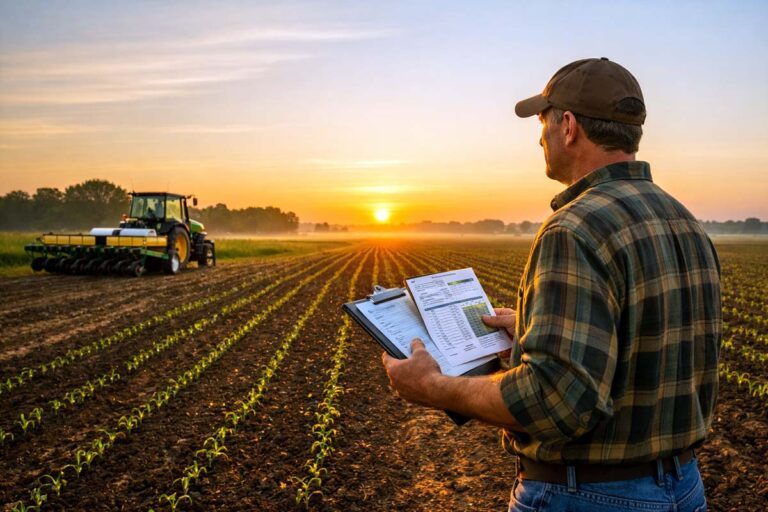
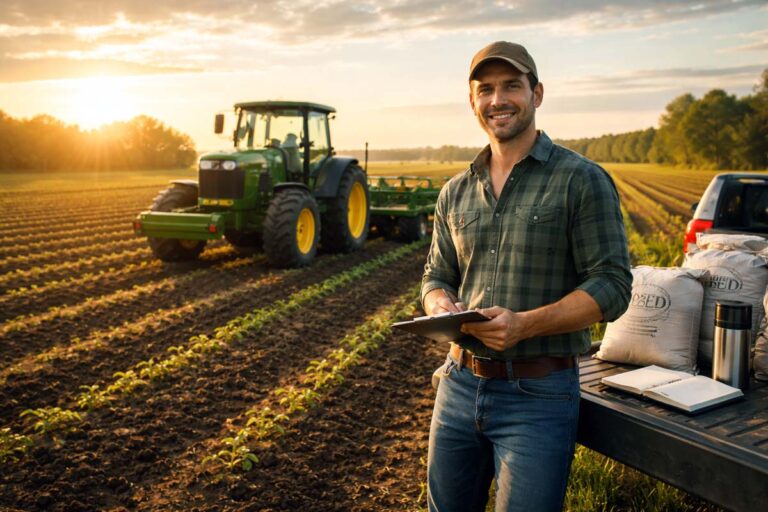
Crop farming basics start with 3 choices you control: the crop, the field, and the schedule. A good beginner plan matches crop needs to your soil, water access, and local market. Then you build yield with steady execution: a firm seedbed, correct planting depth, balanced fertility, timely weed control, and regular scouting. This guide walks through the full crop cycle in plain terms so you can make clean decisions before money hits the ground and problems get expensive.
What are crop farming basics?
Crop farming basics are the core actions that turn seed into a marketable harvest: planning, soil prep, planting, water management, fertility, weed and pest control, harvest, and storage. Each step protects stand count, root growth, and grain or fruit quality. A beginner gets farther by managing timing and field conditions than by chasing “magic” products.
Crop farming practices works because plants respond to consistent inputs. Soil anchors roots and stores water. Sunlight drives photosynthesis. Nutrients build leaves, stems, grain, and fruit. Your job is simple on paper: remove limits that block growth. The hard part is doing it on time.
A practical beginner definition helps: crop farming is planned plant production on a field scale, using tools and management to produce food, feed, fiber, or fuel.
Learn more: Choose Crops for Farming in 6 Field-Tested Ways
How does a crop move from plan to harvest?
A crop moves from plan to harvest through a repeatable chain: pick the crop, prep the field, plant on time, protect the stand, feed the plant, manage weeds, then harvest at the right maturity. Each link supports the next link. A weak start forces expensive “rescue” decisions later.
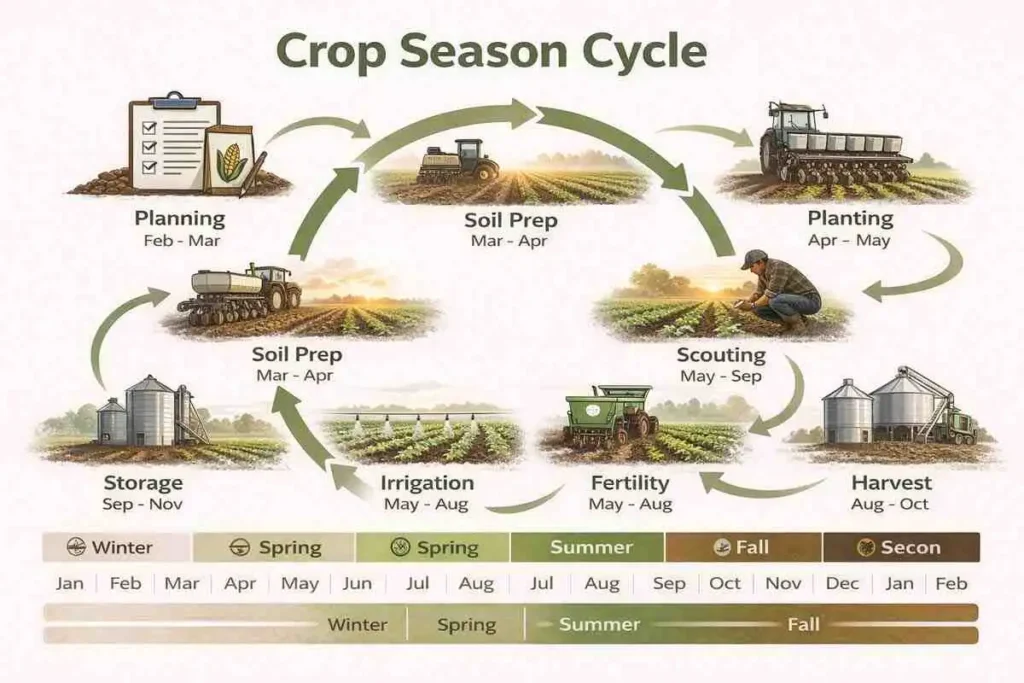
Most crop seasons follow the same field rhythm:
- Pre-season planning: crop choice, rotation, inputs, equipment readiness
- Field prep: residue management, tillage or no-till setup, fertility baseline
- Planting window: seed quality, depth, spacing, stand establishment
- In-season management: water, nutrients, weeds, insects, disease, scouting
- Harvest and handling: timing, moisture management, storage protection
If you are still building your overall setup, use a step-by-step planning approach like this guide on understanding how to start a crop farm.
See more: Farm Layout Planning: 7 Safety-First Checkpoints
How do you pick a crop that fits your land and your buyer?
You pick a crop by matching 4 realities: climate, soil limits, water availability, and the buyer’s demand. A beginner improves odds by choosing crops with known local performance and reliable outlets. The best “starter” crop is the one you can plant, weed, and harvest on time with your equipment.
Make your decision using clear filters instead of hope:
- Climate fit: heat units, frost risk, rainfall pattern, wind exposure
- Soil fit: drainage, texture, compaction risk, salinity risk, pH trend
- Labor and equipment fit: planting tools, cultivation tools, harvest capacity
- Market fit: contract option, elevator access, direct-sale demand, storage needs
Crop types also behave differently. Grains and cereals often tolerate wider planting windows and store well. Vegetables can return more per acre but demand tighter timing and cleaner weed control. Legumes fix nitrogen in partnership with soil bacteria, but they still need balanced fertility and good weed management.
If you want examples by category, browse the site’s crop guides and compare requirements across grains, legumes, vegetables, and root crops.
What soil conditions help crops grow well?
Soil helps crops grow when it holds roots, stores water, exchanges nutrients, and drains excess water after storms. A productive field balances 5 soil factors: texture, structure, organic matter, pH, and drainage. Those factors control emergence, root depth, and nutrient availability.
Start with what you can observe before you spend money:
- Drainage: ponding after rain signals compaction or grade problems
- Structure: crumbly aggregates signal oxygen and root pathways
- Compaction: hard layers block roots and reduce water infiltration
- Residue cover: surface cover reduces erosion and evaporation
- Biology: earthworms and stable aggregates signal active soil life
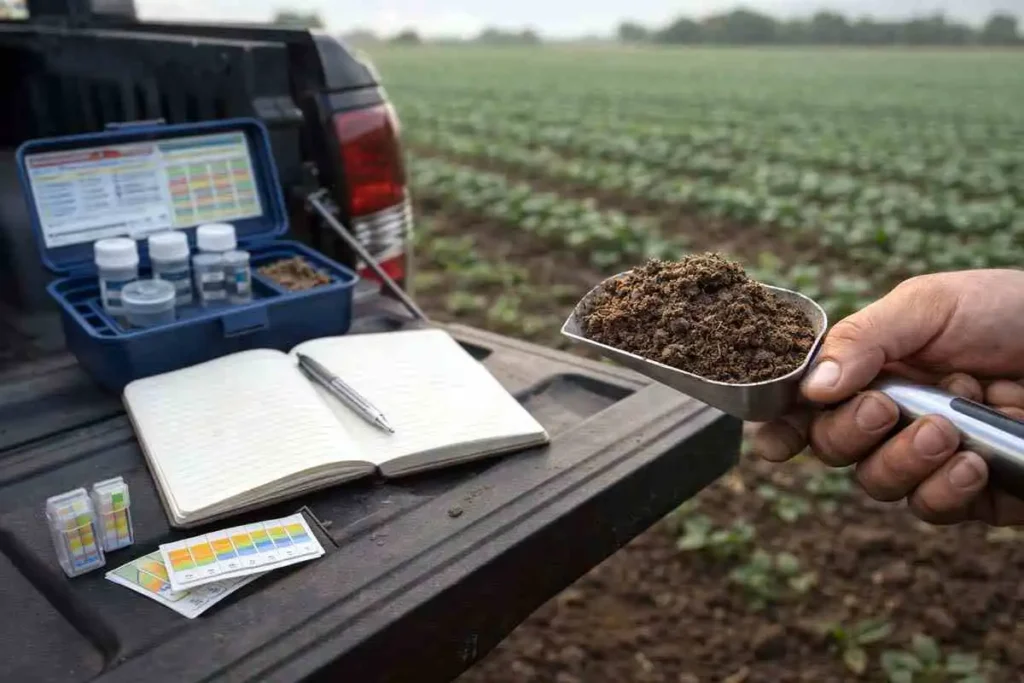
Soil testing turns guesses into decisions. A soil test guides lime needs, phosphorus and potassium plans, and micronutrient corrections. If you need a simple place to start, this section on soil fertility practices lays out the main levers growers manage.
How do you prepare a field for planting?
You prepare a field by creating a uniform seed zone: firm below, loose above, and free of large clods and heavy residue piles. Uniform conditions produce uniform emergence. Uniform emergence produces uniform maturity. And uniform maturity protects harvest quality.
Field prep looks different in till and no-till systems, but the goal stays steady.
In a tilled system, growers manage residue, break compaction carefully, then finish with a level, firm seedbed. In a no-till system, growers manage residue distribution, control weeds before planting, and protect soil structure by limiting traffic when soil is wet.
If you are building a new site from scratch, land layout matters as much as seedbed quality. This guide on way to establish a crop farm helps you think through access, field shape, and workflow.
How do you plant and seed correctly?
You plant correctly when the seed lands at the right depth in consistent moisture and makes fast root contact with soil. Good planting protects stand count and early vigor. Early vigor helps the crop compete with weeds and handle short dry spells.
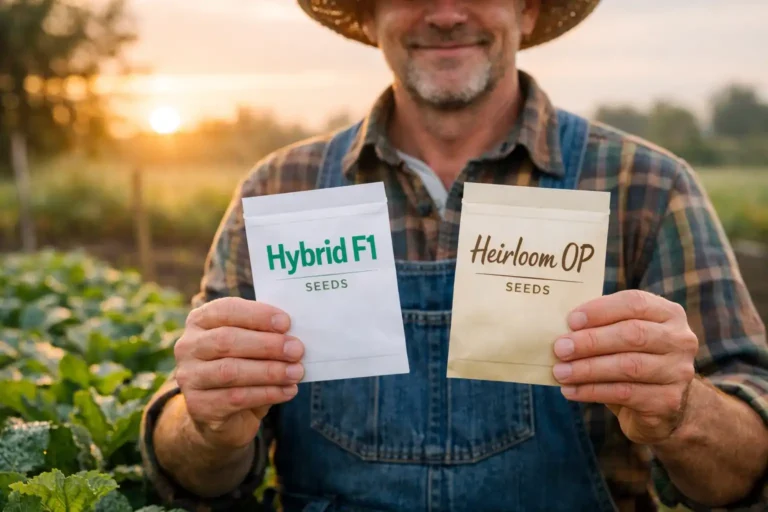
Three planting basics do most of the work:
- Seed quality: clean seed, strong germination, and treated seed when risk justifies it
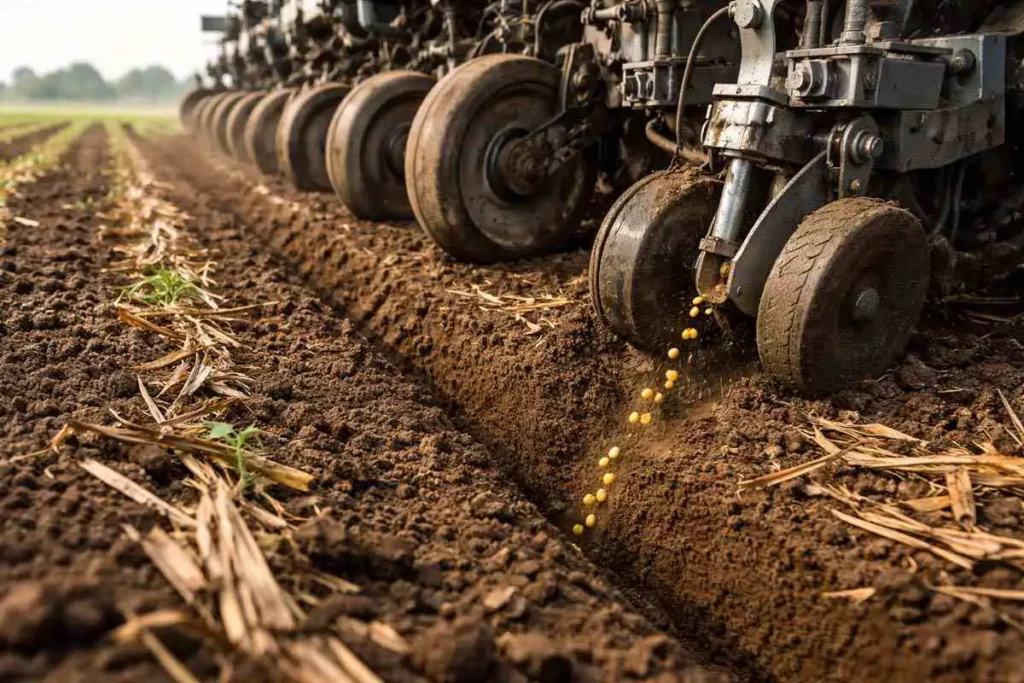
- Seed placement: steady depth, firm closing, and consistent spacing
- Planting timing: soil temperature and field trafficability over calendar dates
Planting tools decide placement. A well-maintained planter or drill places seed evenly, closes the trench, and controls depth row to row. If you want a clean overview of gear that affects stand, see planting and seeding tools.
For a deeper explanation of what goes into the ground and why it matters, this guide on know what farmers sow to make plants grow covers seed.
How do you manage water and irrigation in a simple way?
You manage water by keeping the root zone moist enough for steady growth and dry enough for oxygen. Roots need water and air at the same time. Overwatering can stunt roots and increase disease pressure. Underwatering reduces leaf area and lowers yield potential.
A beginner water plan uses 3 checks:
- Soil check: dig and feel moisture in the top root zone
- Crop check: watch leaf posture, color, and midday recovery
- Weather check: track rain totals and heat-driven demand
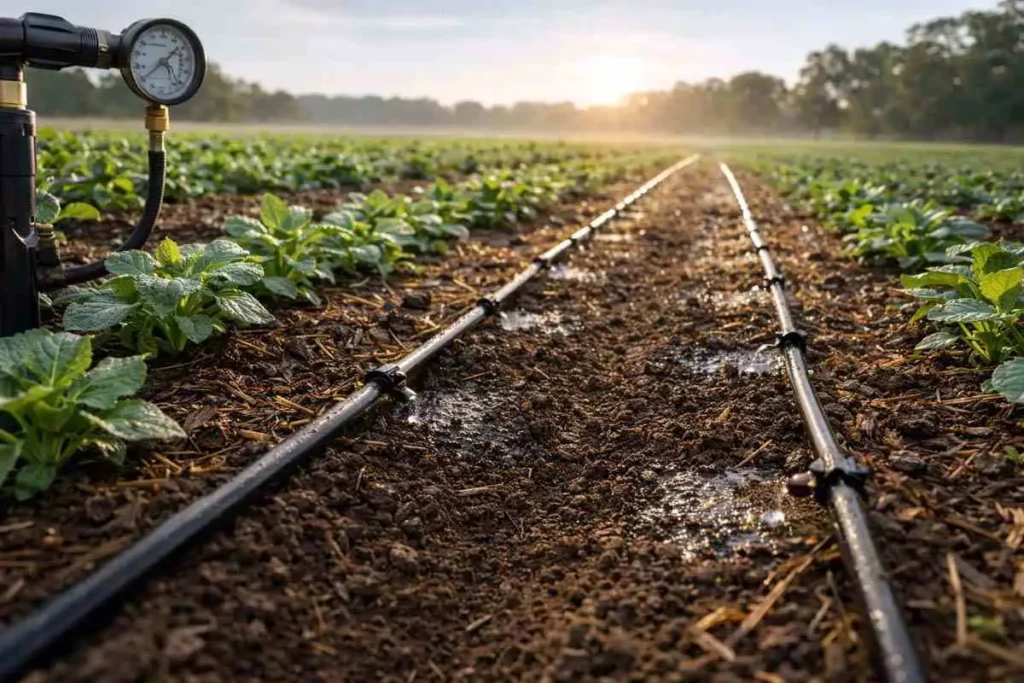
Irrigation adds options but it adds responsibility. Drip focuses water near roots and reduces leaf wetness. Sprinklers cover wider areas but can increase leaf wetness and drift risk in wind. Surface systems cost less in some settings but need careful leveling and runoff control.
If irrigation is part of your operation, this hub on irrigation and water practices helps you compare methods and common mistakes. For parts and maintenance, the irrigation parts and systems section keeps the discussion practical.
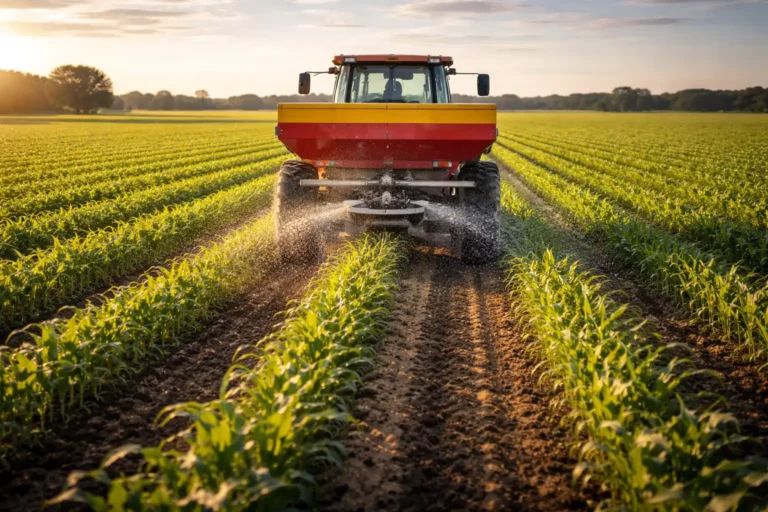
How do you feed crops with fertility and organic matter?
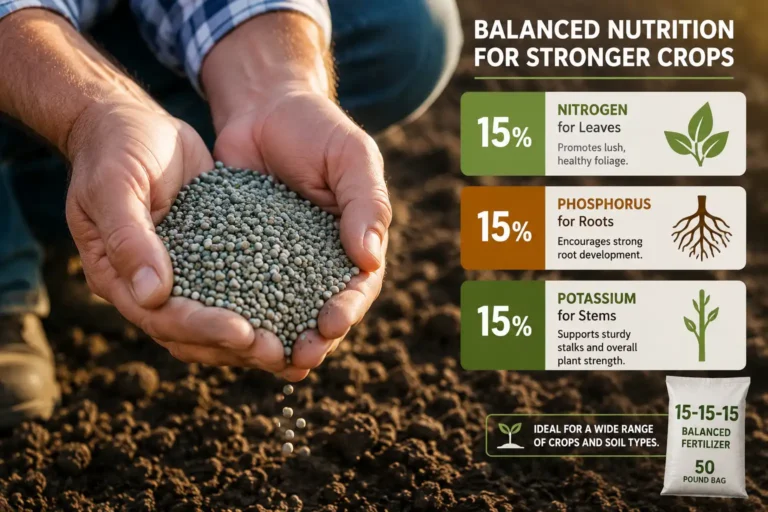
You feed crops by supplying nutrients in forms roots can absorb, at times the plant can use them, without creating runoff or burn risk. Nutrient management supports canopy growth early and grain or fruit fill later. A stable plan starts with soil test results and crop removal expectations.
Most fertility plans combine 3 inputs:
- Soil reserves: what the field already supplies
- Applied nutrients: fertilizer, manure, compost, or amendments
- Biology and residue: organic matter turnover that releases nutrients over time
A simple way to keep decisions clean is the “4R” framework: right source, right rate, right time, and right place. That language helps you avoid over-application and late applications that do not pay.
When using manure or compost, think in nutrients and salts, not just “organic.” A lab analysis tells you what you are applying. Placement and incorporation affect odor, loss, and runoff risk.
How do you control weeds, pests, and disease without wrecking the crop?
You control weeds, pests, and disease by acting early, scouting often, and choosing controls that match the threat. Early weed competition steals light, water, and nutrients when the crop is small. Late rescue treatments cost more and protect less yield.
Start with weed control because it drives early-season success on most farms:
- Pre-plant control: terminate weeds before the crop emerges
- Early post control: remove small weeds before they harden off
- Canopy management: promote fast crop cover with good stand and fertility
Mechanical tools still matter. Cultivators, hoes, and mowing options reduce herbicide dependence and help in wet years when spray windows get tight. If you want a practical breakdown of approaches, this guide on weed control practices helps you set priorities. For equipment options, weed control tools makes it easier to match tools to crop type.
For insects and disease, growers protect yield with integrated decisions. Scouting identifies the pest and the growth stage at risk. Thresholds and local guidance prevent panic spraying. Targeted products protect beneficial insects and reduce resistance pressure over time.
If you work with crop protection products, focus on safety first. Label directions control rates, re-entry intervals, and PPE requirements.
When do you harvest, dry, and store crops?
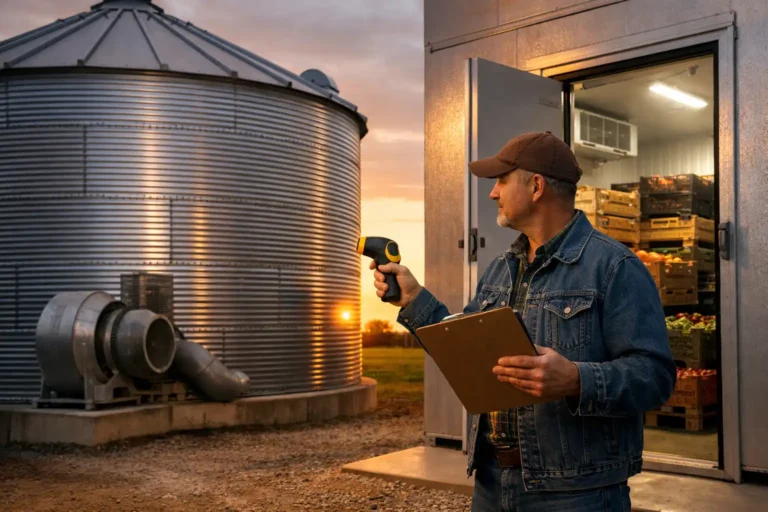
You harvest at the stage that protects quality and minimizes field loss, then you handle the crop to prevent spoilage. Harvest timing protects test weight, kernel quality, sugar content, or shelf life, depending on the crop. Storage protects the money you already spent growing the crop.
Harvest problems often come from 3 causes:
- Late harvest: shatter, lodging, sprouting, or rot risk increases
- Rough handling: cracked grain and bruised produce spoil faster
- Poor storage conditions: heat and moisture drive mold and insects
Grain growers manage moisture and temperature in bins. Produce growers manage cooling, humidity, and airflow. Each crop has its own safe handling window.

For a field-to-bin overview, this hub on harvest and storage keeps the process organized. If you are upgrading equipment, the guides on harvesting tools and drying and storage gear help you sort needs from nice-to-haves.
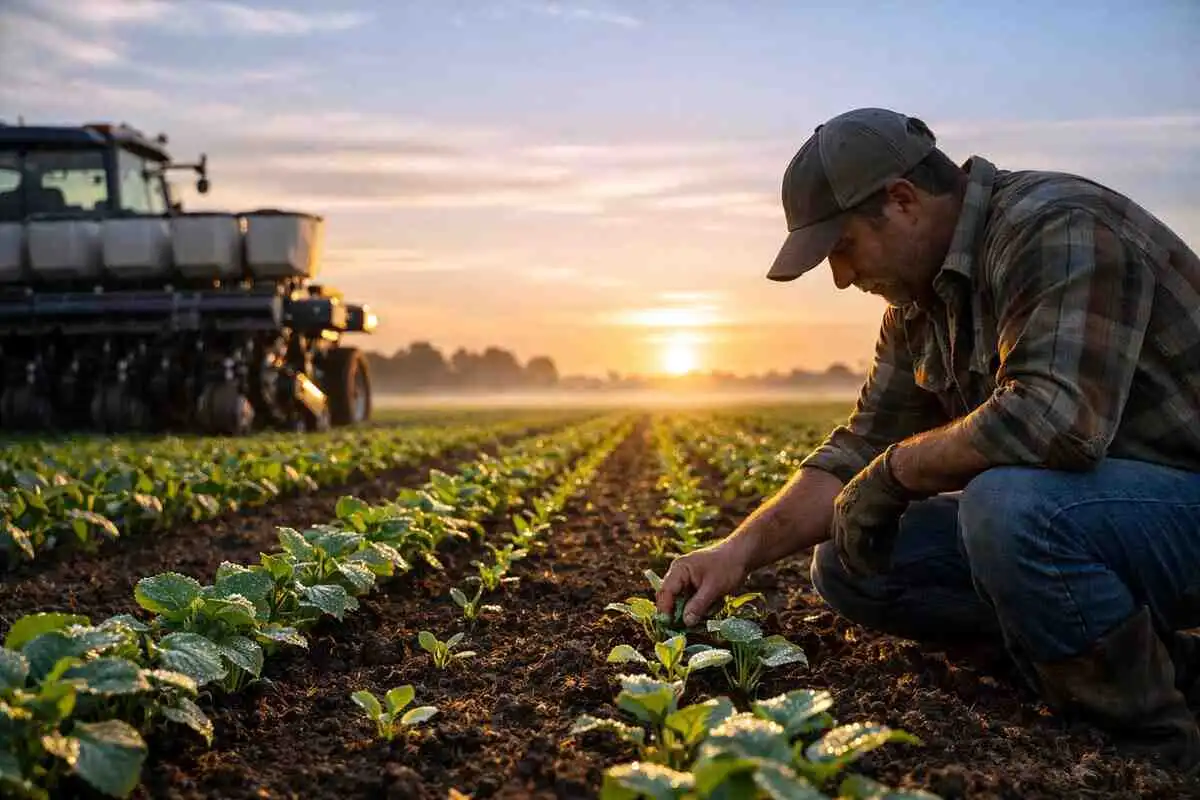
What scouting and records keep a crop on track?
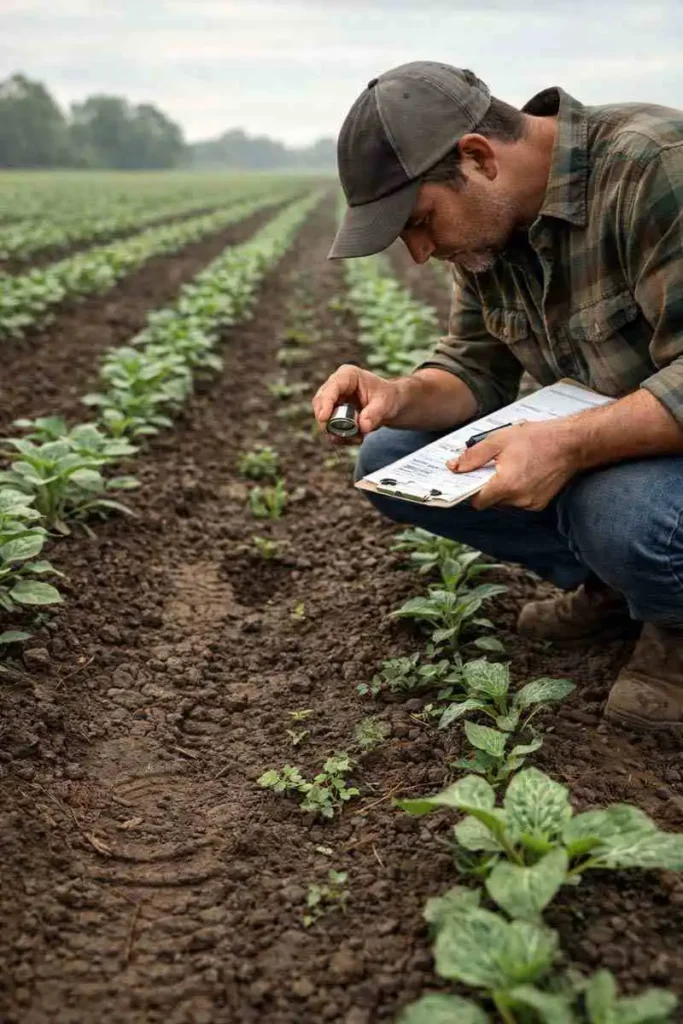
Scouting keeps a crop on track by catching small problems when they are cheap to fix. Records keep a farm on track by showing what worked, what failed, and what paid. A beginner improves fast by treating scouting and notes as part of the job, not an extra chore.
A practical scouting habit checks the same 6 items each trip:
- Stand count and gaps
- Weed pressure and weed size
- Insect presence and feeding signs
- Disease lesions and pattern in the field
- Soil moisture and compaction signs
- Nutrient stress signs such as uneven color or stunting
Records do not need fancy software. A notebook works if it stays consistent. Track planting date, variety, seed lot, field operations, products used, weather events, and harvest results. Those notes sharpen decisions for the next season.
What tools and safety gear matter for beginners?
Beginner success comes from reliable basics, not a shed full of gadgets. Tools that place seed evenly, control weeds on time, and apply inputs safely create the biggest payoff. Safety gear protects your lungs, eyes, skin, and hearing across long seasons.
A simple “starter” tool set depends on crop scale, but these categories stay common:
- Measuring and testing: soil tests, moisture checks, calibration tools
- Planting gear: drills, planters, row markers, closing wheels
- Weed control: cultivation tools, sprayers, nozzles, shields
- Harvest handling: bins, totes, tarps, drying tools, storage monitors
PPE belongs in every operation that uses dust, chemicals, noise, or moving parts. Gloves, eye protection, respirators, and hearing protection reduce long-term injury risk. This overview of farm safety PPE helps you match protection to the job.
What are the most common crop farming mistakes?
The most common mistakes come from timing errors, not effort. Late planting, late weed control, and skipped scouting often cost more yield than minor fertility imperfections. A beginner improves outcomes by protecting the first 30 to 45 days after planting, when the crop sets its stand and root system.
Watch for these repeat offenders:
- Planting into poor soil conditions because the calendar feels urgent
- Letting weeds get “one more week” bigger
- Treating without identifying the actual pest or disease
- Applying fertilizer without a soil test baseline
- Running equipment out of calibration and not noticing until damage appears
- Storing grain or produce without controlling moisture and temperature
Each mistake has the same fix: slow down at decision points, then act fast once the decision is made.
Crop Farming Basics FAQs
What is the easiest crop to start with?
How much land do you need to grow crops?
Do you need fertilizer to grow crops?
What is the first improvement that helps most fields?
Final thoughts
Crop farming basics reward steady management more than big swings. Pick a crop that fits your land and buyer. Prepare the field for uniform emergence. Keep weeds small and scouting regular. Protect harvest quality with careful handling and storage. When you run the same clean process each season, the farm improves because your decisions get sharper and your timing gets tighter.