Best Seed Starting Kit: 10 Reliable Choices for 2026
Looking for the best seed starting kit that gives you strong, healthy seedlings without burning through cash? This guide compares kits by tray quality, dome venting, heat mat support, drainage, and grow light fit. I farm in Kansas and start most of my seeds indoors every spring with these systems.
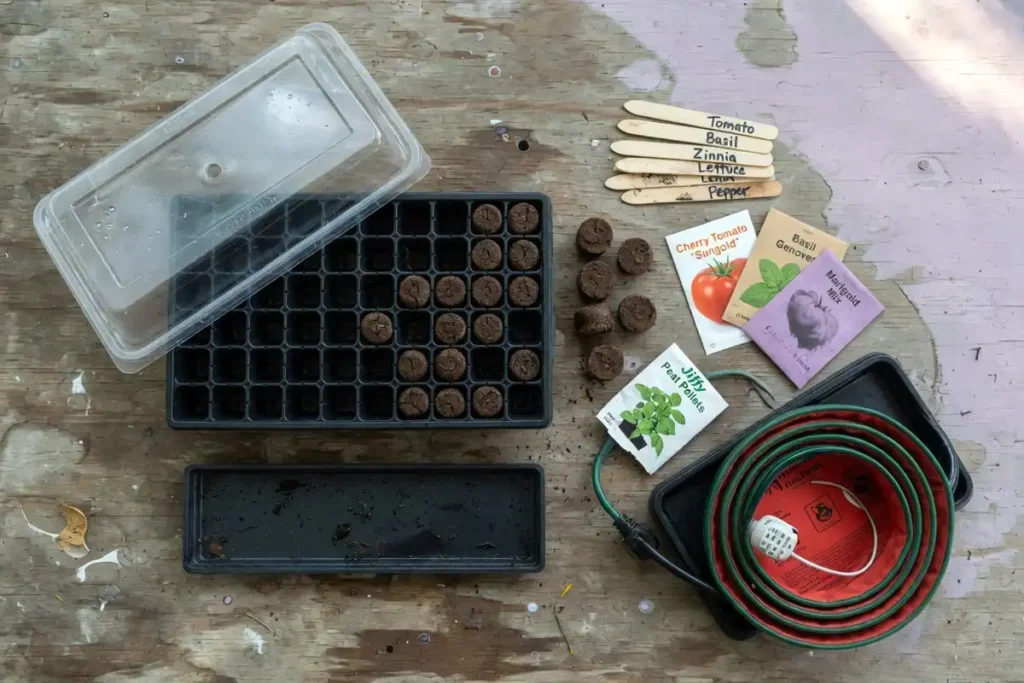
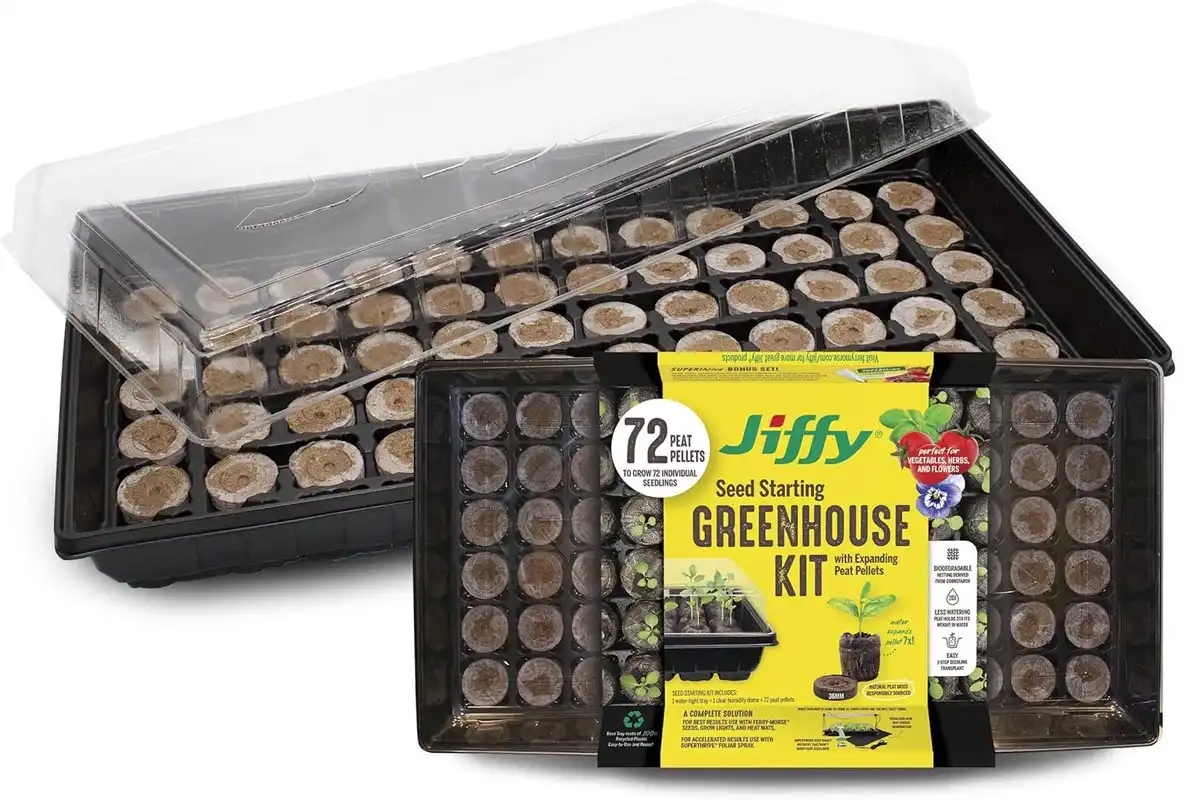
The best seed starting kit is the Jiffy Plant Germination Tray Kit. It works as a greenhouse for germination with two 72-cell trays, 144 peat pellets, plant markers, and a SUPERthrive sample. The clear dome traps humidity for steady sprouting.
Top 10 Picks
- Burpee SuperSeed 36 Cell (Best Budget)
- Burpee Self-Watering Seed Starter Tray
- Jiffy Plant Germination Tray Kit (Best Overall)
- Jiffy Seed Starting Strips
- VIVOSUN 10×20.75 Seedling Heat Mat with Humidity Dome Kit
- Bootstrap Farmer Heavy Duty 1020 (Premium)
- Super Sprouter Premium Heated Propagation Kit (Premium)
- MIXC 10-Pack Seedling Starter Trays Kit
- Bonviee 5-Pack Seed Starter Trays
- BlumWay 80-Cell Seed Starter Tray
What Is a Seed Starting Kit and How It Works
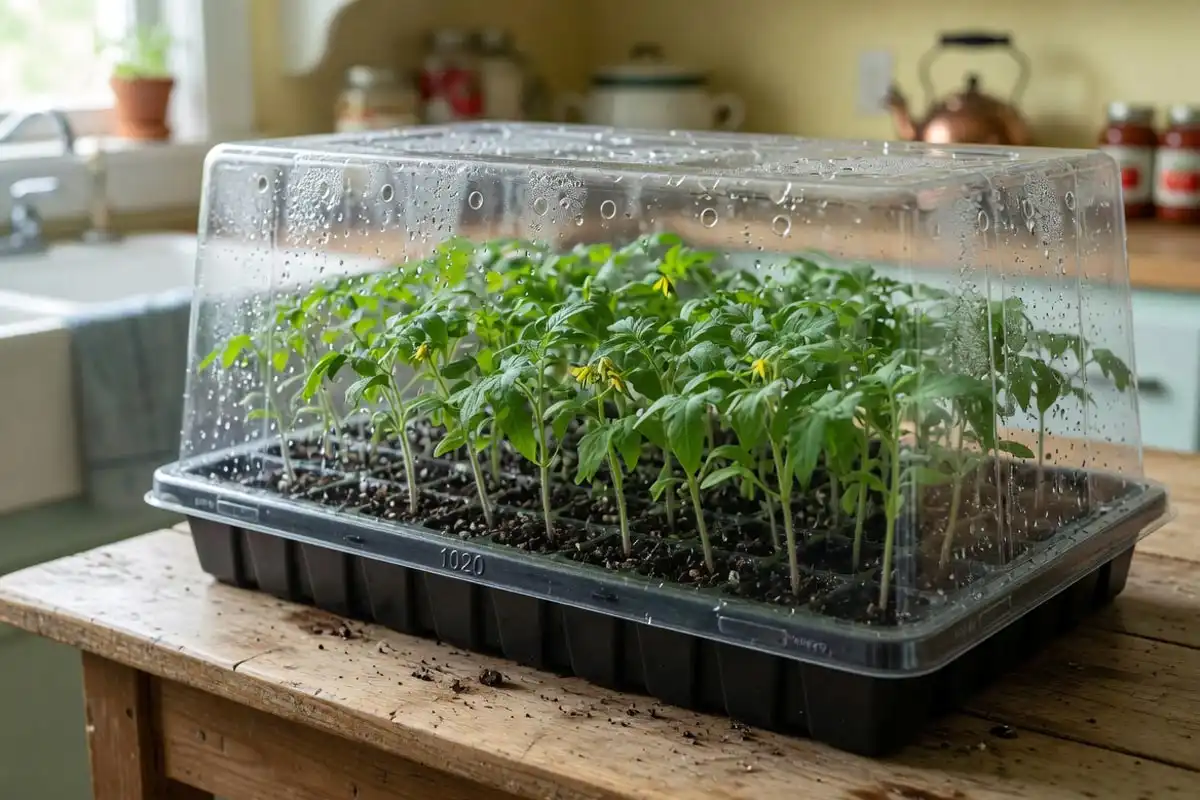
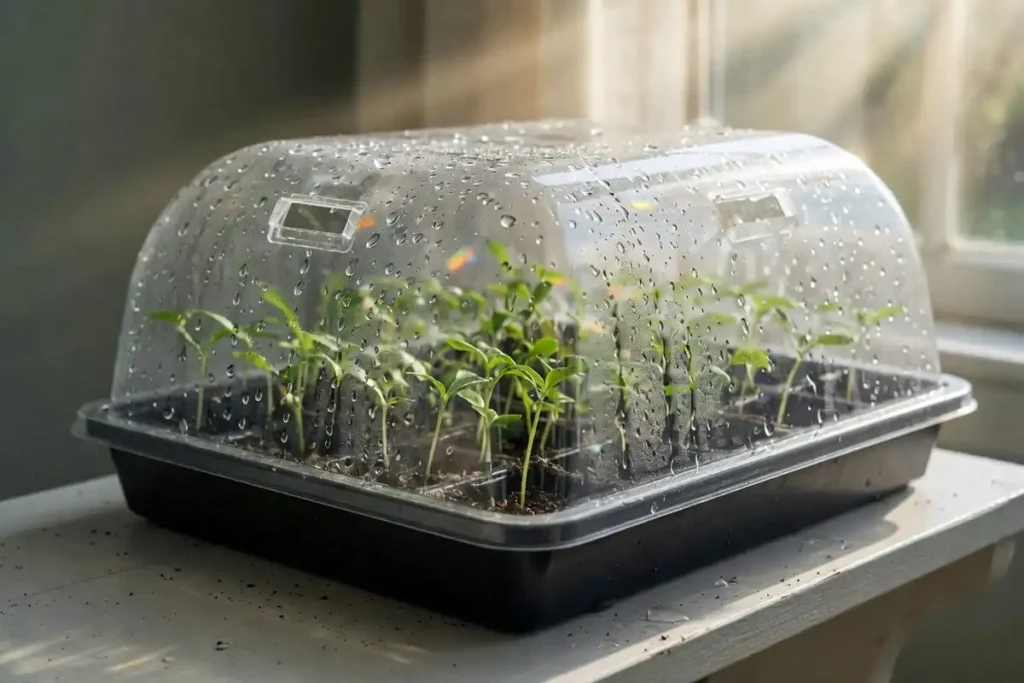
A seed starting kit is a propagation system that holds seeds in a controlled spot until they sprout. It bundles a cell tray, a humidity dome, and a growing medium like peat pellets or seed starting mix. The dome traps moisture. The cells hold the medium. Drainage holes stop root rot.
The standard size is the 1020 tray, named for its 10 by 20 inch footprint. Most kits use this size so trays nest, stack, and swap between brands.
A complete kit raises germination rates because temperature, humidity, and moisture stay steady. That beats random pots covered with plastic wrap. If you start more than a tray or two, a kit pays for itself fast.
How I Picked the Seed Starting Kits
I farm grain in Kansas and start tomatoes, peppers, herbs, and flowers indoors every February. Over the years I have wasted money on flimsy trays that cracked before season two. My picks pull from kits that hold up across seasons and produce healthy seedlings.
I weighted these factors:
- Tray durability (BPA-free plastic or food-grade silicone)
- Cell capacity and size matched to your crops
- Humidity dome height and venting
- Drainage holes to prevent waterlogging
- Heat mat compatibility for cool basements
- Grow light support for after sprout
I cross-checked verified buyer feedback and brand reputation before any kit made the list. Picking quality seeds matters as much as the kit, so read up on choosing seeds for the season before you commit a tray to one variety.
10 Best Seed Starting Kits: Reviews
Here are the 10 kits I trust for indoor seed starting, with honest pros, cons, and the best fit for each.
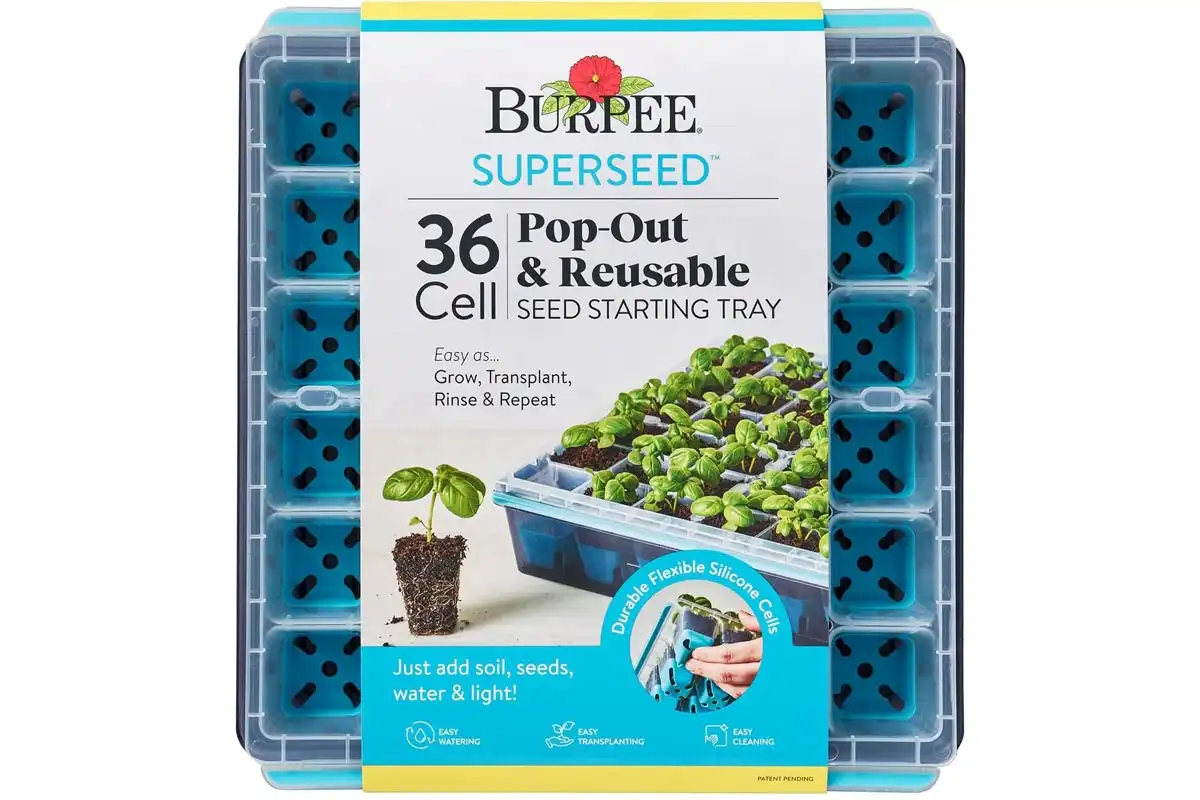
1. Burpee SuperSeed 36 Cell Reusable Seed Starting Tray
PROS
- Cells flex to release seedlings cleanly
- Reuses for years without cracking
- Easy to wash and store
CONS
- Maximum support 36 cells
Burpee has been a trusted name in seeds and garden supplies since 1876. This tray uses 36 flexible food-grade silicone cells with drainage holes. The soft cells flex when you push from below, so seedlings pop out without tearing roots. The whole tray goes on the top shelf of the dishwasher when the season ends.
Key specs:
- Food-grade silicone, dishwasher safe
- 36 cells with drainage holes
- 11.5 x 10.375 x 2.25 inches
- Plant-o-Gram diagram included
- Side handles for pouring runoff
The silicone makes transplant day painless. I have not torn a single root pulling seedlings from this tray. For higher capacity, the Burpee 72 Cell Self-Watering Kit is a natural step up. It is best for small-scale gardeners who replant a few dozen tomatoes and peppers each spring.
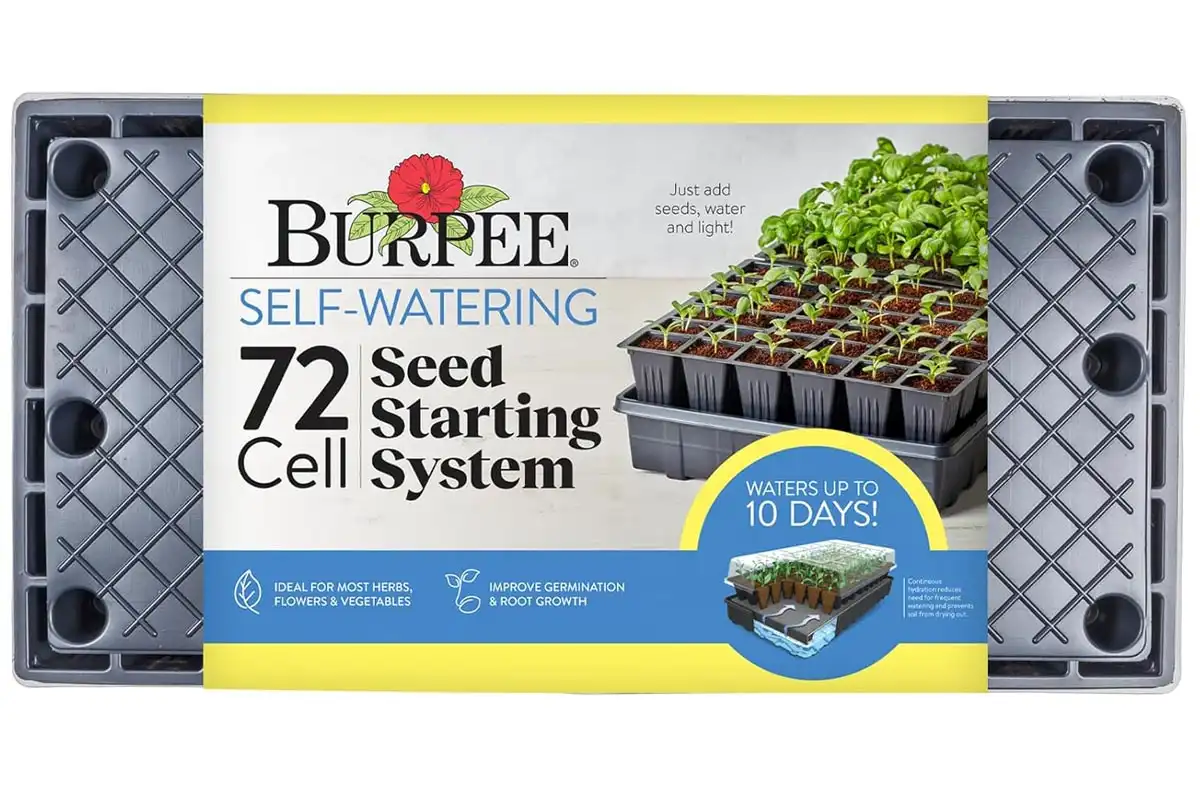
2. Burpee Self-Watering Greenhouse 72 Cell Seed Starter Kit
PROS
- Reservoir feeds seedlings on its own
- Coco coir holds moisture without sogginess
- Markers and diagrams included
CONS
- Heat mat sold separately
Burpee built this kit for hands-off watering. It includes two 36-cell trays, a reservoir, capillary mat, dome cover, and 72 coco coir pellets. Water in the reservoir wicks up through the mat to keep cells evenly moist. You can leave it alone for a weekend without seedlings drying out.
Key specs:
- 72 cells (1.5 x 1.5 x 2 inches each)
- 9-quart water reservoir
- Two 36-cell trays plus dome
- 72 coco coir pellets
- Six 4-inch plant markers
The capillary mat saved my pepper starts during a busy week last March. Coco coir holds water more evenly than peat in my experience. Pair it with a heat mat for fastest germination. This kit is best for busy gardeners who want consistent watering without daily attention.
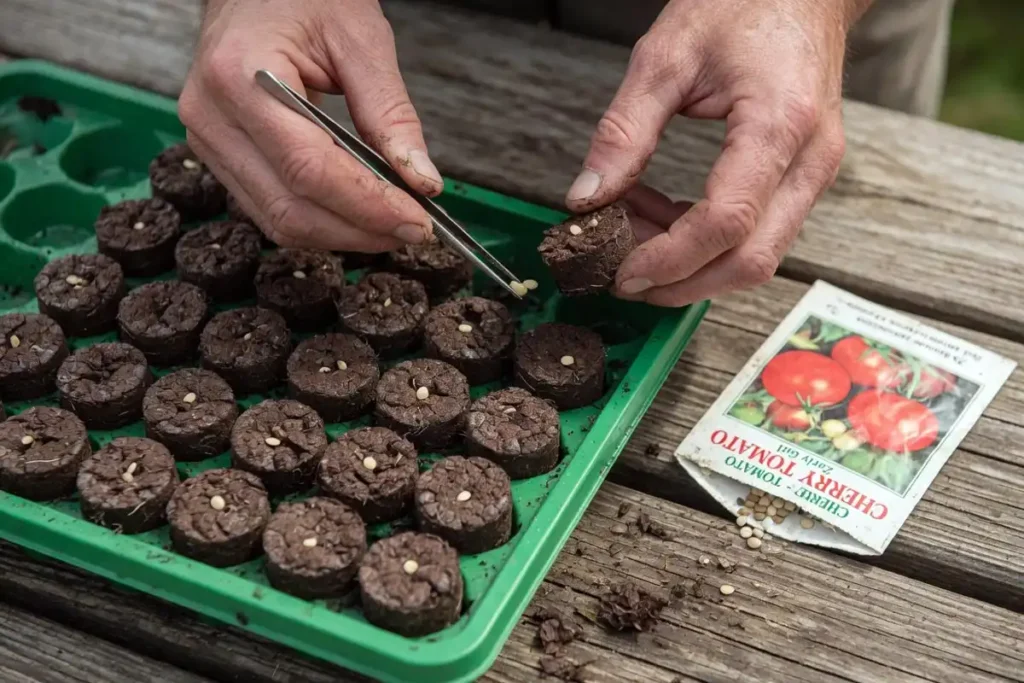
3. Jiffy Professional Greenhouse 72 Pellet Seed Starter Kit
PROS
- No mixing or measuring soil
- Dome holds warm, humid air
- Two trays let you stagger sowings
CONS
- I can use two-year carefully
Jiffy is the brand most beginners start with. The kit ships with two trays, 144 peat pellets, plant markers, and a SUPERthrive vitamin sample. Add warm water and the pellets expand into ready-to-plant pots in about 10 minutes. The clear dome traps humidity for steady germination.
Key specs:
- 36mm GMO-free peat pellets
- 72 cells per tray (144 total)
- Two clear plastic greenhouse domes
- SUPERthrive vitamin sample
- Plant labels included
I leaned on Jiffy pellets my first three years starting tomatoes. They work, and the dome locks in heat overnight. For a sturdier reusable system, the Bootstrap Farmer kit is a better long-term pick. This kit is best for beginners who want a no-fuss start with everything in the box.
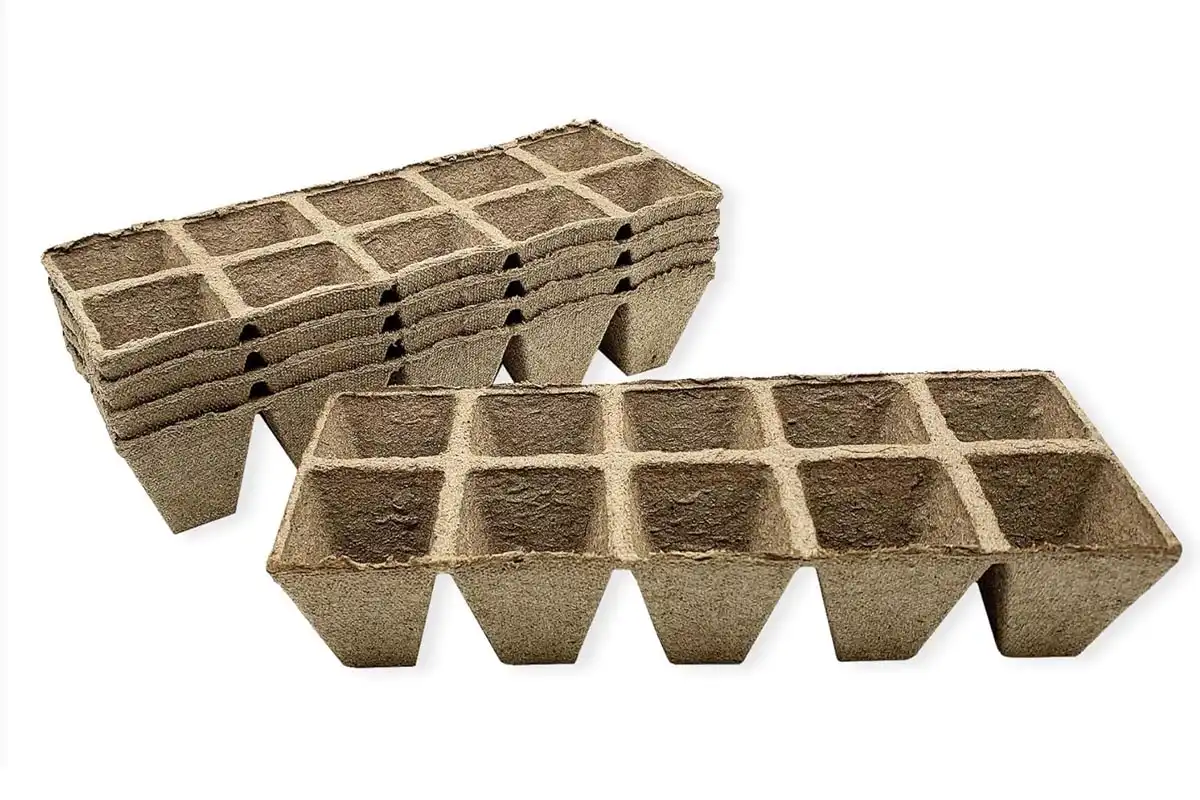
4. Jiffy Biodegradable Seed Starting Peat Strips
PROS
- Zero transplant shock
- Breaks down naturally in soil
- Big count for the price
CONS
- Base tray sold separately
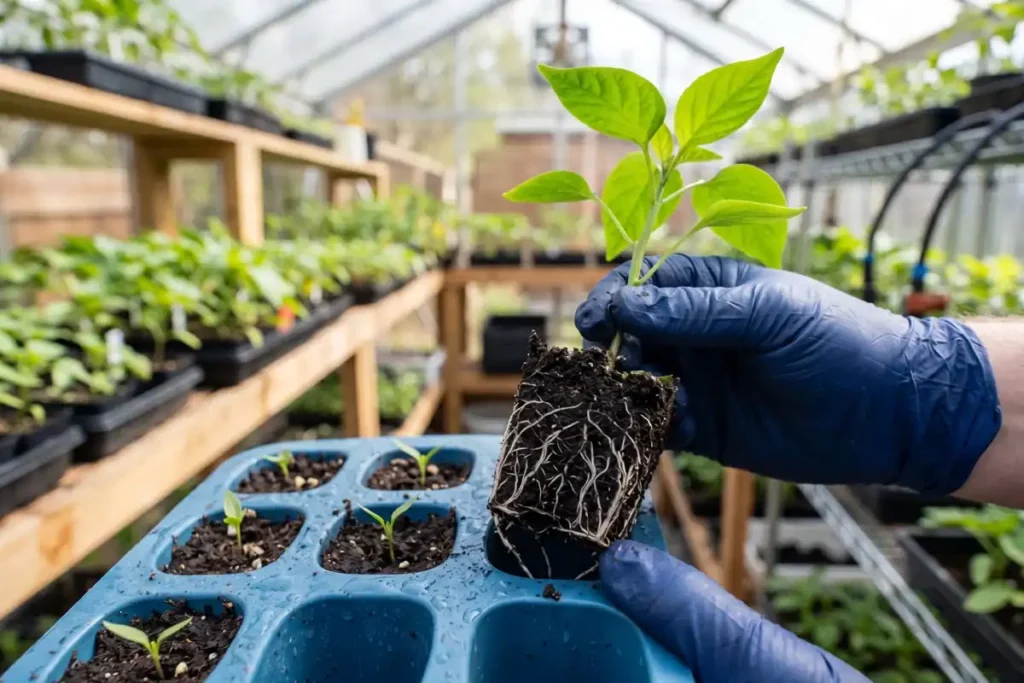
A pack of 500 compostable peat cells in 50 strips of 10. The cell goes straight into the garden with the seedling inside it. Roots grow through the peat wall and into the soil, so there is no transplant shock. The strip breaks down naturally over the season.
Key specs:
- 50 strips, 500 cells total
- Compostable peat construction
- Strip size: 4 x 10 x 2 inches
- Plant whole strip outdoors
- Indoor start, outdoor transplant
I rely on these for sweet corn, zucchini, and cucumbers every spring. The roots take to garden soil within a few days. Pair them with a sturdy 1020 tray underneath so they hold their shape. This pack is best for gardeners growing transplant-sensitive crops who want to skip pot removal.
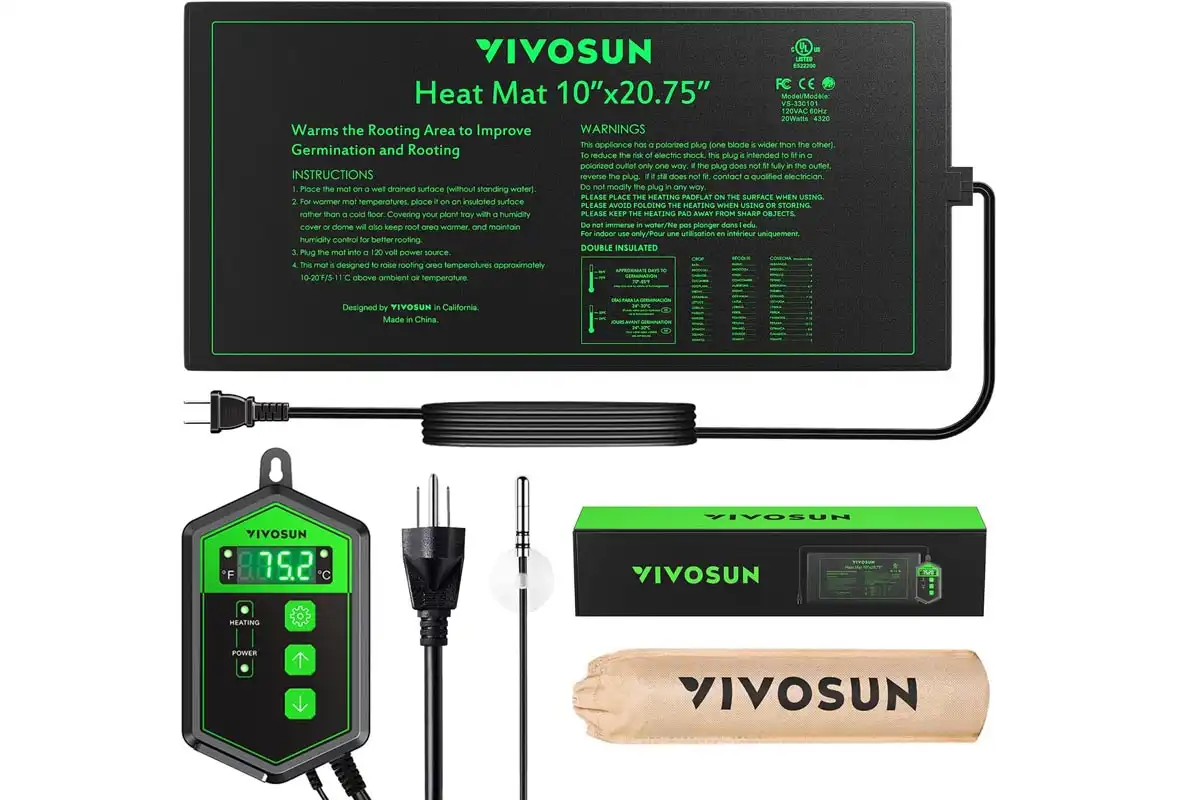
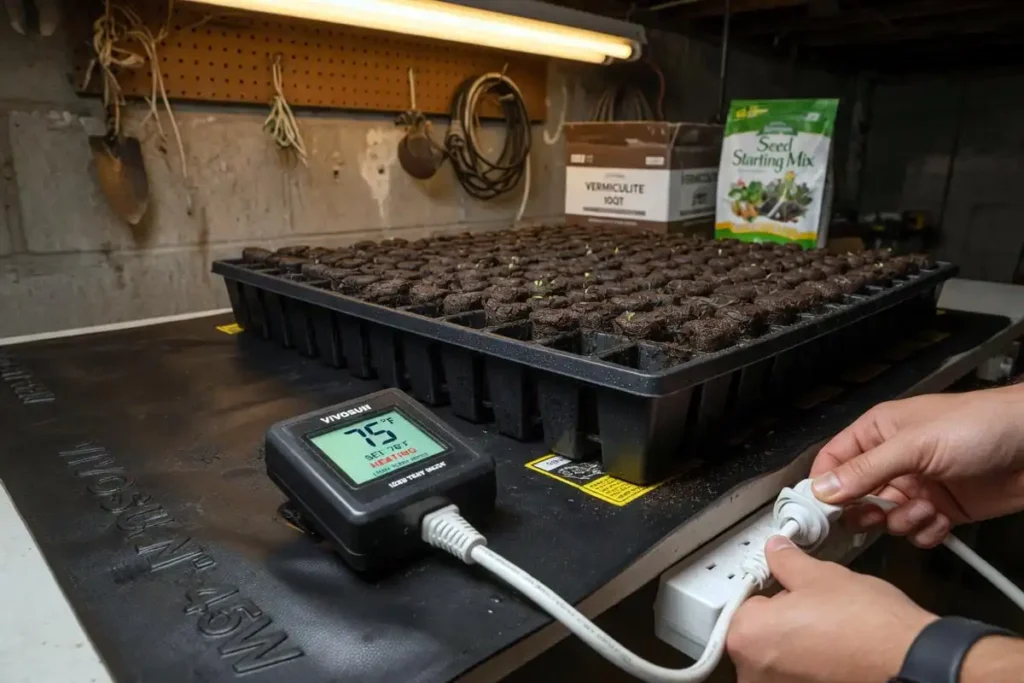
5. VIVOSUN 10×20.75 Seedling Heat Mat with Humidity Dome Kit
PROS
- Precise soil temperature control
- Gentle, even heat
- Low electricity use
CONS
- Tray and dome sold separately
VIVOSUN makes serious indoor growing gear. This is a professional heat mat with a digital thermostat that holds soil between 68 and 86°F. Far-infrared heating warms cells evenly without scorching roots. The thermostat lets you dial in the exact soil temperature your seeds need.
Key specs:
- 10 x 20.75 inch mat (fits 1020 trays)
- 68-86°F range, 104°F max
- 20 watts of power draw
- IP67 waterproof, UL and MET certified
- Digital thermostat and carrying bag included
My basement runs 58°F in March, and this mat saves my pepper starts every year. The probe reading on the soil itself is what makes the thermostat worth the price. Combine it with a Bootstrap Farmer or Burpee tray for a full setup. It is best for anyone with a cool starting room who needs steady soil warmth for warm-season crops.
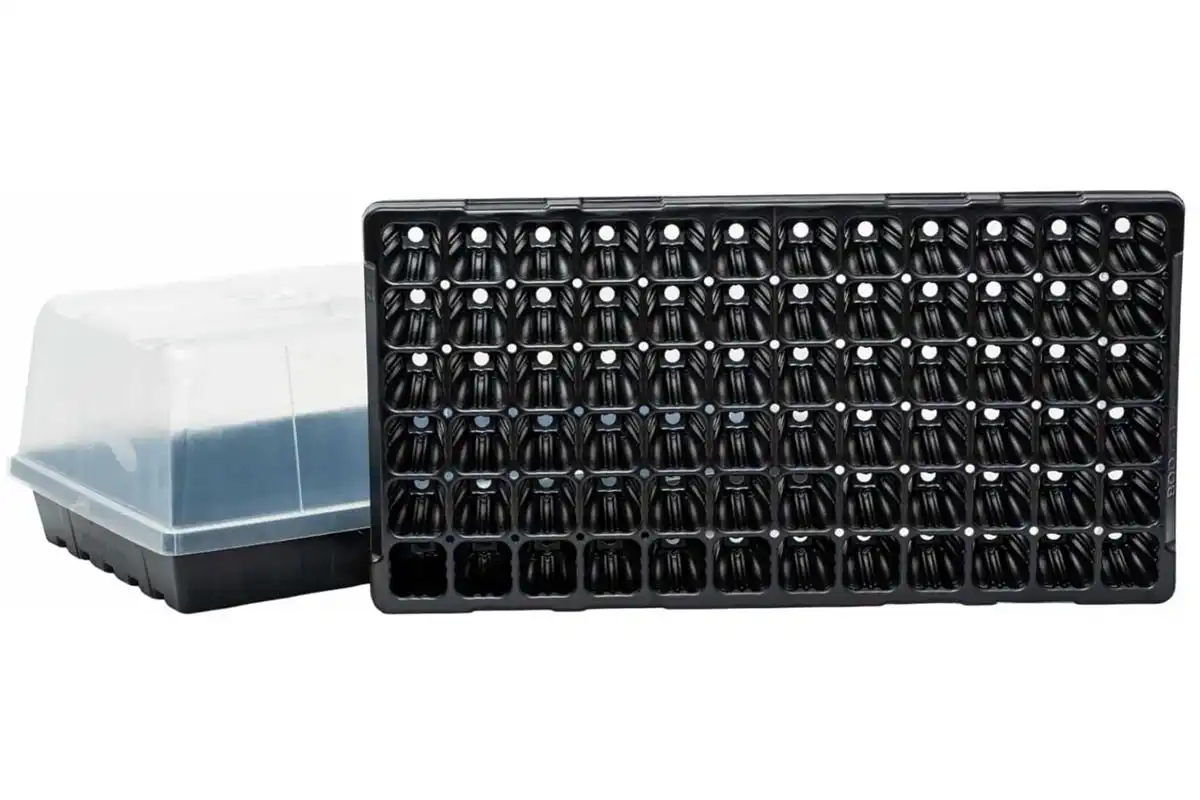
6. Bootstrap Farmer Heavy Duty 1020 Seed Starter Kit
PROS
- Built to last 7+ seasons
- Tall dome fits bigger seedlings
- Food-safe plastic
CONS
- Higher upfront price
Bootstrap Farmer is a farmer-owned company that builds gear to outlast cheaper competitors. The kit includes two 1020 trays, two cell flats with 72 cells total, and two 5-inch domes. The BPA-free plastic does not crack or warp under heat mats. Trays nest, stack, and hold up to repeated washing.
Key specs:
- Heavy-duty BPA-free plastic
- 72 cells (1.5 inch square, 2.25 inch deep)
- 5 inch tall domes with built-in vents
- Tray size: 21.25 x 11.25 inches
- Two trays, two flats, two domes
My oldest Bootstrap Farmer trays are six seasons in and still look new. The tall dome gives tomato seedlings room to stretch before transplant. Worth the price if you start seeds every spring. This kit is best for long-term gardeners who want pro-grade gear that pays back over time.
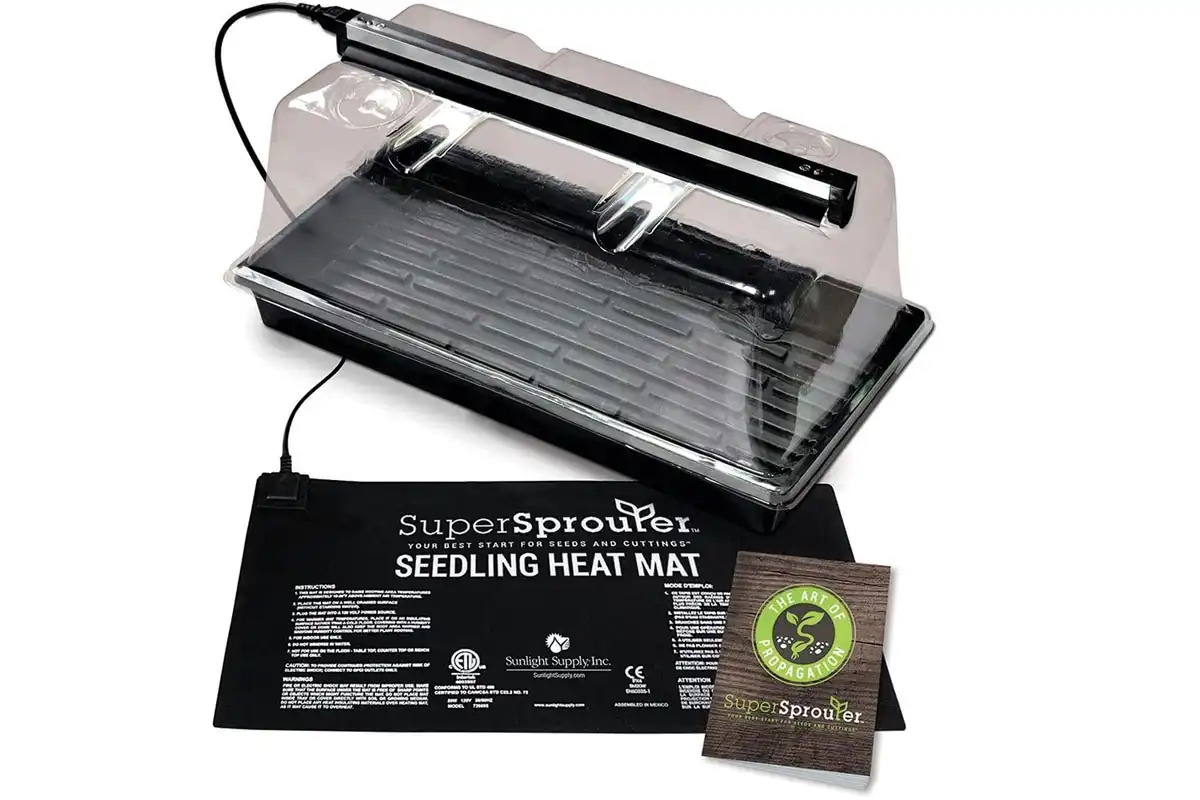
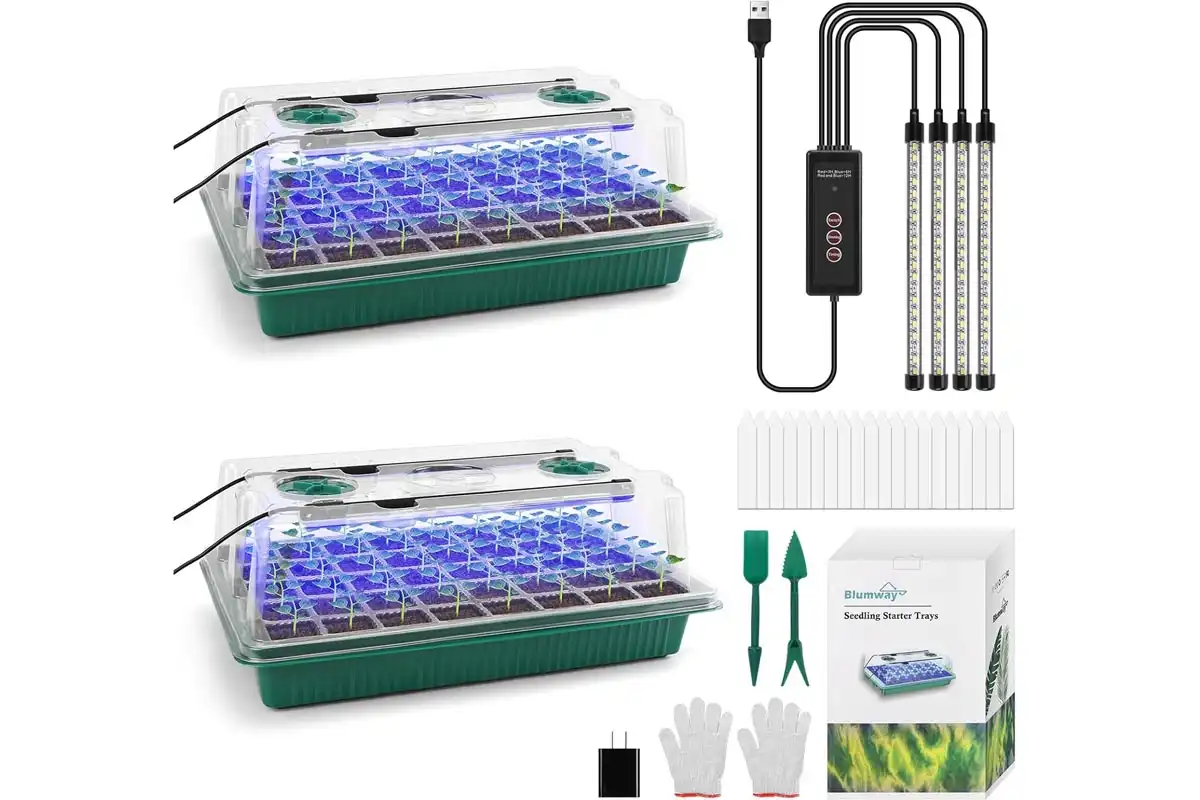
7. Super Sprouter Premium Heated Propagation Kit with T5 Light
PROS
- Everything in one box
- T5 light snaps into dome track
- ETL and UL safety certified
CONS
- Higher price tag
Super Sprouter built this as a complete all-in-one propagation system. You get a vented dome, T5 fluorescent grow light, double-thick tray, heat mat, and a propagation booklet. The grow light slides into channels built into the dome, so there is no rigging required. Heat, light, and humidity work together out of the box.
Key specs:
- 7 inch vented dome with light track
- 18 inch T5 grow light, 6400°K
- 10 x 20 inch double-thick tray (no holes)
- ETL-listed heat mat, UL-listed light
- Includes Art of Propagation booklet
This is the kit I would grab if I were setting up indoor seeding fresh today. The light alignment in the dome is the smartest design on this list. Bottom water carefully since the tray has no holes. It is best for gardeners who want a turnkey all-in-one system without sourcing parts separately.
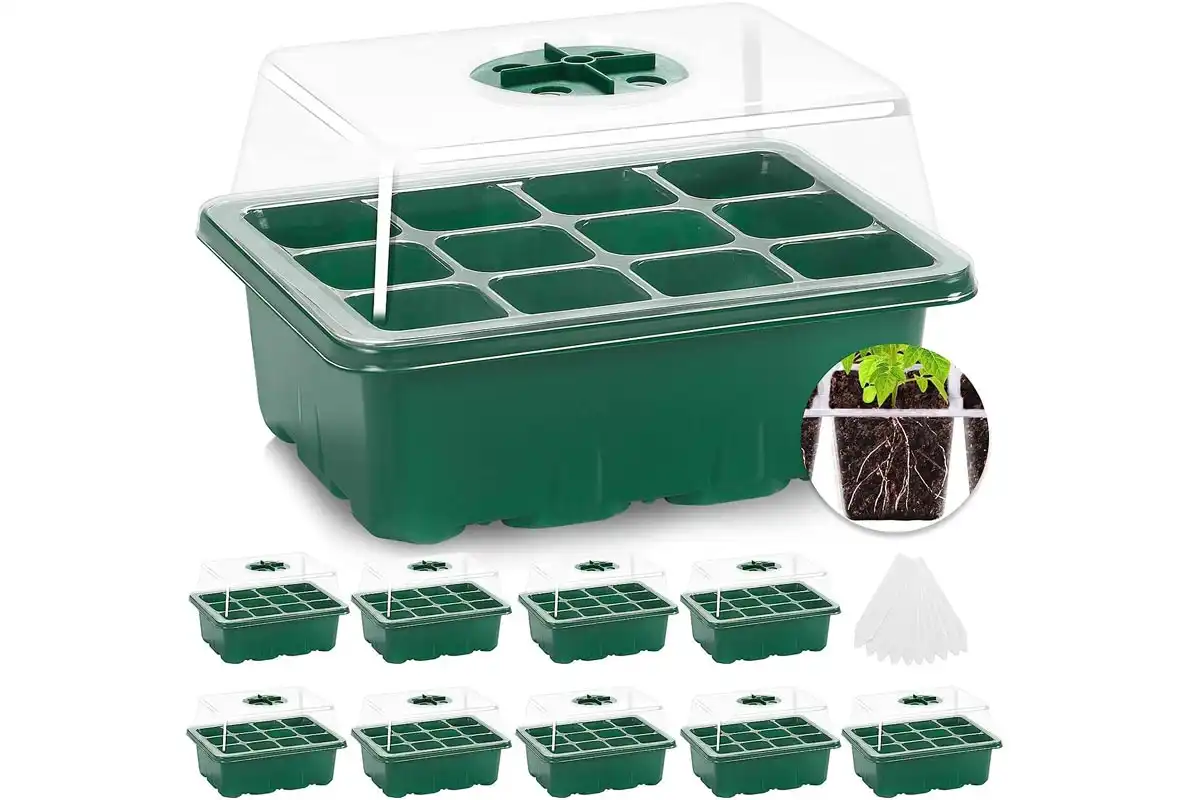
8. MIXC 10-Pack Seedling Starter Trays Kit
PROS
- Most cells per dollar on the list
- Adjustable vents on every tray
- Light and easy to move
CONS
- Only 12 cells per tray
MIXC offers a budget multi-tray pack with 10 trays, 10 base trays, 10 domes, and 10 plant labels. Each tray has 12 cells with adjustable vents and drainage holes. The clear plastic lets you watch root development without lifting plants. Light enough to move between windows when the sun shifts.
Key specs:
- 10 trays, 12 cells each (120 total)
- Adjustable vents on each dome
- Drainage holes in every cell
- Tray size: 7.28 x 5.67 x 6.5 inches
- 10 base trays and 10 plant labels
I keep a few of these on hand for staggered sowing and small variety trials. They will not last as long as Bootstrap Farmer, but the price is hard to beat. Treat them as 2-3 season trays and you will get your money’s worth. This kit is best for budget gardeners who want plenty of trays for varied or staggered sowing.
9. Bonviee 5-Pack Seed Starter Trays
PROS
- Grow lights built into the dome
- Tall dome fits cuttings too
- Clear walls show root growth
CONS
- Indoor use only
Bonviee built this 5-pack of PVC trays with built-in full-spectrum LED grow lights in the dome lids. The PVC is thicker than standard plastic and resists cracking. The raised dome gives seedlings extra room before transplant. Full-spectrum LEDs save you from buying a separate grow light.
Key specs:
- 5 trays, 12 cells each (60 total)
- Sturdy clear PVC construction
- Tray size: 5.7 x 8.5 x 5.5 inches
- Full-spectrum LED in vent caps
- 5 base trays and 5 domes
I use these on my kitchen windowsill in February when daylight runs short. The built-in LEDs keep seedlings from getting leggy near a cold window. Avoid leaving them outdoors since the PVC weakens in UV. It is best for apartment gardeners or anyone short on space for a separate grow-light setup.
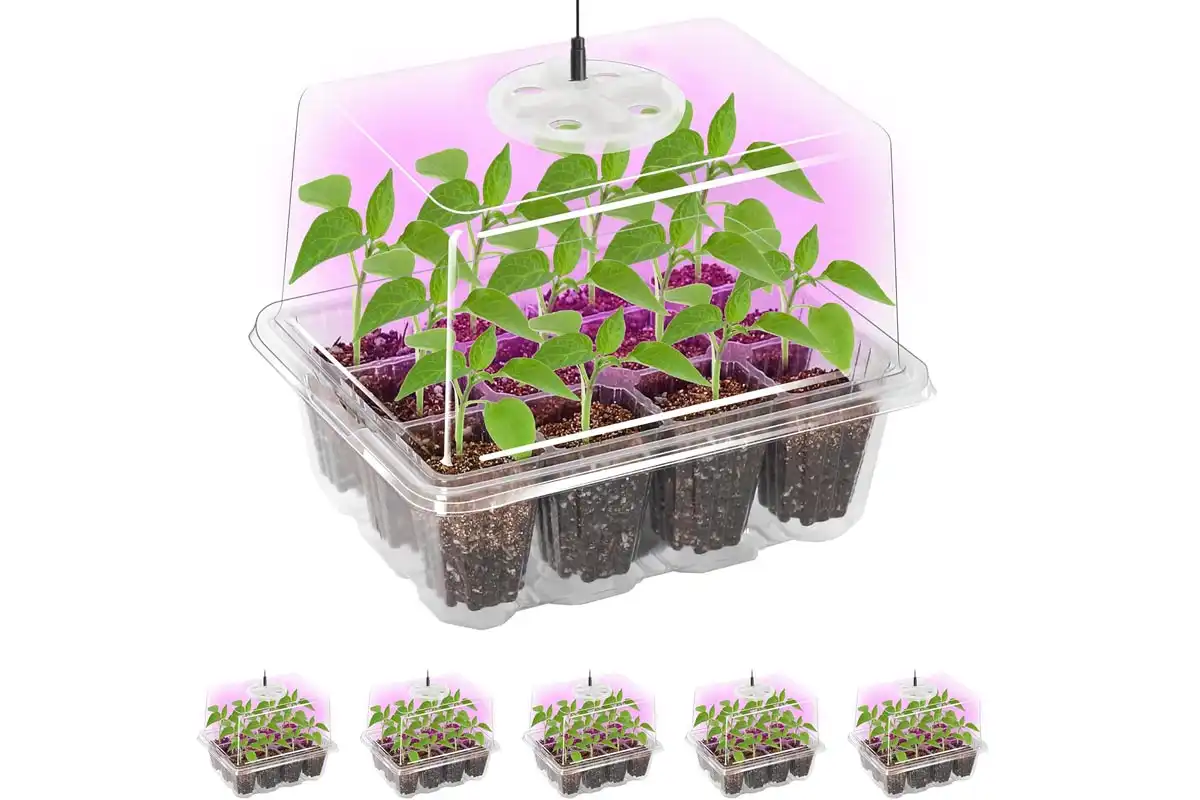
10. BlumWay 80-Cell Seed Starter Kit with LED Grow Light
PROS
- Timed lighting on autopilot
- USB or wall power options
- 360° spectrum hits every cell
CONS
- Round vent covers take a firm press to seat
BlumWay packs 80 cells across 2 trays with built-in LED grow light strips in the dome. The lights run on three timer modes (3, 6, or 12 hours) and five brightness settings. You can power it from a USB port or a wall adapter. The ABS plastic resists UV and corrosion across seasons.
Key specs:
- 80 cells across 2 trays
- 4 full-spectrum LED strips, 80 lamp beads
- 3 timer modes (3H/6H/12H) and 5 brightness levels
- USB or AC adapter power
- ABS plastic, anti-UV and corrosion-resistant
The timer settings are the biggest win for me here. I set it once and walk away for a week. The USB option is handy if you want to run it off a power bank during outages. It is best for indoor gardeners who want plug-and-play lighting with built-in timer controls.
What to Look for in the Seed Starting Kit
Picking the right kit takes more than a quick glance at price. A good kit checks every box below.
Cell Count and Size
Cells come in 12, 36, 50, 72, and even 100-plus per tray. Larger 1.5 inch cells suit tomatoes and peppers. Smaller cells fit lettuce, herbs, and flowers. Match the cell size to your crop.
Tray Material and Durability
Cheap plastic warps under a heat mat. Look for BPA-free, heavy-duty plastic or food-grade silicone. Bootstrap Farmer trays last seven seasons or more. Thin clamshell trays from big-box stores often crack after one run.
Humidity Dome with Vents
A vented dome controls airflow once seeds sprout. Open the vents to drop humidity. Closed vents hold moisture for stubborn germinators. Tall domes (5 inches plus) fit longer seedlings before transplant.
Drainage Holes
Drainage holes stop standing water. Standing water causes root rot and damping off. The drip tray below the cells catches runoff so your shelf stays clean.
Heat Mat and Grow Light Support
Most basements run below 65°F in late winter. A heat mat at 75°F soil temperature speeds germination by days. After sprout, seedlings need a full-spectrum LED grow light for 14 to 16 hours a day. Without it, stems stretch thin and fall over. A soil moisture meter takes the guesswork out of when to top up the trays.
How to Use a Seed Starting Kit Step by Step
Follow these steps for every tray.
- Sanitize the tray. Wash with soap and water. Rinse with a 1:9 bleach solution. Air dry. This kills last season’s pathogens.
- Hydrate the medium. For peat pellets, pour warm water over the tray until pellets expand to full height (about 10 minutes). Drain extra water. For seed starting mix, dampen the mix until it clumps but does not drip.
- Sow at the right depth. Plant each seed at four times its own thickness. Place 2 seeds per cell as insurance.
- Cover with the dome. This locks in moisture during germination.
- Set the tray on a heat mat at 70 to 75°F. Skip the mat if your room runs that warm.
- Move under a grow light after germination. Sprouts need light within hours of breaking the surface.
- Vent the dome. Once half the cells sprout, open the vents. Remove the dome fully after a few more days.
- Bottom water. Pour water into the drip tray. Roots pull moisture up. This keeps stems dry and lowers damping off in young seedlings risk.
- Thin the weak. Snip the weaker sprout in each cell at soil level. Leave the strongest plant.
- Harden off and transplant. Move trays outside for 1 to 2 hours daily, then build to full sun over a week. Transplant after the last frost based on your planting calendar for your zone.
If you grow crops that resent root disturbance, my notes on direct sowing or transplanting help you decide before you commit to a kit.
Common Seed Starting Mistakes to Avoid
Most kit failures come from a short list of errors:
- Using garden soil. Garden soil packs tight and carries pathogens. Use a sterile, soilless seed starting mix instead.
- Overwatering. Soaked cells drown roots. Bottom water and let the top inch dry between rounds.
- Skipping the dome too early. The dome stays on until half the cells sprout.
- Weak light. Sunny windowsills are not bright enough most days. Stems grow leggy and snap.
- Starting too early. Count back 6 to 10 weeks from your last frost date. Earlier means root-bound seedlings stuck indoors.
- Wrong soil temperature. Cold soil delays germination. Tomatoes need 70 to 80°F to break dormancy.
FAQs About Seed Starting Kit
What comes in a seed starting kit?
Are seed starting kits worth it for beginners?
How long do seeds take to germinate in a starter kit?
Do I need a heat mat with a seed starting kit?
Can you reuse a seed starting kit?
How many seeds should I plant per cell?
When should I start seeds indoors using a kit?
Final Thoughts
Honestly, the right kit comes down to how you garden. If your basement stays cold through March, grab one with a heat mat built in. Travel a lot? A self-watering setup will save your seedlings while you’re gone. And for crops that hate having their roots messed with, like cucumbers and squash, biodegradable cells are worth every penny.
Start a few weeks earlier than you think you need to. Clean your trays before each round. Do those two things, and come May, you’ll be hauling out trays of strong, ready-to-plant seedlings instead of replacing dead ones at the garden center.