How to Harvest Oats in 2026: Timing, Tools, and Tips
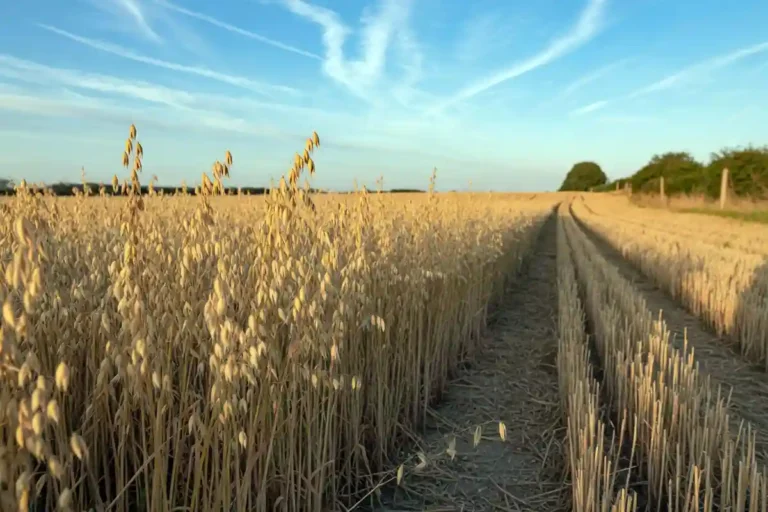
Oats reach harvest when the kernels turn cream-colored, the straw goes golden, and grain moisture drops to around 14% or lower. This guide walks through timing, methods, equipment checks, drying, and storage, plus the small mistakes that cost yield. Use it to bring your oat crop off clean and dry.
Cut oats when 95% of the kernels are firm and cream-colored, the straw is golden, and grain moisture sits between 13% and 14%. Combine direct at that stage, or swath earlier at the hard dough stage and let the windrow dry for 5 to 7 days before threshing. Store at 12% moisture or lower.
What Does Harvesting Oats Mean?
Harvesting oats is the process of cutting the standing crop, separating the kernels from the straw, and moving clean grain into storage. The work covers three jobs: cutting, threshing, and drying. Each one affects test weight, kernel quality, and how long the oat crop holds in storage without spoilage.
Oats belong to the small grain group with wheat and barley. Like other cereal grains, they ripen from the top of the panicle down, which is why timing checks start with the upper kernels.
When Are Oats Ready to Harvest?
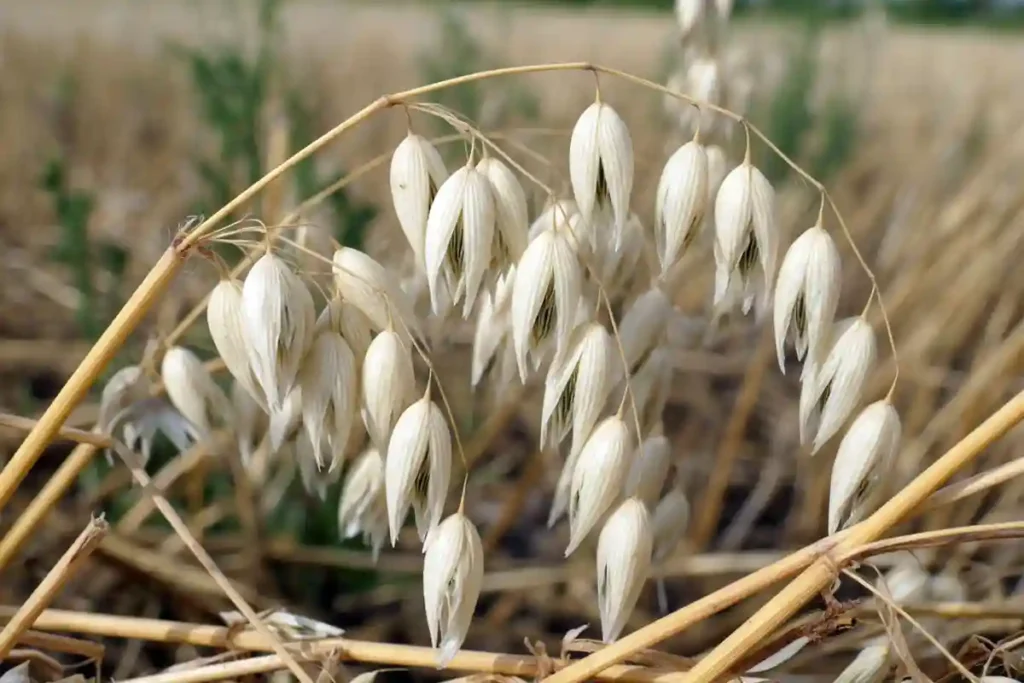
Oats are ready when the panicle hangs over, the kernels feel firm under thumbnail pressure, and the field looks uniformly tan to gold. Most growers track three signs together.
Visual cues to watch:
- Stems and leaves turn straw-colored
- Panicles bend downward and shed easily
- Kernels lose their green tint and harden
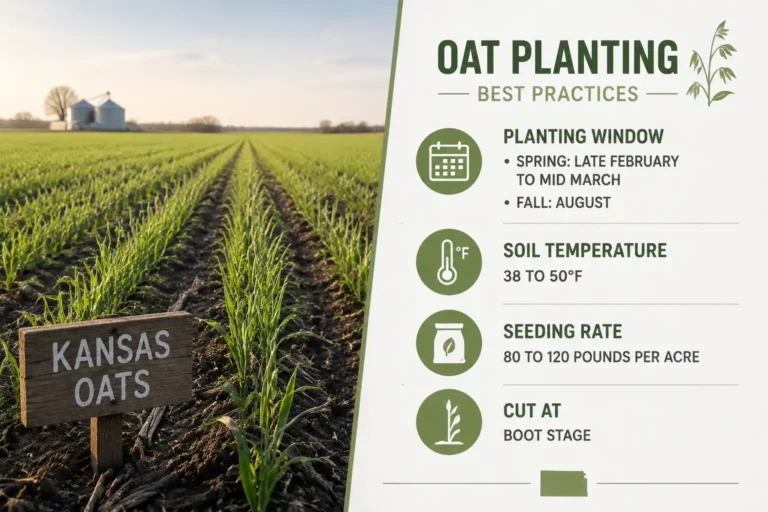
Harvest timing usually falls 90 to 120 days after planting, depending on variety and region. Spring oats in the northern Plains often come off in late July or August. Resources like the University of Minnesota Extension publish regional growth-stage charts that line up with field signs.
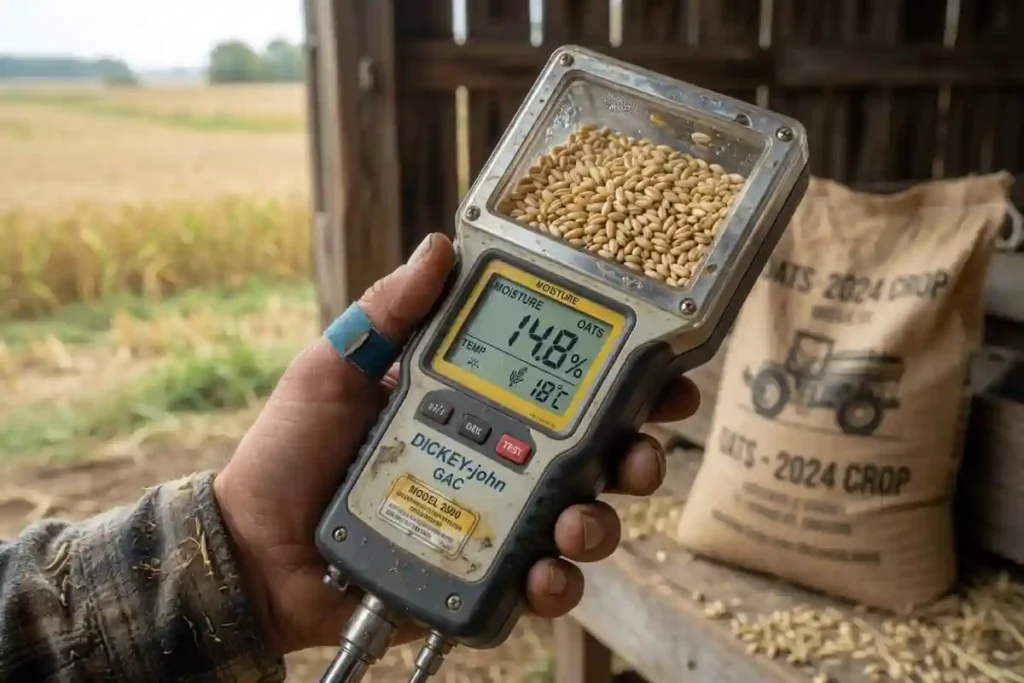
Grain moisture is the safest single test. Use a calibrated grain moisture tester on a fresh sample from several spots in the field. Direct combining works at 13% to 14%. Above 16%, kernels bruise and storage molds set in. For broader harvest timing across crops, the same moisture-and-color rule applies with adjusted ranges.
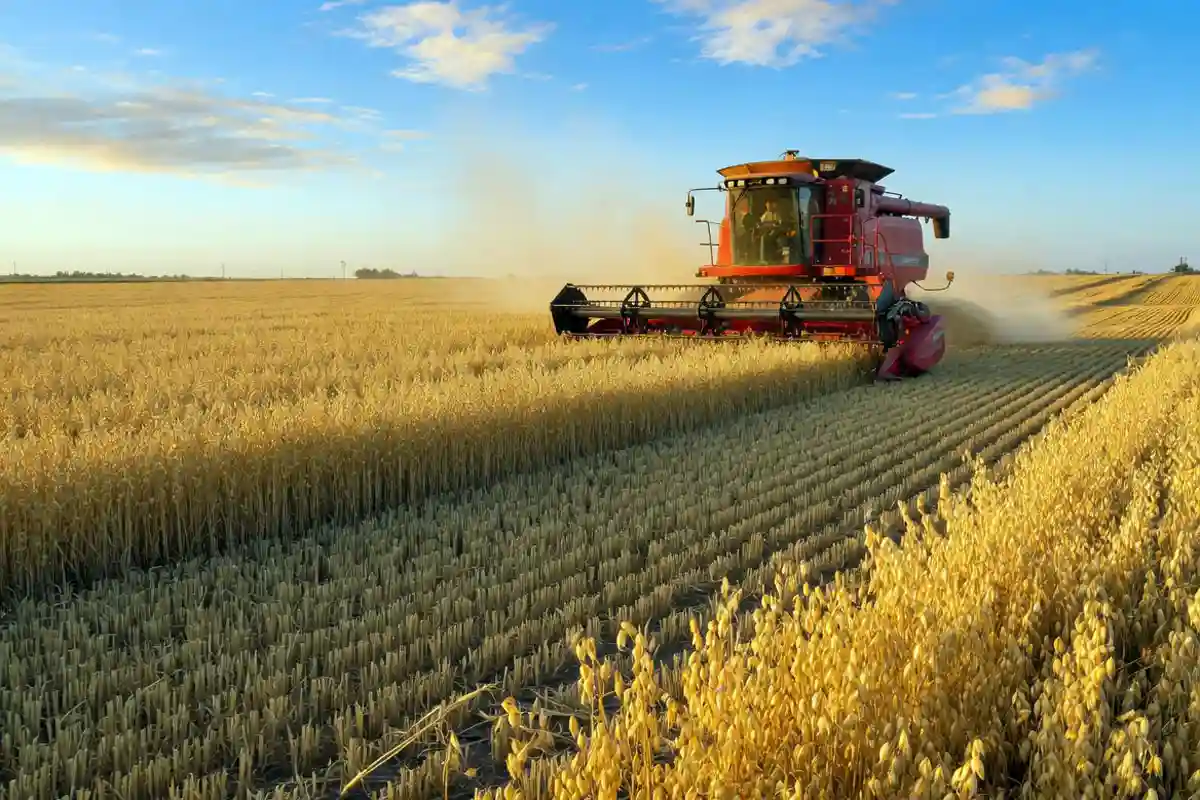
How to Harvest Oats Step by Step

Follow this start-to-finish workflow for a clean harvest.
- Scout the field. Walk three or four spots and check kernel firmness, color, and moisture. Note any lodged areas.
- Decide swath or direct. Pick swathing for uneven ripening or weedy fields. Pick direct combining for clean, even stands.
- Service the combine. Check sieves, concaves, knives, and reel speed. Replace worn sections on the header.
- Set the cut height. Aim for 4 to 6 inches above the soil to reduce green material and dirt intake.
- Run a test pass. Combine a short strip, then check the grain tank for cracked kernels and the ground behind for shattered grain.
- Adjust threshing speed. Lower cylinder RPM if you see cracked kernels. Raise it if heads come through unthreshed.
- Combine when dew is off. Mid-morning to late afternoon gives the lowest moisture and cleanest sample.
- Move grain to dryers or bins. Cool the grain within 24 hours and target 12% moisture for long storage.
Swathing vs Direct Combining: Which Method Fits Your Field?
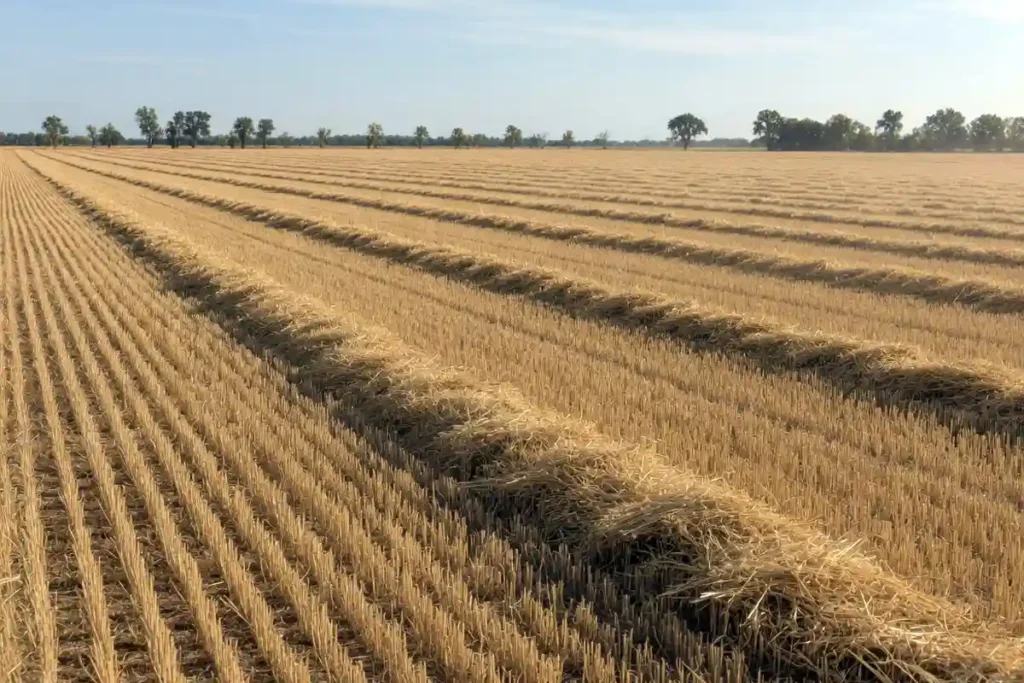
Both methods produce clean oats. The choice depends on stand uniformity and weather risk.
Swathing (windrowing): Cut the crop at hard dough stage when kernels are 30% to 35% moisture. Lay the swath on tall stubble so air moves underneath. Combine the windrow 5 to 7 days later. This method evens out ripening and protects against shatter loss in storms.
Direct combining (straight cut): Combine the standing crop at 13% to 14% moisture. This saves one pass and one machine, but it needs a clean, even stand and steady weather. Lodged or weedy fields lose more grain to the header.
In humid regions like the Upper Midwest, swathing remains common. In drier areas, direct cutting is faster and cheaper.
Combine Settings for Clean Oat Threshing
Oat kernels crack easier than wheat. Start cylinder speed lower and adjust up only if heads come through whole.
| Setting | Starting Range | Adjust If |
|---|---|---|
| Cylinder speed | 600 to 900 RPM | Cracked kernels: lower; whole heads: raise |
| Concave clearance | 3/8 to 1/2 inch | Trash in tank: tighten; cracked grain: open |
| Fan speed | Medium-high | Light kernels blowing out: lower fan |
| Reel speed | 1.25x ground speed | Shatter at header: slow reel |
Check the grain sample every 20 to 30 minutes. Field conditions shift as moisture and temperature change through the day.
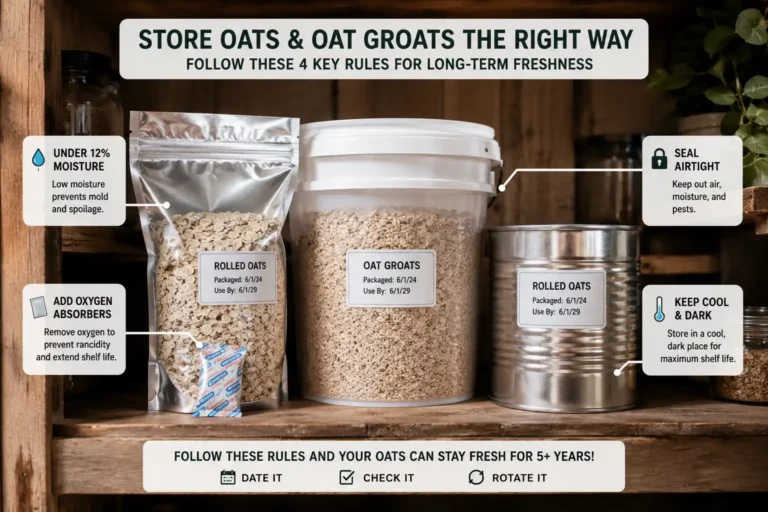
Drying and Storing Oats After Harvest
Wet oats heat up in the bin and lose test weight. Run a dryer or aerated bin until grain reaches 12% to 13% moisture for short storage and 11% to 12% for storage past six months.
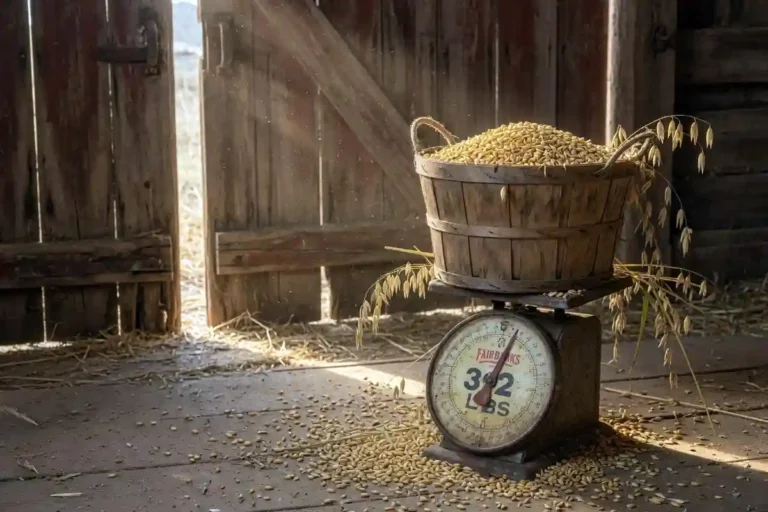
Cool the oats to within 10°F of outside air. Clean bins of old grain, weed seed, and insect debris before filling. Knowing the bushel weight for oats (32 lb per bushel standard) helps size bins and contracts. For broader crop storage methods, follow the same rules: dry, cool, clean, and monitored.
The USDA tracks oat production and grading standards, which set the test weight and dockage thresholds buyers use at delivery.
Common Mistakes When Harvesting Oats
- Combining too wet. Above 16% moisture, kernels bruise and bins heat.
- Combining too dry. Below 11%, shatter loss climbs at the header and reel.
- Cylinder speed too high. Cracked kernels lower test weight and grade.
- Skipping bin cleanout. Old grain hides insects that move into new oats.
- Ignoring lodged areas. Lift heads with a pickup reel attachment or swath those zones first.
Tracking average yield per acre for your variety helps spot losses. A drop of 5 to 10 bushels usually traces back to one of these mistakes.
Safety Tips for Oat Harvest
Combines, augers, and grain bins cause most harvest injuries. Shut down power before clearing plugs. Never enter a bin with flowing grain. Wear hearing protection, dust masks, and snug clothing around moving parts. Keep a charged phone and a first-aid kit in the cab.
Heat stress hits hard during August harvest. Drink water every hour and watch field crews for early signs of heat illness.
FAQs about Guidelines for Harvest Oats
At what moisture should oats be combined?
Can oats be harvested green?
How long does oat harvest take?
Do oats need to dry after combining?
Last Notes
Harvesting oats comes down to reading the crop, setting the combine right, and protecting the grain after it leaves the field. Watch kernel color, test moisture, slow the cylinder, and cool the bin. Get those four right and the oats grade well, store clean, and pay back the season’s work.