How Long to Water Bath Tomatoes for Safe, Shelf-Stable Results
Water bath canning preserves tomatoes safely when you add acid to each jar and hold the correct processing time throughout. This guide covers exact processing times by jar size and product type, altitude adjustments, preparation steps, the full canning workflow, seal checks, and common mistakes that produce unsafe or failed jars.
Water bath processing time for whole or halved tomatoes runs 35 minutes for pints and 45 minutes for quarts at altitudes up to 1,000 feet. Crushed tomatoes follow the same schedule. Tomato juice processes for 35 minutes (pints) and 40 minutes (quarts). Every jar requires added acid before processing.
What Is Water Bath Canning for Tomatoes?
Water bath canning submerges sealed jars in boiling water to destroy spoilage organisms. Tomatoes sit near the pH 4.6 threshold that divides high-acid from low-acid foods. The USDA recommends adding measured acid to every jar to keep pH safely below 4.6. Without added acid, water bath canning does not adequately protect against Clostridium botulinum.
Two acid options work reliably. Bottled lemon juice delivers consistent acidity; fresh lemon juice varies and is not a safe substitute. Citric acid powder also meets USDA standards.
Read next: Are Plum Tomatoes the Same as Roma Tomatoes? 5 Key Differences
How Long Do You Water Bath Process Tomatoes?
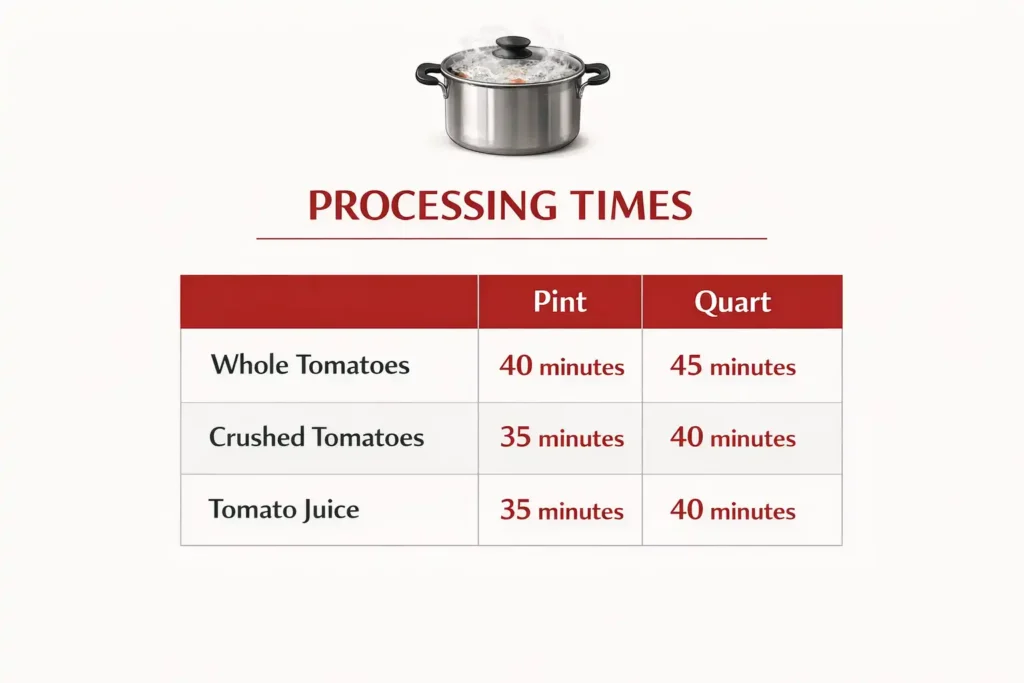
Processing time depends on the product type and jar size. The times below come from the USDA Complete Guide to Home Canning (2015, revised) and apply at altitudes up to 1,000 feet.
| Product | Pints | Quarts |
|---|---|---|
| Whole or halved tomatoes (water or juice pack) | 35 min | 45 min |
| Crushed tomatoes | 35 min | 45 min |
| Tomato juice | 35 min | 40 min |
Start the timer only after the water reaches a full rolling boil. Maintain the boil for the entire processing time without interruption.
How Does Altitude Change Processing Time?
Water boils at lower temperatures above 1,000 feet. Lower boiling temperatures reduce heat penetration and leave food under-processed. Add extra minutes based on your elevation, using the USDA altitude adjustment table.
- At 1,001 to 3,000 feet, add 5 minutes.
- At 3,001 to 6,000 feet, add 10 minutes.
- At 6,001 to 8,000 feet, add 15 minutes.
- Above 8,000 feet, add 20 minutes.
Topeka, Kansas sits at approximately 877 feet, which falls under the base time range. Growers in higher states such as Colorado need to apply an adjustment before processing begins.
What Equipment Do You Need?
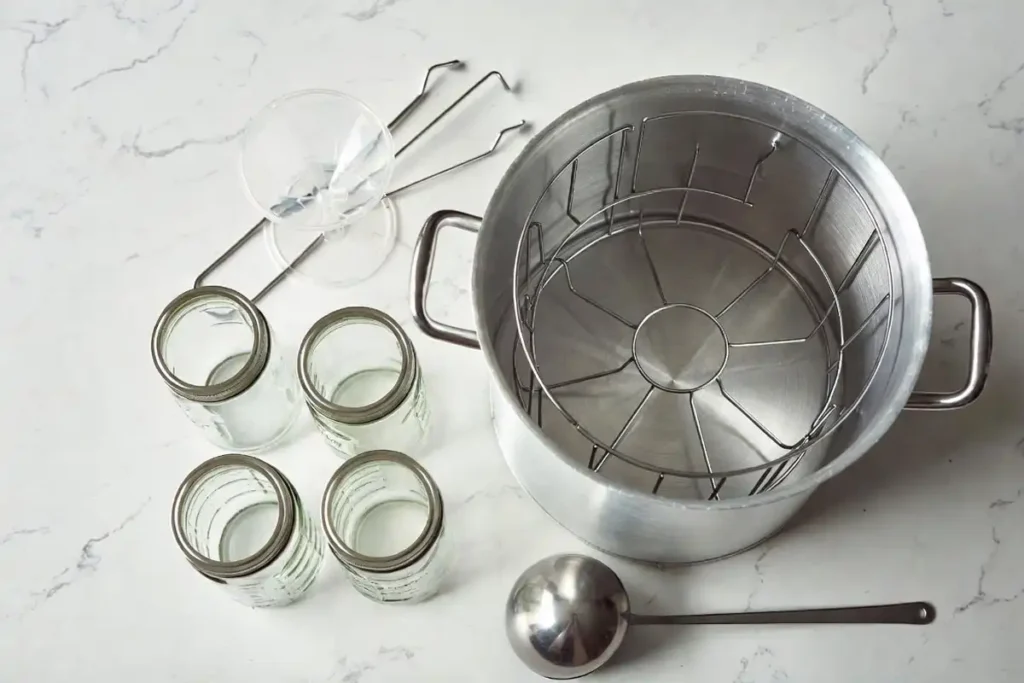
Water bath canning requires a large pot deep enough to cover quart jars by at least 1 inch of boiling water. A jar rack inside the pot holds jars off the bottom and allows water to circulate around each jar.
Standard mason-style canning jars with new lids and reusable metal bands seal each product. A jar lifter, wide-mouth funnel, bubble remover, and ladle complete the setup. Reuse jars and bands if they show no cracks or rust. Replace lids each season; used lids do not reseal reliably.
How Do You Prepare Tomatoes for Canning?
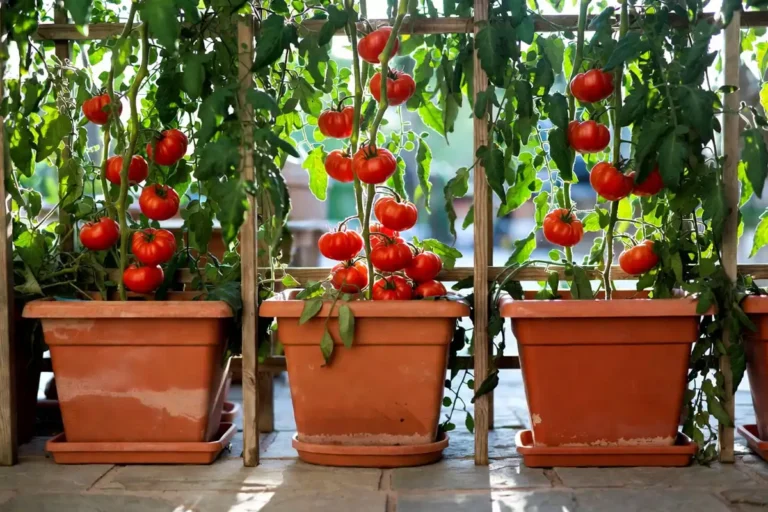
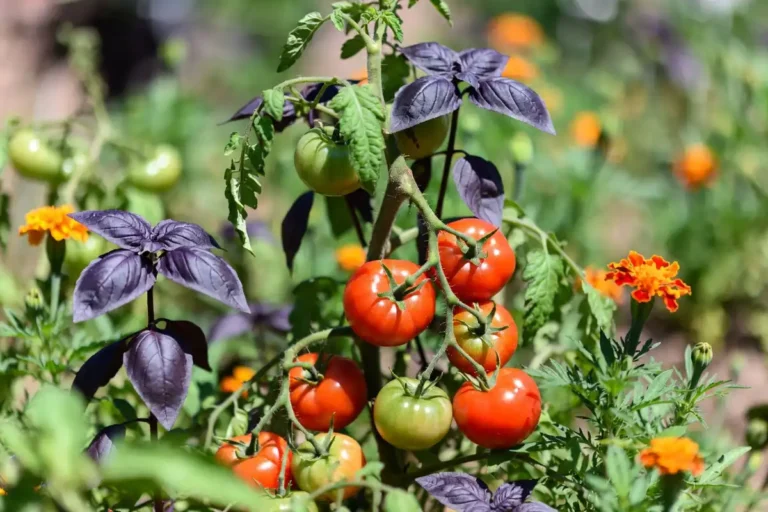
Select firm, ripe tomatoes free of cracks, bruises, or disease. The tomato variety and growing method affect firmness and acid content at harvest, so choose tomatoes at peak ripeness. Wash tomatoes under cool running water and remove stems.
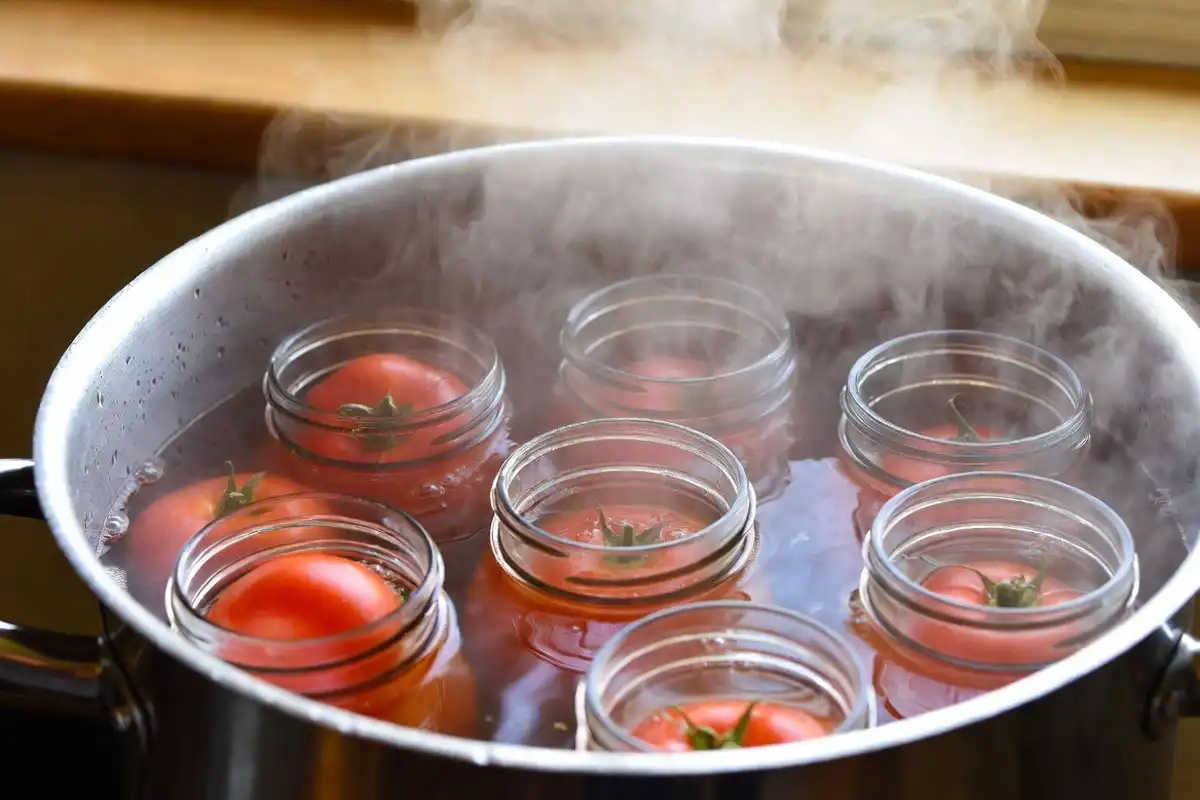
To peel, score a shallow X on the blossom end of each tomato. Blanch in boiling water for 30 to 60 seconds, then transfer immediately to ice water. Skins slip off within a few seconds. Core each tomato and remove any bruised or discolored spots before packing. If you want fully ripe fruit for canning but some tomatoes remain green, follow a safe ripening method before processing.
How Do You Add Acid to Each Jar?
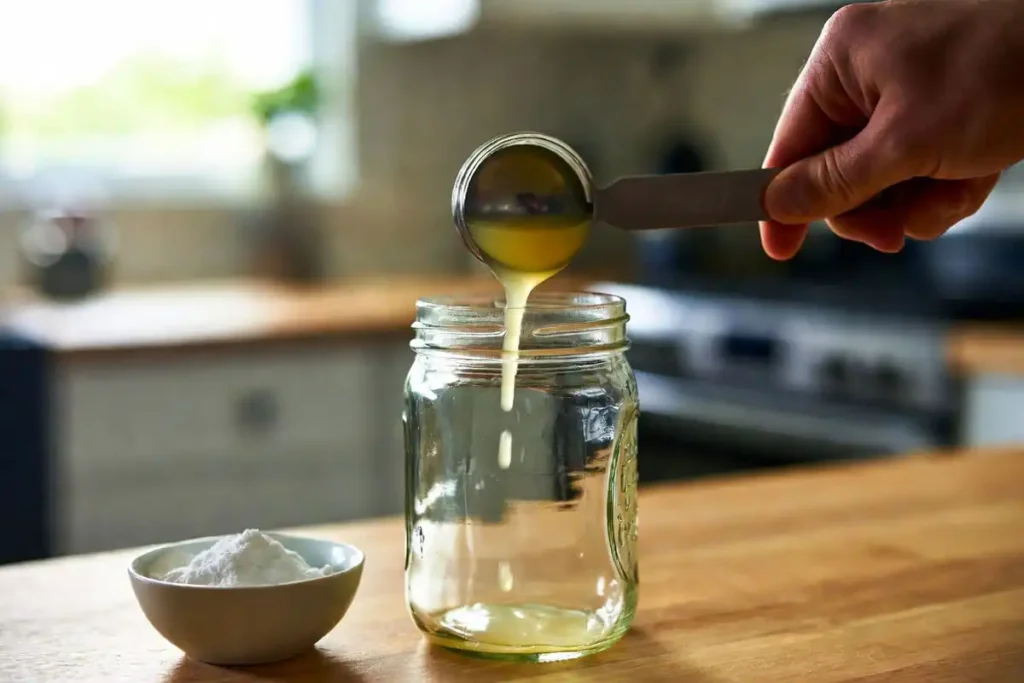
Add acid directly to the empty jar before packing tomatoes. This ensures even distribution throughout the product.
Bottled lemon juice: 1 tablespoon per pint, 2 tablespoons per quart. Citric acid powder: 1/4 teaspoon per pint, 1/2 teaspoon per quart.
Salt is optional for flavor and does not affect safety or processing time. Do not substitute vinegar for lemon juice; vinegar alters flavor without providing consistent acidity.
Step-by-Step Water Bath Process
Order matters in each step below.
- Fill the canning pot halfway with water and heat to a low simmer (around 180°F).
- Wash jars, lids, and bands in hot soapy water. Keep jars hot until filling to prevent thermal shock.
- Add measured acid to each empty jar.
- Pack prepared tomatoes into hot jars, pressing gently to eliminate large air gaps. Leave 1/2 inch of headspace.
- Ladle hot juice or water over tomatoes, maintaining 1/2 inch headspace.
- Run a bubble remover along the inside edges of each jar to release trapped air. Recheck headspace after releasing bubbles.
- Wipe jar rims with a clean damp cloth. Apply new lids and tighten bands to fingertip tight only.
- Lower filled jars into the simmering canner using a jar lifter. Keep jars vertical throughout.
- Add boiling water to cover jars by at least 1 inch. Avoid pouring water directly onto jar lids.
- Cover the pot and bring water to a full rolling boil.
- Start the timer once a full rolling boil holds steady. Maintain the boil throughout the entire processing time.
- When the timer ends, turn off heat and remove the lid. Leave jars in the water for 5 minutes before lifting.
- Lift jars straight up without tilting. Set on a folded towel with 1-inch spacing between jars.
- Leave jars undisturbed for 12 to 24 hours before checking seals.
Understanding post-harvest handling at the farm level helps you select the right fruit at the right stage, which directly affects canning quality and safety.
How Do You Check the Seal?

A properly sealed lid sits concave and feels rigid when pressed at the center. An unsealed lid flexes up and down under light finger pressure, producing an audible pop.
Remove the band and tilt the jar gently. Liquid seeping around the rim confirms a failed seal. Refrigerate any jar that did not seal and use within one week. Reprocessing re-heats tomatoes and reduces quality; refrigeration is the safer option for failed seals.
Common Mistakes to Avoid
Skipping added acid produces the highest safety risk. Tomatoes without bottled lemon juice or citric acid fall outside the safe pH range for water bath canning.
Starting the timer during a simmer cuts total heat exposure below the tested minimum. The timer begins only when the water holds a full rolling boil.
Incorrect headspace causes seal failures. Less than 1/4 inch of headspace forces liquid out during processing and prevents a clean seal. More than 3/4 inch of headspace leaves excess air that weakens the vacuum.
Using cracked or chipped jars creates weak points that fail under heat pressure and release seal integrity.
Adjusting tested recipes introduces untested acid or density levels. Follow USDA-tested recipes without substitutions or ratio changes.
Safety Rules
Follow only USDA-tested recipes and processing times. Do not reduce acid amounts or shorten processing time.
Discard any jar that produces spurting liquid, off-odors, cloudiness, bubbling, or a bulging lid upon opening. Do not taste food from any jar that looks or smells abnormal. Botulism toxin is colorless and odorless in some cases; visible signs alone do not confirm safety.
Store sealed jars in a cool, dark location below 70°F. For best quality, use within 18 months. Label each jar with the product name and date before placing in long-term storage.
Conclusion
Water bath canning processes tomatoes safely at 35 minutes for pints and 45 minutes for quarts at sea-level elevations. Added acid, accurate headspace, a full rolling boil before starting the timer, and the altitude adjustment for your region protect every jar. Confirm seals after 12 to 24 hours and store in a cool, dark location. Use USDA-tested times and recipes for every batch.