How Do You Dry Corn on the Cob: 6 Simple Steps (Farmer’s Guide)
Drying corn on the cob means lowering kernel moisture until the corn becomes dry enough to store safely on the cob without spoiling, usually at 13 to 15 percent. This guide walks through the process I use on my Kansas farm, covering timing, drying methods, moisture checks, common problems, and how to store the finished cobs.
To dry corn on the cob, pick fully mature ears with brown husks, peel back or remove the husks, hang the cobs in a warm, dry, well-ventilated space for 2 to 6 weeks, then test kernels for hardness before shelling or storing. Target moisture is 13 to 15 percent for feed and grinding, under 12 percent for seed.
What Does Drying Corn on the Cob Mean?
Drying corn on the cob lowers kernel moisture so the grain stores without mold or rot. Fresh kernels at harvest hold 25 to 35 percent moisture. Safe long-term storage sits near 13 to 15 percent. I dry cobs for seed saving, cornmeal, livestock feed, and fall decoration.
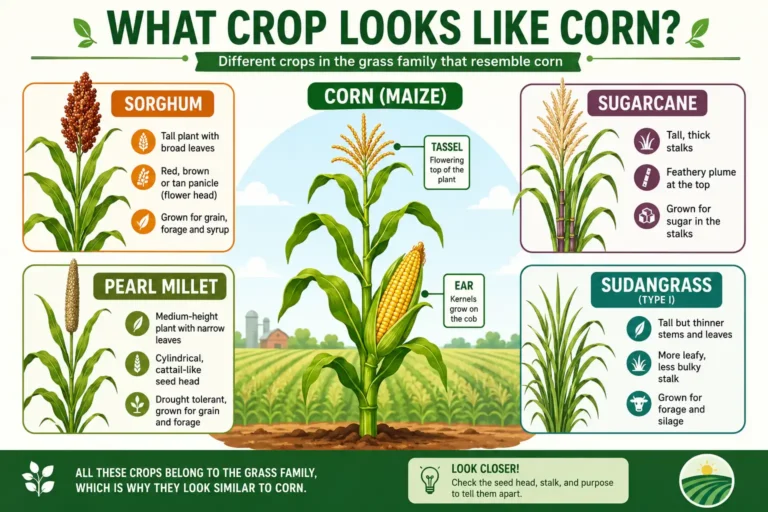
Different corn types target different end moisture. Dent corn, flint corn, and popcorn each behave a little differently, but every variety needs air, time, and patience. Seed corn stays under 100°F during drying to protect germination. Feed corn handles warmer air without issue. You can read more on reading crop readiness in my guide on when crops are ready to harvest.
When to Start Drying Corn on the Cob
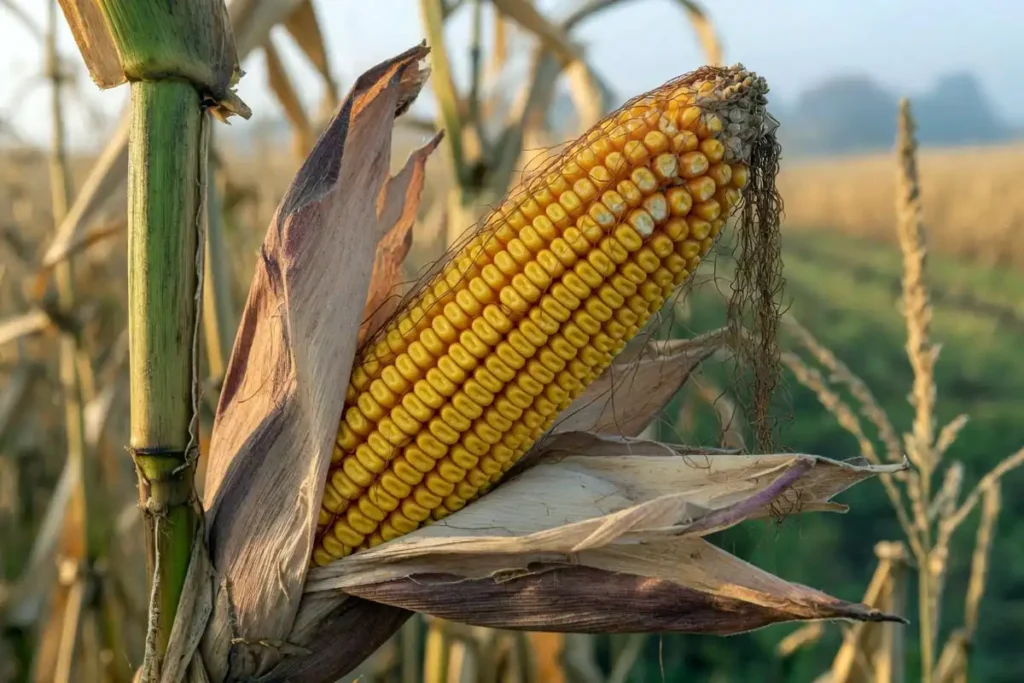
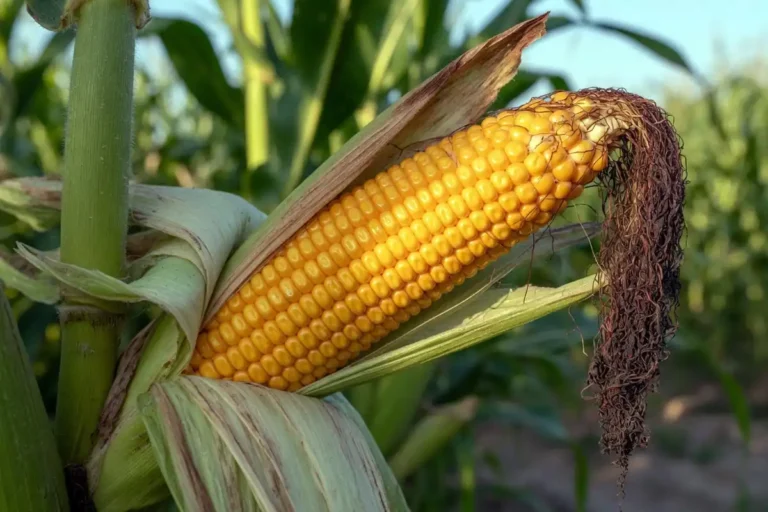
I start drying once the corn reaches full maturity on the stalk. Husks turn brown and papery, silks dry out, and the kernels develop a dent or a hard shine. A pressed thumbnail leaves a light mark, not juice.
If a frost is moving in, I pick the ears early and finish drying indoors. Leaving mature cobs on the stalk too long invites mold, stalk rot, birds, and raccoons. Proper post-harvest handling practices start the moment you pull the ear.
Where to Dry Corn on the Cob
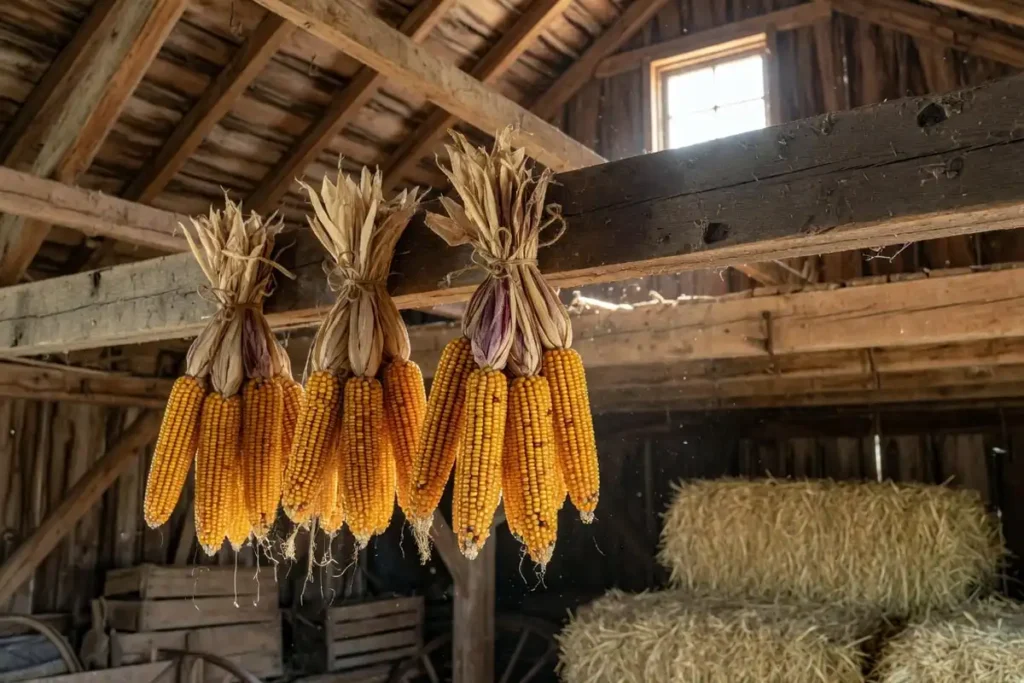
The best drying spot is dry, warm, shaded, and well-ventilated. I use my barn loft, a covered porch, or an open attic. Airflow matters more than heat. Damp basements, closed sheds, and direct sunlight cause problems. Sun fades kernel color and cracks the outer seed coat.
For small batches, a mesh rack on the kitchen counter works fine. For braiding ornamental ears, I use a covered porch rafter.
How to Dry Corn on the Cob Step by Step

Here is the full workflow I follow every fall.
1. Pick fully mature ears
I harvest once husks are dry and brown, silks are crisp, and kernels dent or shine hard. I twist the ear down and sideways until it snaps off.
2. Peel back or remove the husks
Pulling husks back exposes kernels to air and speeds drying. For decorative corn, I leave husks attached and braid or tie them in bunches.
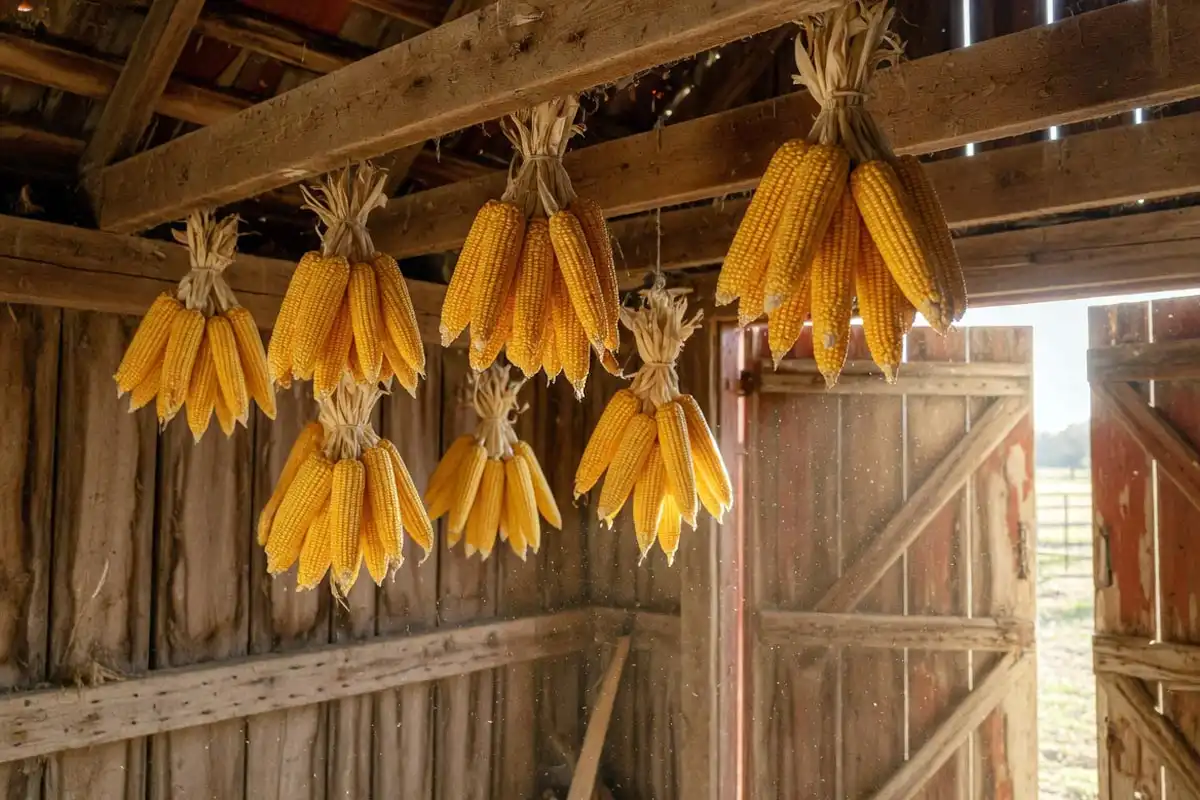
3. Hang or rack the cobs
I hang bunches of 4 to 8 cobs from a rafter with twine. Loose cobs go on a wire mesh rack in a single layer. I keep about 2 inches of space between ears for airflow.
4. Let the cobs dry 2 to 6 weeks
Drying time depends on humidity, airflow, and starting moisture. Low humidity and steady air finish the job faster. A small fan helps in humid weather.
5. Test kernel hardness
Pop a few kernels off and press with a thumbnail. Dry kernels chip or crack, not dent. A dependable grain moisture tester gives the clearest reading.
6. Shell or store whole
Decorative ears stay intact. Feed, seed, and grinding corn gets shelled by hand, with a corn sheller, or by twisting two cobs together over a bucket.
Drying Methods for Corn on the Cob
I pick the method based on weather, batch size, and end use.
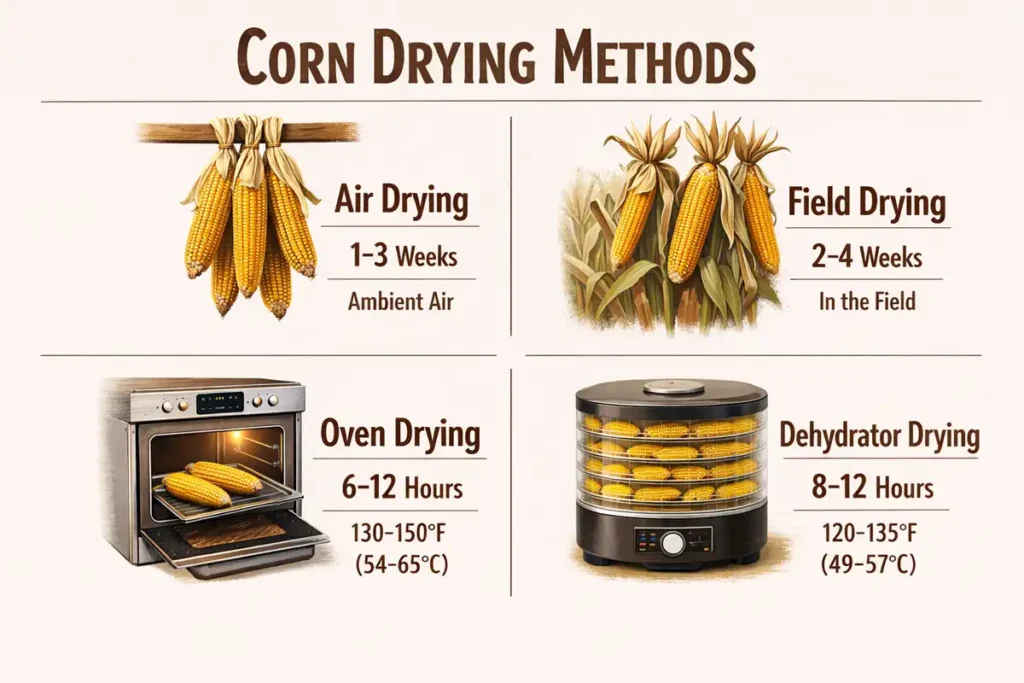
Air drying is my standard. It costs nothing and handles large batches in any ventilated space. I use it for seed corn and most of my cornmeal stock.
Field drying leaves mature ears on the stalk with husks pointed down. It works in dry fall weather but risks damage from rain, wind, and wildlife. The USDA Economic Research Service tracks field corn moisture patterns across growing regions.
Oven drying uses the lowest oven setting (around 140°F) with the door cracked. Seed corn stays below 100°F. Good for small batches.
Dehydrator drying works best with shelled kernels at 125 to 135°F for 8 to 12 hours. This is the fastest route. The National Center for Home Food Preservation offers home-scale drying guidance for corn and other vegetables.
How to Test if Dried Corn Is Ready
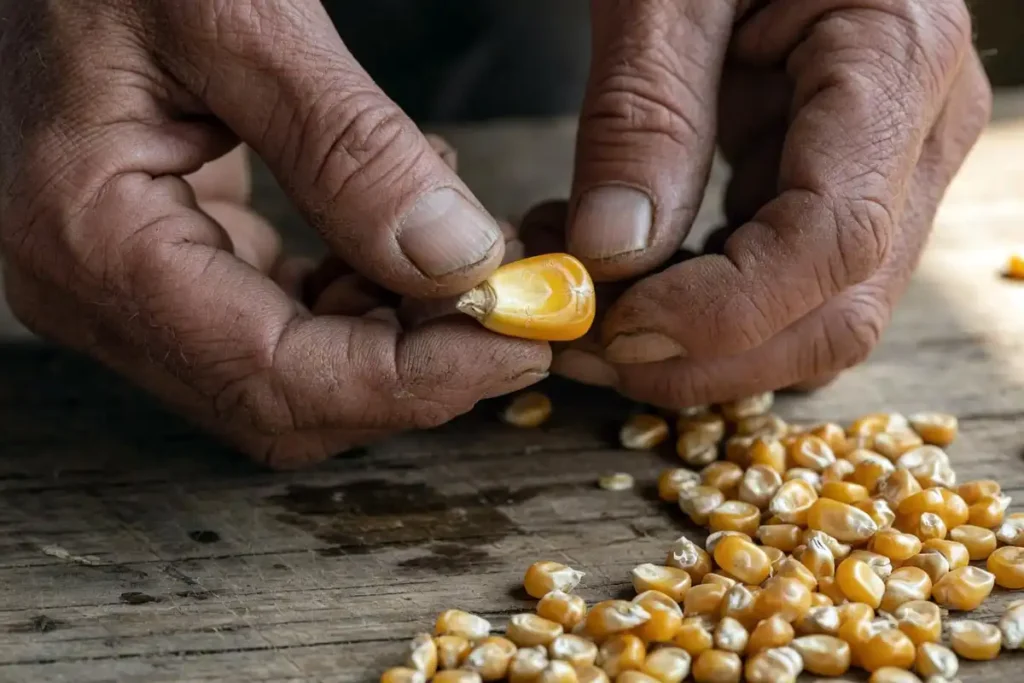
Ready corn gives clear signals. Kernels feel hard, not spongy. A fingernail press dents and springs back or chips off the tip. Dropped kernels sound sharp, not dull. Shelled kernels rattle in a jar.
For grinding and feed, I aim for 13 to 14 percent moisture. For seed saving, under 12 percent protects germination through cold storage.
Common Mistakes to Avoid When Drying Corn on the Cob
- Picking ears too early before kernels harden
- Stacking cobs too tightly and blocking airflow
- Drying in a damp basement or sealed shed
- Skipping the moisture test and storing wet corn
- Using high heat on seed corn and killing germination
- Sealing husks tight over green kernels
- Storing dried corn in paper bags where rodents chew through
Troubleshooting Corn Drying Problems
Mold on kernels. Move cobs to drier air. Toss any ear with black spots or fuzzy growth.
Uneven drying. Rotate cobs weekly and thin crowded bunches for more space.
Slow drying. Add a small fan. Lower the room humidity with a dehumidifier if needed.
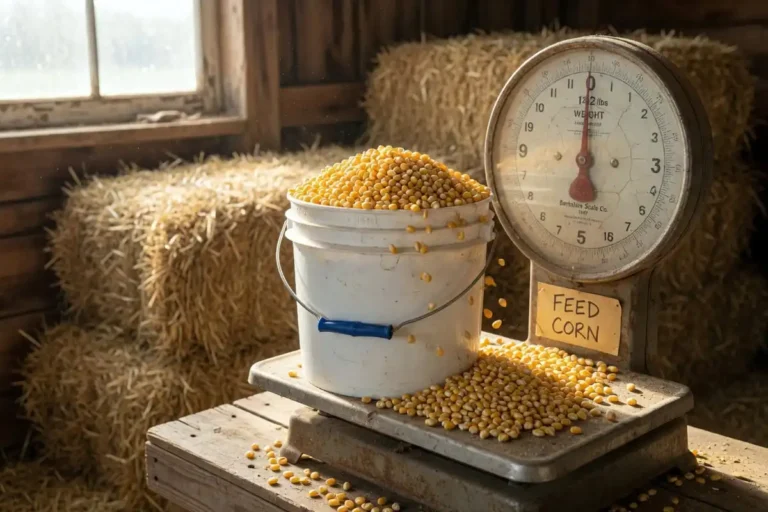
Rodents and weevils. Hang cobs high and screen barn openings. Move finished cobs into sealed metal or hard plastic bins for storage. For reference on container size, see how much a 5-gallon bucket of corn weighs and how many pounds of corn fit in a bushel when planning bins.
Cracked kernels. Lower the drying temperature. High heat splits the seed coat.
Safety Tips for Drying and Storing Corn
- Keep the drying area dry, clean, and rodent-proof
- Discard any cobs with mold, black rot, or a sour smell
- Store dried corn in sealed bins with tight lids
- Label every bin with variety, moisture, and date
- Keep seed corn cool, dark, and dry for best germination
- Review proper crop storage methods before you commit to a long-term bin
FAQs About How to Dry Corn on the Cob
How long does it take to dry corn on the cob?
Can you dry corn on the cob in the oven?
What is the right moisture level for stored corn?
How do you dry corn on the cob for decoration?
Can you dry corn on the cob outside?
Final Thoughts
Drying corn on the cob comes down to three things: airflow, patience, and a solid moisture check. Pick ears when kernels harden, give cobs breathing room, test before storage, and keep the space dry. The same workflow covers seed stock, animal feed, cornmeal, and fall decoration.