How to Increase Crop Yield: 10 Smart Moves Farmers Trust

Increase crop yield by improving the stand, removing the biggest growth limit first (soil, water, nutrition, weeds, pests), and tightening timing from planting through harvest. Most yield gains come from doing the basics consistently, not chasing one magic input. In this guide, I’ll walk you through a start-to-finish workflow you can follow on any crop, then show the key checks, decision points, and fixes that protect yield when the season gets messy. Use it as a repeatable playbook and adjust rates and timings to your region and crop.
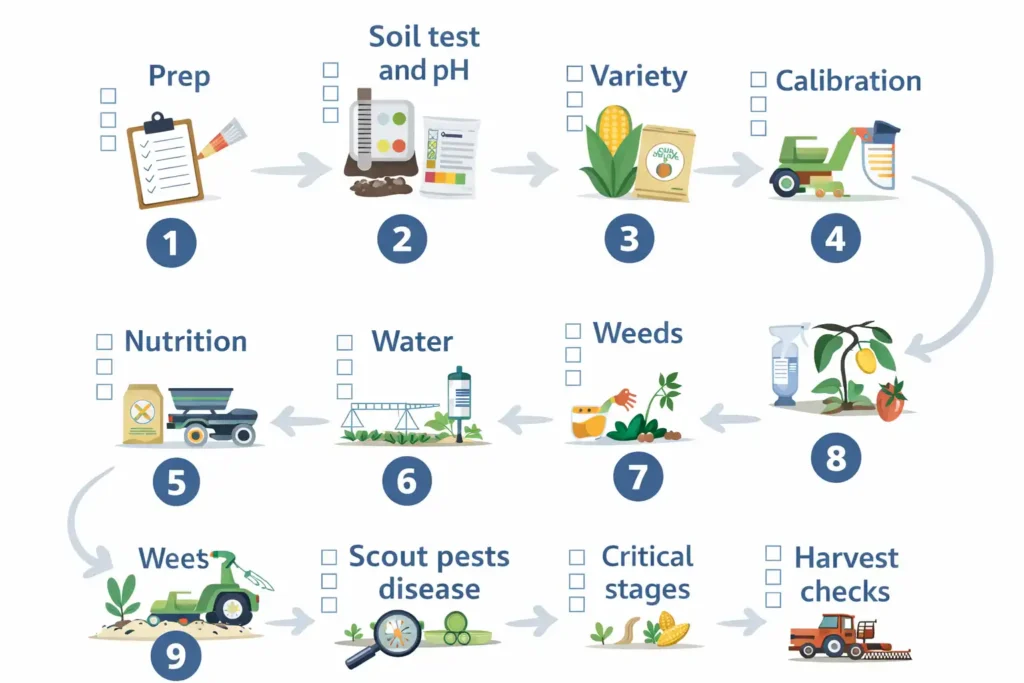
The Start-To-Finish Workflow to Increase Crop Yield
This is the order I use because each step sets up the next. If you skip ahead, you usually pay for it later.
If you’re trying to protect the yield you worked for, choose safe long-term crop storage options that match your grain moisture, local humidity, and how long you plan to hold the crop.
Crop farming yield improvement usually comes from fixing the weakest link first, like stand gaps, compaction, fertility balance, or weed escapes.
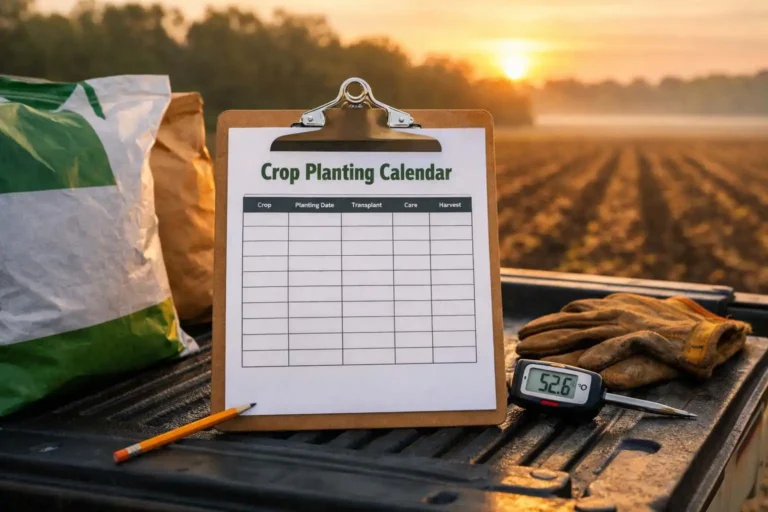
Step 1: Prep your “yield plan” before the season
Write down three things for each field or bed: your yield goal, your biggest limiting factor from last year, and one improvement you will actually do.
Prep checklist
- Last year’s notes: planting date, population, fertilizer, sprays, irrigation, harvest date
- Problem map: thin spots, drowned-out areas, weedy patches, disease hot spots
- A simple budget: what you can spend per acre without guessing
Decision point
- If you do not know why yield was low last year, plan extra scouting and a few soil tests first. Guessing is expensive.
Step 2: Test soil and fix pH first
Soil pH controls how available nutrients are to the crop. If pH is off, fertilizer efficiency drops and roots struggle.
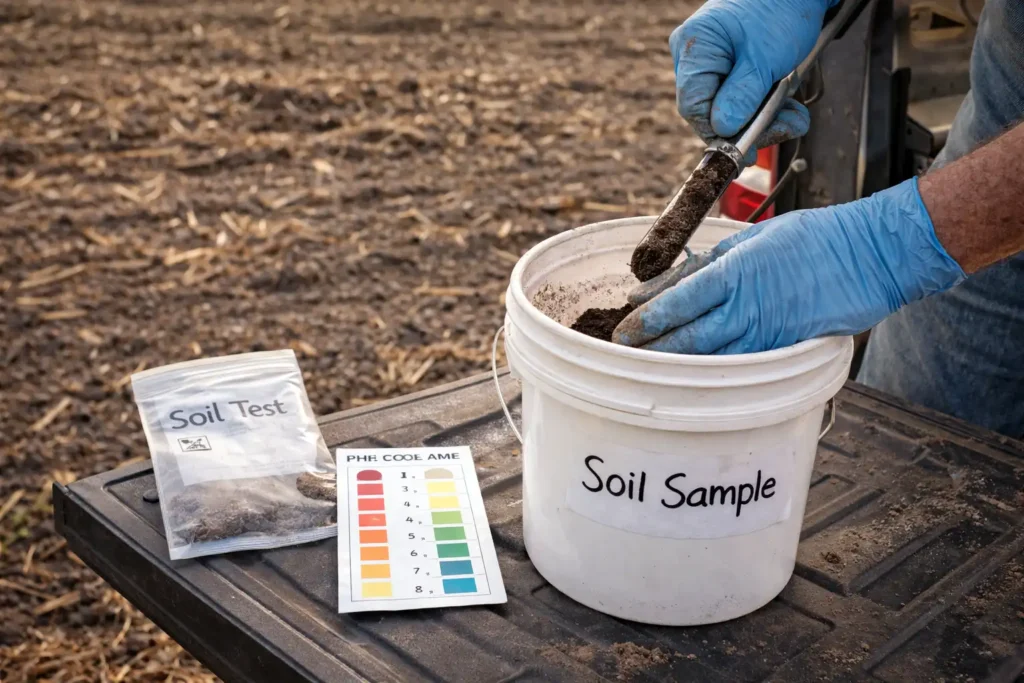
What to do
- Pull soil samples by zone if the field varies (hilltops vs low spots).
- Apply lime based on lab recommendation and incorporate if your system allows.
- Plan fertility around realistic yield targets, not best-ever yields.
For practical fertilizer planning and soil basics, use soil fertility management.
Common mistake
- Spreading nutrients when pH is low and expecting the crop to “grow out of it.” It usually does not.
Before you spend more on seed, fertilizer, or sprays, run a crop production cost and profit analysis so you know which yield upgrades actually pay you back in your fields.
Step 3: Choose the right variety and seed quality for your conditions
The highest yielding variety on paper is not always the best in your field. Match maturity and stress tolerance to your season length, heat, and disease pressure.
What to prioritize
- Proven performance in your region
- Disease resistance that matches your rotation history
- Seed quality and treatment appropriate for early-season risks
Decision point
- If you plant into cool, wet soils, favor strong emergence traits and consider seed treatments recommended for your crop and area.
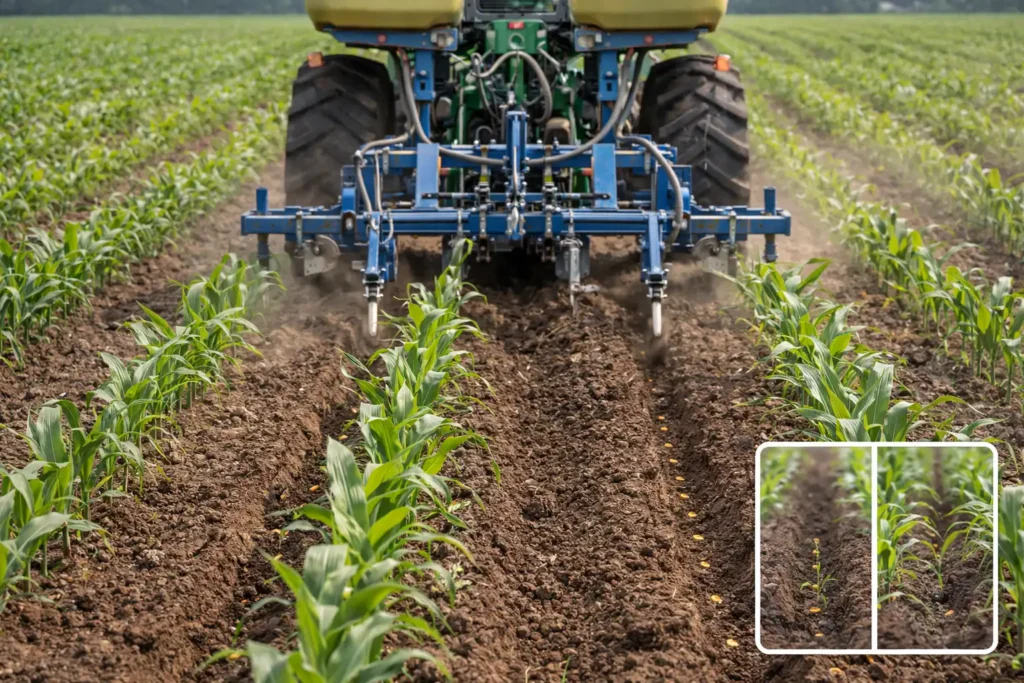
Step 4: Set up equipment so you get an even stand
A uniform stand is one of the cheapest yield wins. It starts with calibration and consistent seed placement.

What to do
- Calibrate seeding rate and check meters before you roll.
- Set planting depth for moisture, not for habit.
- Make sure you have good seed-to-soil contact.
- Adjust for residue so you do not hairpin or leave seed in dry fluff.
If you need a refresher on dialed-in planting basics, read planting and seeding practices.
Check
- Dig behind the planter. If depth varies more than you expect, fix it now, not after emergence.
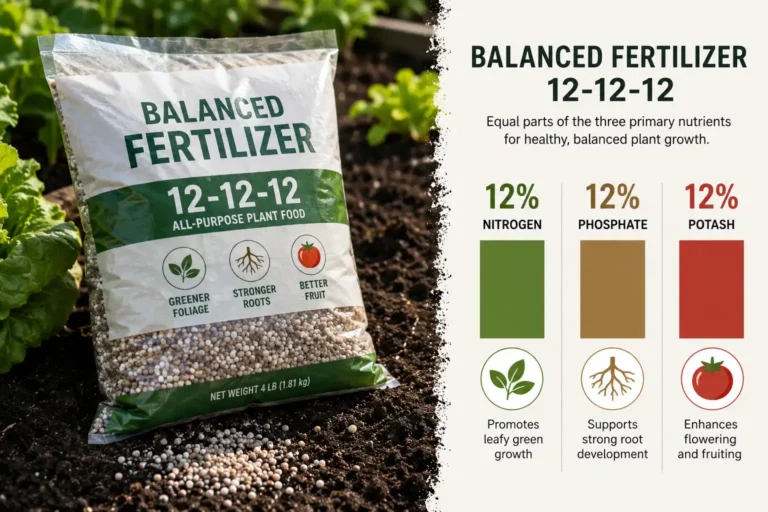
Step 5: Build a nutrition plan around crop stages
Yield is built in stages. Early nutrition builds roots and leaf area. Mid-season nutrition supports rapid growth. Late-season nutrition supports grain or fruit fill.
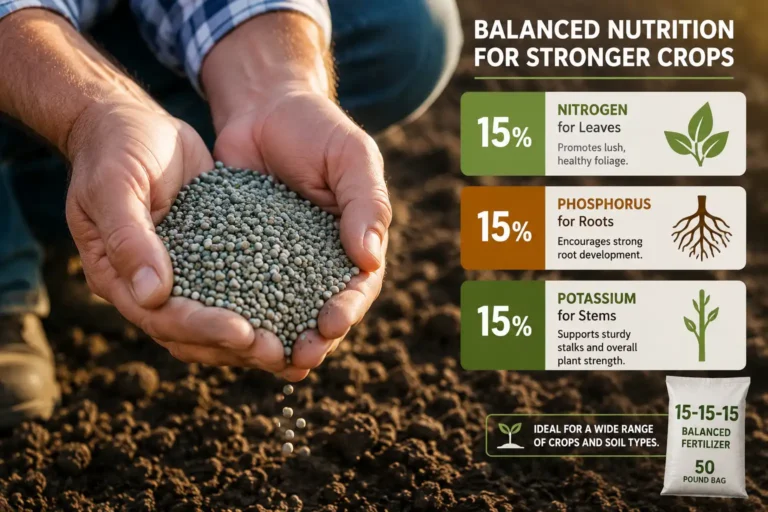
What to do
- Apply base nutrients from soil test needs (often phosphorus and potassium).
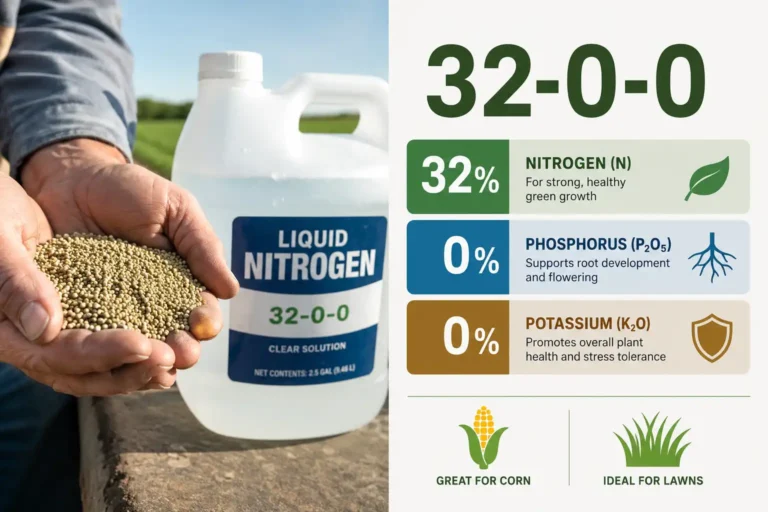
- Manage nitrogen so the crop has access when demand spikes.
- Consider split applications where loss risk is high (sandy soils, heavy rain patterns).
Decision point
- If you have a history of leaching or denitrification, split nitrogen and avoid one big early dose.
Common mistake
- Overfeeding late and underfeeding early. Crops cannot “catch up” fully once they miss early growth.
Step 6: Manage water to avoid hidden stress
Water stress can cut yield long before plants look dramatic. Even short stress during flowering, grain fill, or fruit set can cost more than people realize.
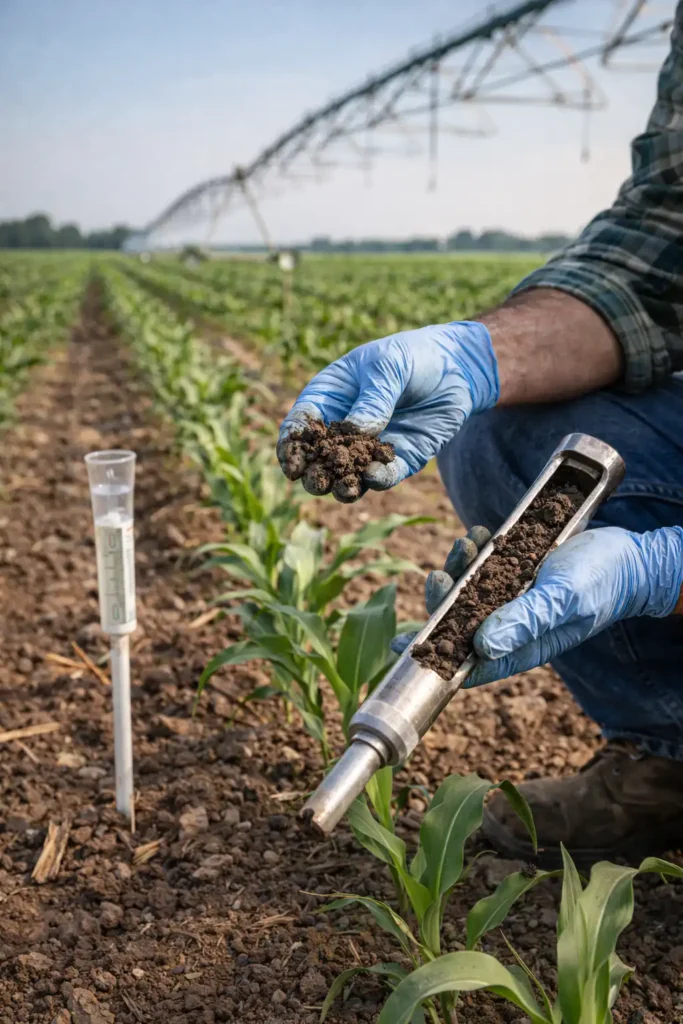
What to do
- Know your soil’s water-holding capacity. Sand runs out fast, loam buys you time, clay holds water but can suffocate roots when saturated.
- Use rainfall and soil feel checks, or probes if you have them.
- Irrigate to refill the root zone, not to “wet the surface.”
For scheduling and system basics, use irrigation and water planning.
Troubleshooting
- Plants wilt midday but recover by evening: watch closely, you may be on the edge.
- Plants stay limp into the evening: you are losing yield now. Check soil moisture and root health.
Step 7: Win early against weeds
Weeds steal light, nutrients, and water when the crop is small and most vulnerable. Early control protects yield potential.
What to do
- Start clean, either with tillage or a burndown approach appropriate for your system.
- Use residual control where it fits your crop and label.
- Scout 7 to 14 days after emergence and act before weeds get established.
For practical weed strategies, see weed control practices.
Common mistake
- Waiting until weeds are big enough to “feel worth spraying.” By then, yield loss is already baked in.
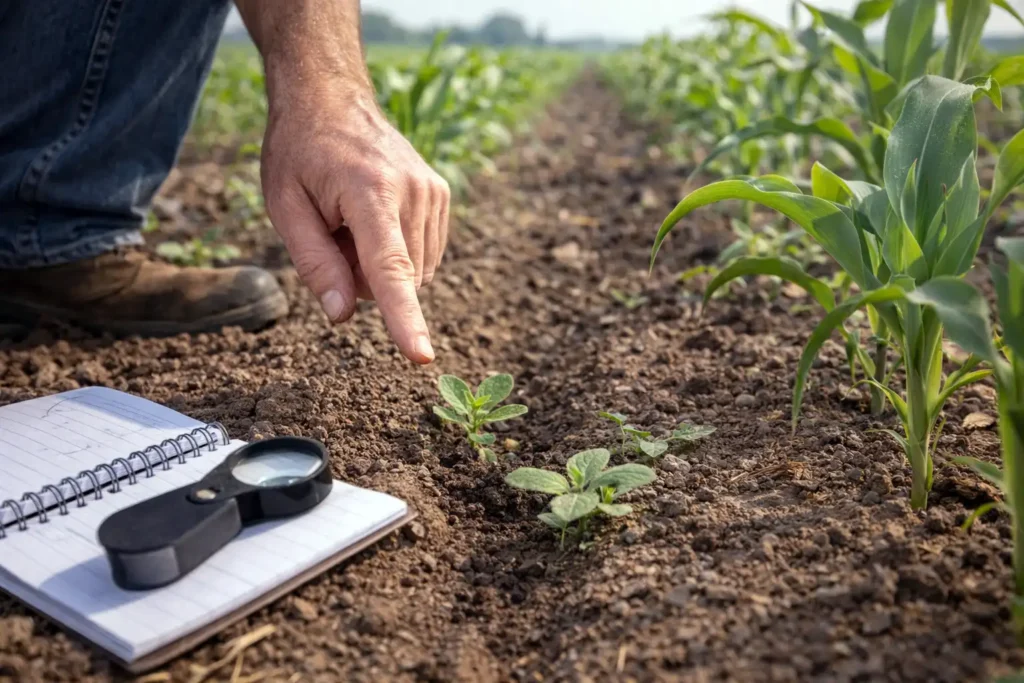
Step 8: Scout for pests and disease on a schedule, not a mood
Scouting is how you protect yield without wasting money. Walk fields weekly, and more often during high-risk weather or growth stages.
What to do
- Check plants in multiple zones, not just the easy edge.
- Identify the issue correctly before treating.
- Use thresholds and local guidance where available.
- Rotate modes of action to slow resistance.
For integrated management basics, see pest and disease management.
Safety note
- If you mix or apply pesticides, protect your skin, lungs, and eyes every time. Use the right gear and follow labels. A good starting point is farm safety and PPE.
Step 9: Protect the crop through critical yield stages
Every crop has “can’t-miss” stages. If you are unsure, ask your local extension or agronomist for the critical windows for your crop.
Examples
- Corn: stand establishment, tasseling/silking, grain fill
- Soybean/legumes: flowering and pod set, seed fill
- Vegetables: transplant establishment, flowering, fruit set and sizing
- Root and tuber crops: early canopy build, bulking period
Decision point
- If the crop enters a critical stage and you see stress coming (heat, drought, disease weather), prioritize protecting that window over less important jobs.
Step 10: Harvest on time and measure losses
You can grow a great crop and still lose yield at harvest. Timing and machine settings matter.
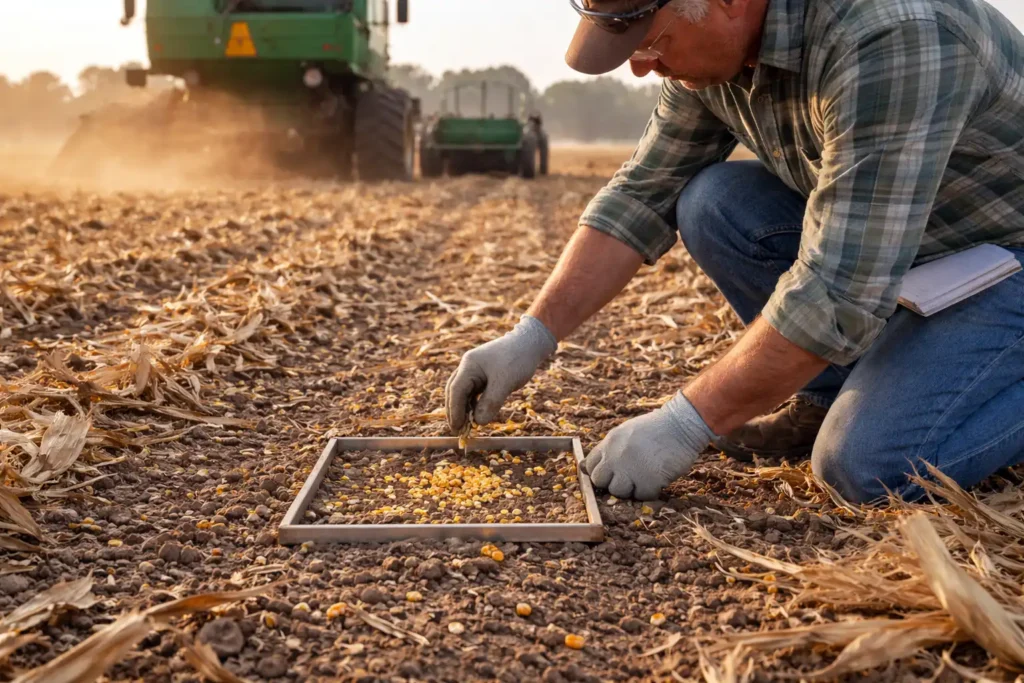
What to do
- Harvest at the right maturity and moisture for your crop and storage plan.
- Check harvest losses behind the machine and adjust.
- Store properly to protect what you grew.
If you want a complete handling and storage walkthrough, use harvest and storage practices.
The “checks” that tell you if your plan is working
These are simple, practical indicators you can measure without fancy tools.
- Stand count and uniformity: Are plants evenly spaced and emerging within a tight window?
- Root health: Do roots go down and branch, or are they shallow and stubby?
- Leaf color and growth rate: Is the crop steadily adding biomass, or stalling?
- Weed pressure early: Are you clean through early growth, especially the first month?
- Scouting notes: Are pest and disease issues increasing, stable, or fading?
- Water status: Does the soil profile have moisture where roots are, not just at the surface?
Common mistakes that quietly reduce yield
- Chasing one product while ignoring pH, stand, weeds, or water.
- Planting into poor seedbeds just to “get it done.”
- Overapplying nitrogen early and losing it before the crop can use it.
- Treating pests without confirming the real cause of damage.
- Skipping calibration on seeders, sprayers, and fertilizer spreaders.
- Harvesting too late and losing quality, shatter, or storage life.
Troubleshooting: quick diagnosis by symptom
Use this to narrow down the likely limiter, then confirm with digging, scouting, or testing.
Patchy, uneven emergence
- Likely causes: inconsistent depth, residue hairpinning, cold wet spots, seed-to-soil contact issues
- Fix: adjust planter setup, manage residue, avoid planting into mud, check closing wheels
Tall plants next to short plants
- Likely causes: uneven emergence timing, compaction, nitrogen variability, water variability
- Fix: improve seed placement, reduce compaction, split nutrients, manage drainage
Good color early, then sudden yellowing
- Likely causes: nitrogen loss, root damage, waterlogging, disease pressure
- Fix: check soil moisture and roots first, then consider tissue testing and targeted rescue where appropriate
Weeds break through after you “handled it”
- Likely causes: no residual, poor coverage, wrong timing, resistance
- Fix: tighten early timing, improve coverage, rotate chemistry and modes of action, add cultural controls
What results to expect and how to keep improving
A realistic goal is steady improvement, not a one-year miracle. When you follow the workflow, you typically see:
- More uniform stands and stronger early growth
- Fewer weed and pest surprises
- Better efficiency from fertilizer and irrigation
- Less harvest loss and better crop quality
The best long-term yield growers I know do two things: they keep clean records, and they fix the biggest limiter first every season. If you do that, yield usually climbs year after year, even when the weather does not cooperate.
The short version you can follow every year
Higher yield comes from doing the basics extremely well, in the right order: correct pH and compaction, plant for an even stand, win early weed control, time nutrients and water to crop demand, scout with discipline, and reduce harvest and storage losses. When you measure results and fix one limiter at a time, yield climbs and stays up.