When to Plant Walking Onions: A Practical Guide for Beginners
Walking onions grow best when planted in early fall or early spring, depending on your USDA hardiness zone. This guide covers the right planting window for each climate, step-by-step planting instructions, soil preparation, spacing, aftercare, and common mistakes that slow down establishment.
Plant walking onion bulbils in early to mid-fall (September through October) for strongest root development before winter. Spring planting works too, from late March through April, once the ground thaws. Fall-planted walking onions produce earlier and larger harvests the following year than spring-planted ones.
Contents
- 1 What Are Walking Onions?
- 2 When to Plant Walking Onions by Season
- 3 When to Plant Walking Onions by USDA Zone
- 4 Where to Plant Walking Onions
- 5 How to Plant Walking Onions: Step by Step
- 6 How to Care for Walking Onions After Planting
- 7 When to Harvest Walking Onions
- 8 Common Pests and Diseases
- 9 Common Mistakes to Avoid When Planting Walking Onions
- 10 FAQs on Planting Walking Onions
- 11 Conclusion
What Are Walking Onions?
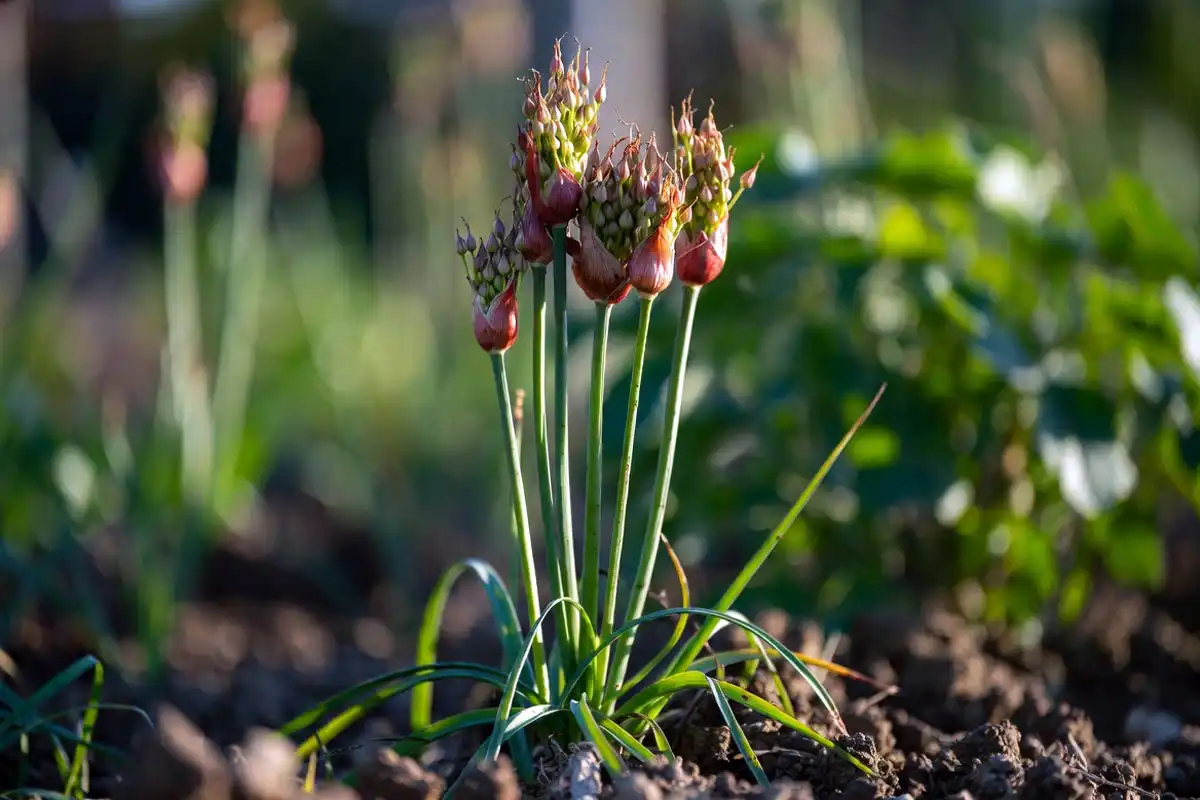
Walking onions (Allium cepa var. proliferum) are perennial onions that produce clusters of small bulbs called bulbils at the top of their stems. These topsets grow heavy, bend the stalk to the ground, and root where they land. This self-propagating habit gives the plant its “walking” name.
Other common names include Egyptian walking onions, tree onions, and topsetting onions. The plant is a natural hybrid between the common onion (Allium cepa) and the Welsh onion (Allium fistulosum). Every part of the plant is edible: the underground bulb, the hollow green leaves, and the aerial bulbils.
Walking onions thrive in USDA hardiness zones 3 through 10. They tolerate temperatures down to around -24°F (-31°C) and grow back each spring without replanting. Once established, a single patch produces green onions, scallion-like leaves, and bulbils for years.
When to Plant Walking Onions by Season
Fall Planting (Best Option)
Fall is the strongest planting window for walking onions. Plant bulbils from early September through mid-October, 4 to 6 weeks before your first hard frost. This timing gives the roots enough weeks to anchor into the soil before the ground freezes.
Fall-planted walking onions develop a root system through autumn and winter. They send up green shoots weeks earlier in spring than spring-planted ones. I planted a batch in late September here in Kansas, and the greens appeared in early February the following year.
If you plant onions in the fall, cover the bed with 2 to 3 inches of straw mulch after the first frost. This insulates the bulbils and prevents frost heaving.
Spring Planting
Spring planting works for gardeners who miss the fall window. Plant bulbils in late March through April, once the soil temperature reaches 45°F (7°C) and the ground is workable.
Spring-planted walking onions take longer to establish. They often skip their first-year bulbil production and focus energy on root growth instead. Expect a full harvest starting in the second growing season.
Summer Planting
Walking onions produce ripe bulbils in late summer, usually July through August. You can plant these fresh bulbils right away. They root quickly in warm soil and establish before fall.
If you get bulbils mid-summer, plant them within a few weeks. Bulbils stored too long in heat dry out and lose viability.
When to Plant Walking Onions by USDA Zone
Planting timing shifts based on your hardiness zone. Here is a general guide:
Zones 3 to 5 (Cold climates): Plant in September or wait until late April through May. Winter mulch is necessary for fall plantings. Spring-planted bulbils go in once the soil thaws.
Zones 6 to 7 (Temperate climates): Plant from mid-September through October for fall, or March through early April for spring. These zones offer the widest planting windows.
Zones 8 to 10 (Warm climates): Plant from October through November. Walking onions need a cold period for proper dormancy. In warmer zones, late fall planting lets the plant experience enough chill hours.
When you are deciding to plant garlic and onions, walking onions follow a similar fall schedule as garlic in most zones.
Where to Plant Walking Onions
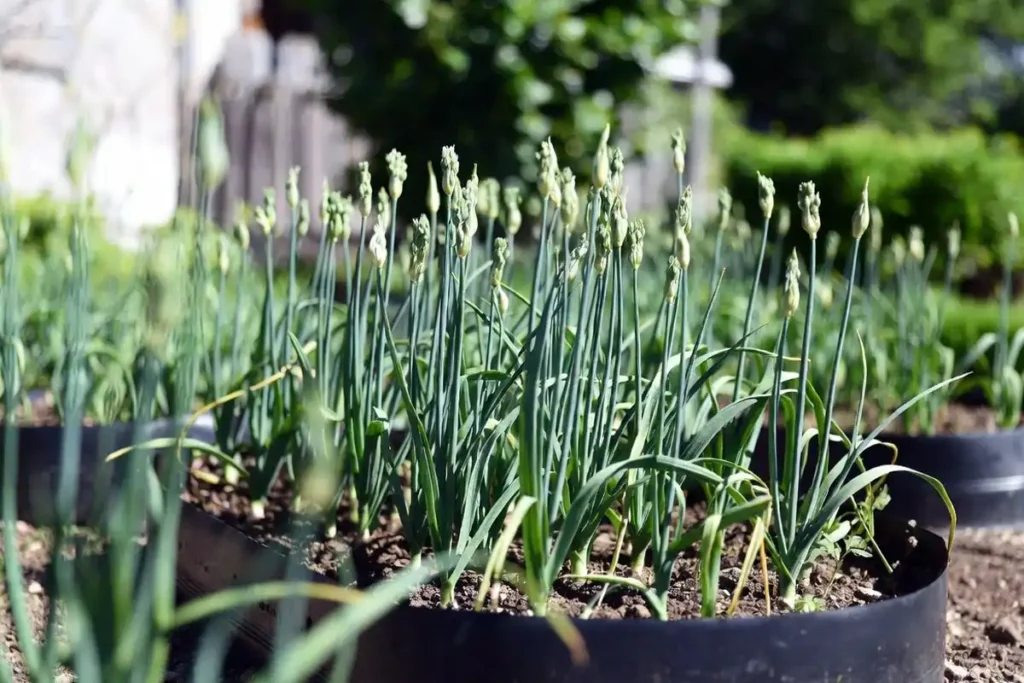
Walking onions prefer full sun with at least 6 hours of direct light per day. They tolerate partial shade but produce fewer bulbils and thinner greens in low-light spots.
Choose a permanent location. Walking onions are perennial and stay productive for 5 to 10 years or longer in the same bed. A dedicated corner of the garden or the edge of a raised bed works well.
The soil needs good drainage. Walking onions rot in waterlogged ground. Sandy loam or loamy soil with a pH between 6.0 and 7.0 gives the best results. If your soil is heavy clay, amend it with compost to improve structure and drainage.
One practical advantage: walking onions tolerate juglone, the chemical released by black walnut trees. They grow safely near walnuts where other alliums struggle.
How to Plant Walking Onions: Step by Step
Step 1: Prepare the Soil
Loosen the top 6 to 8 inches of soil with a garden fork. Mix in 2 inches of aged compost or well-rotted manure. This adds organic matter and improves drainage.
Test your soil pH if you have not done so recently. Walking onions prefer a pH of 6.0 to 7.0. Add lime if the pH falls below 6.0. I wrote a guide on soil testing for farming that covers this process.
Step 2: Select Healthy Bulbils
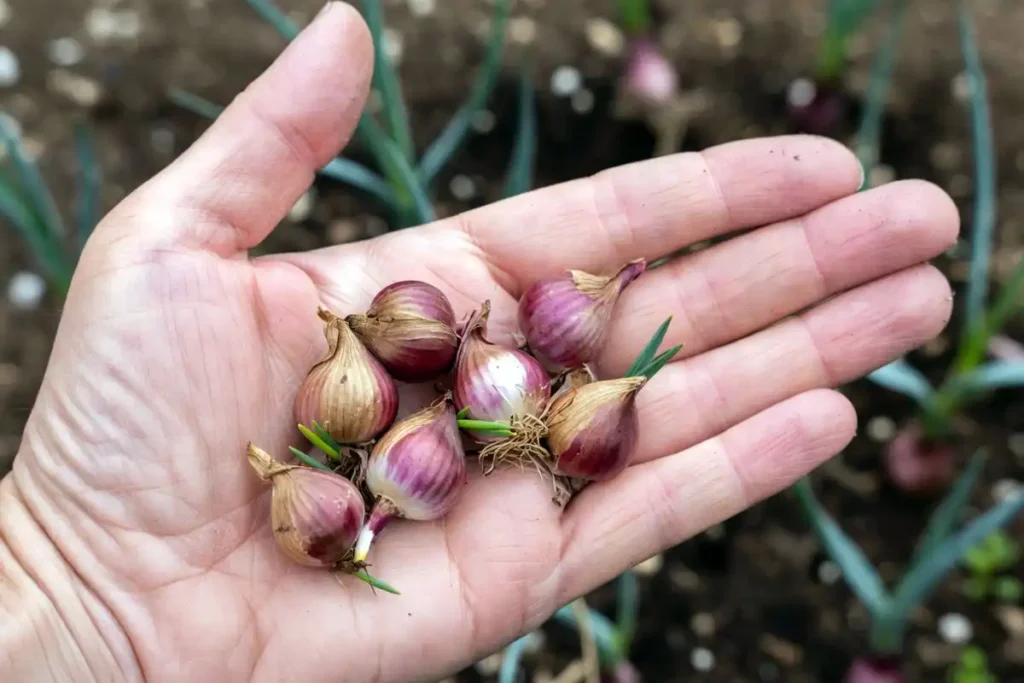
Choose firm, dry bulbils with tight skins and no soft spots. Larger bulbils (about the size of a marble) establish faster than tiny ones. Discard any bulbils that feel mushy or show mold.
You can source bulbils from an existing patch, a neighbor’s garden, or a specialty grower. Walking onions rarely produce true seed, so bulbils and clump divisions are the standard propagation methods.
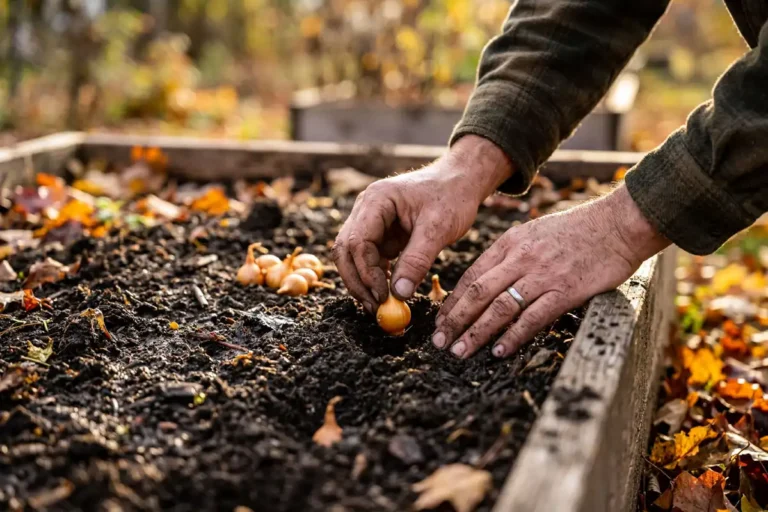
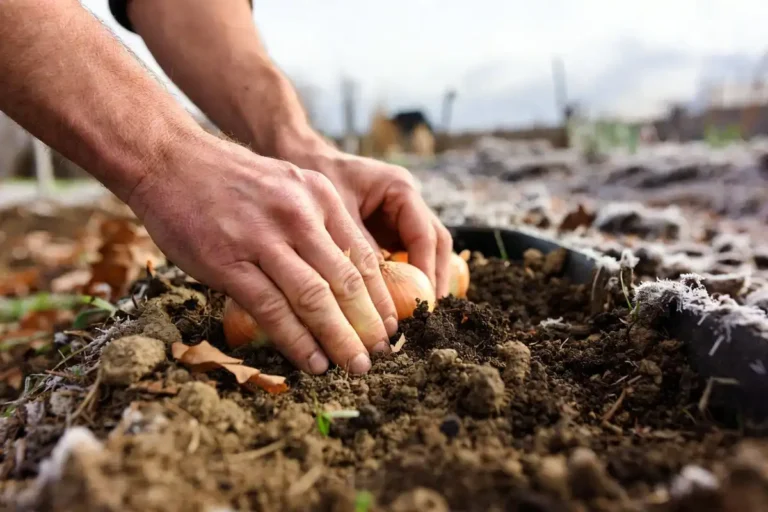
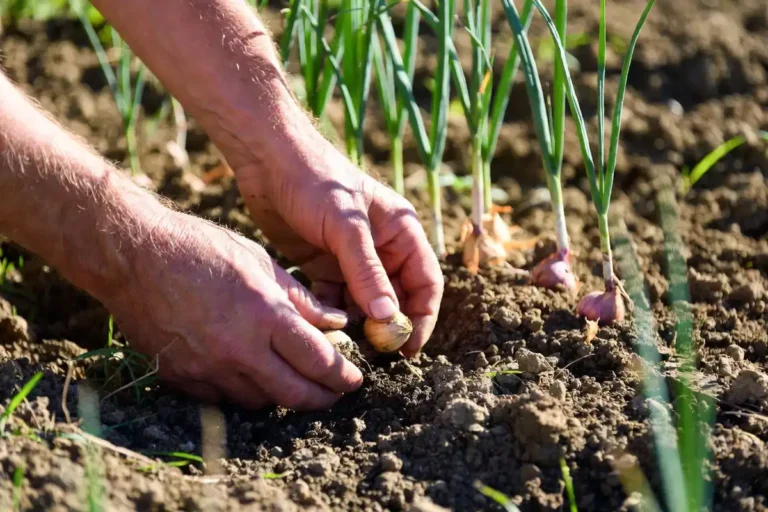
Step 3: Plant the Bulbils
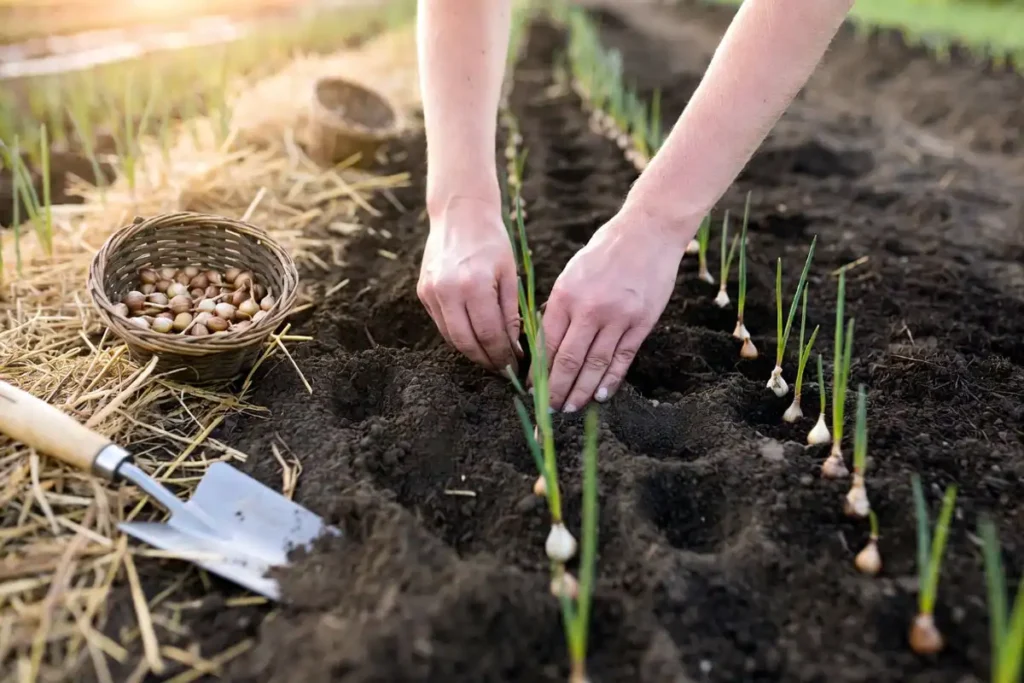
Push each bulbil into the soil with the pointed end facing up. Plant 1 to 2 inches deep. Space bulbils 4 to 6 inches apart if growing for greens. Space 10 to 12 inches apart if you want the patch to expand and produce large clumps.
Leave 12 inches between rows for access. Proper plant spacing prevents overcrowding and reduces the risk of fungal disease.
Step 4: Water and Mulch
Water the bed thoroughly after planting to settle the soil around the bulbils. Keep the soil evenly moist (not soggy) for the first 2 to 3 weeks while roots develop.
Apply 2 to 3 inches of organic mulch around the plants. Straw, shredded leaves, or wood chips work well. Mulch holds moisture, suppresses weeds, and insulates fall-planted bulbils through winter.
How to Care for Walking Onions After Planting
Walking onions need little maintenance once established. Water during dry spells, aiming for about 1 inch of water per week during the growing season. Stop watering when the plant goes dormant in late fall.
Apply a side-dressing of compost or a balanced organic fertilizer in early spring as new growth appears. Avoid high-nitrogen fertilizers late in the season, as this encourages soft leaf growth instead of bulbil formation.
Divide crowded clumps every 3 to 4 years. Dig up the entire clump in early spring, separate the bulbs, and replant them at proper spacing. Dividing keeps the plants productive and reduces disease pressure.
When to Harvest Walking Onions
Walking onions offer three harvests throughout the season:
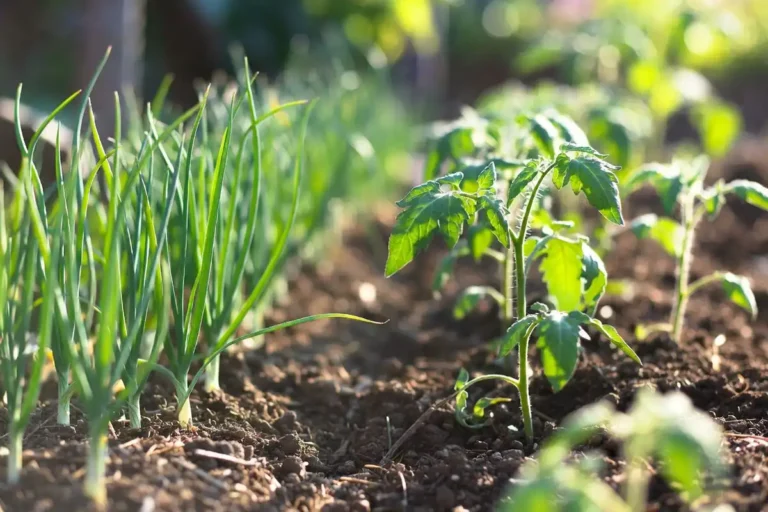
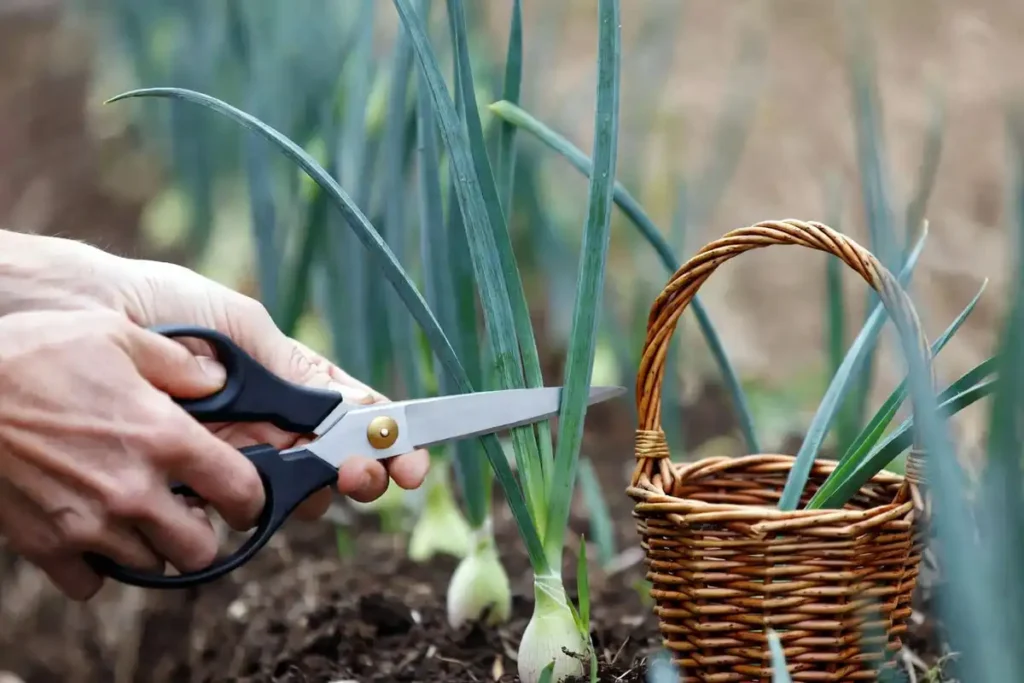
Green leaves: Snip young, tender leaves when they reach 6 to 8 inches tall. Use them like scallions or chives. Avoid removing more than a third of the leaves at once so the plant keeps growing.
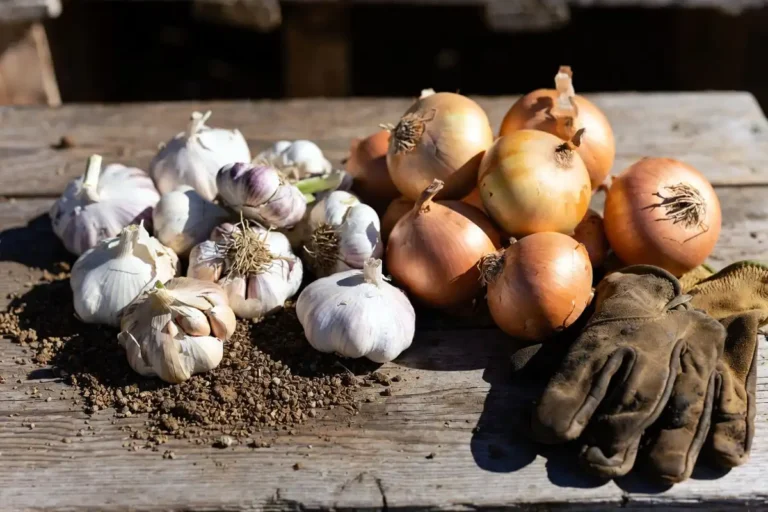
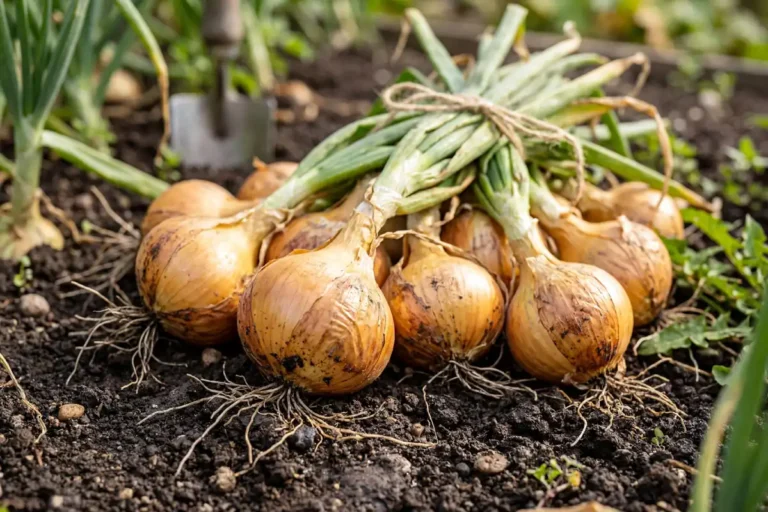
Underground bulbs: Dig small bulbs from the base of the plant in late spring or early summer. These taste similar to shallots but with more heat.
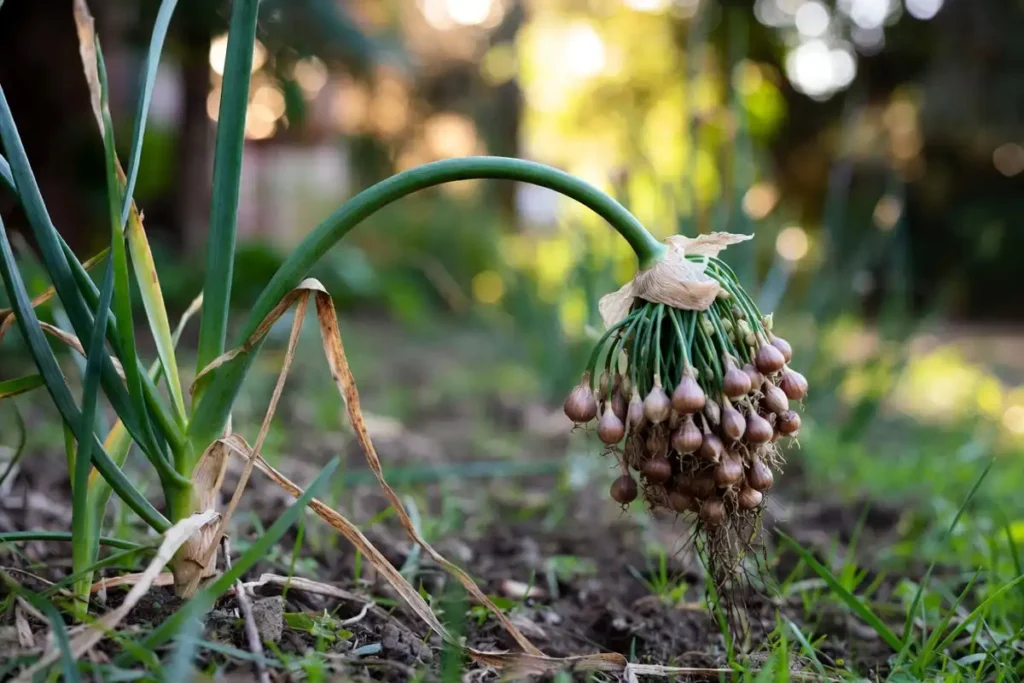
Bulbils (topsets): Harvest bulbils in late summer when the skins turn reddish-brown and papery. Each stem produces a cluster of 5 to 20 small bulbils. Store them in a cool, dry place for up to several months, or replant them right away.
Common Pests and Diseases
Walking onions resist most common problems, but a few issues appear in certain conditions.
Thrips: These tiny insects cause white streaking on leaves during hot, dry weather. The damage is mostly cosmetic. A strong spray of water from a hose knocks them off. For persistent problems, I covered natural pest control methods that work well for allium crops.
Onion white rot: This soil-borne fungus causes yellowing, wilting, and white fuzzy growth at the base. Infected plants need removal and disposal. Avoid replanting alliums in the same spot for at least 8 years after an infection.
Rust: Orange-brown pustules on leaves indicate rust fungus. Improve air circulation by thinning dense patches. Remove and discard infected leaves.
Onion fly: Larvae feed on the underground bulb, causing soft, rotting tissue. Crop rotation every 3 to 4 years reduces risk. The University of Maryland Extension lists onion fly as a common allium pest and recommends row covers for prevention.
Common Mistakes to Avoid When Planting Walking Onions
Planting too deep. Bulbils buried more than 2 inches deep sprout slowly or rot. Keep planting depth at 1 to 2 inches.
Overwatering. Walking onions tolerate dry spells better than soggy soil. Waterlogged conditions cause bulb rot. Plant in well-drained soil and water only when the top inch dries out.
Harvesting too aggressively in year one. First-year plants need their leaves to build energy reserves. Limit leaf harvesting to light trims during the first growing season.
Ignoring spacing. Overcrowded clumps produce small bulbils and thin greens. Give each plant enough room and divide clumps every few years.
Skipping mulch on fall plantings. Unmulched bulbils in cold zones heave out of the ground during freeze-thaw cycles. A layer of straw or shredded leaves prevents this.
FAQs on Planting Walking Onions
Can you plant walking onions in containers?
Walking onions grow well in containers at least 12 inches deep with drainage holes. Use a loose, well-draining potting mix and place the container in full sun. Water when the top inch of soil feels dry.
How long do walking onions take to produce bulbils?
Walking onions produce bulbils on tall stems during their second growing season. Fall-planted bulbils establish faster and often produce topsets the following summer. Spring-planted ones take a full year longer.
Do walking onions spread aggressively?
Walking onions self-propagate but spread slowly, about 12 to 24 inches per year. They are not invasive. Remove bulbils before they root if you want to keep the patch contained.
Can you eat every part of a walking onion?
Every part of the walking onion is edible. The green leaves taste like scallions. The underground bulbs taste like strong shallots. The bulbils work well pickled, roasted, or added to soups and stir-fries.
What is the difference between walking onions and regular onions?
Walking onions are perennial and regrow each year without replanting. Regular onions are annuals that produce one bulb per season. Walking onions form aerial bulbils instead of seeds, while regular onions flower and set seed.
Conclusion
Walking onions are one of the easiest perennial vegetables to grow. Plant bulbils in early fall for the best results, or in early spring as a second option. Give them well-drained soil, full sun, and a little mulch. After the first year, they reward you with greens, bulbs, and bulbils season after season with almost no effort.