How to Grow Onions from Seed the Right Way in 10 Simple Steps
When you grow onions from seed, you get access to far more varieties than nurseries offer as sets or transplants. This guide walks you through every stage, from choosing the right seed and sowing indoors, to transplanting, care, and harvest. You will find clear steps, decision points, and common mistakes so you can grow full-sized, healthy bulbs with confidence.
Start onion seeds indoors 10 to 12 weeks before your last frost date. Sow 1/4 inch deep in moist seed-starting mix at 65 to 75°F. Provide 14 to 16 hours of light daily. Transplant after the last frost, spacing plants 4 to 6 inches apart. Onions grown from seed mature in 100 to 175 days, depending on variety.
Contents
- 1 Why Grow Onions from Seed?
- 2 Choosing the Right Onion Variety
- 3 When to Start Onion Seeds Indoors
- 4 What You Need
- 5 How to Grow Onions from Seed: Step-by-Step
- 6 Preparing Your Planting Bed
- 7 Transplanting Outdoors
- 8 Caring for Onions in the Ground
- 9 Harvesting and Curing
- 10 Common Mistakes to Avoid
- 11 Troubleshooting
- 12 FAQs about Grow Onions from Seed
- 13 Final Thoughts on Growing Onions From Seed
Why Grow Onions from Seed?
Seed-grown onions produce larger, more uniform bulbs than sets. Sets carry disease from their previous season. Seeds arrive clean, and you control every stage.
Seed growing also gives you variety choices that sets cannot offer. You can select storage types, colors, and day-length adaptations that match your region exactly.
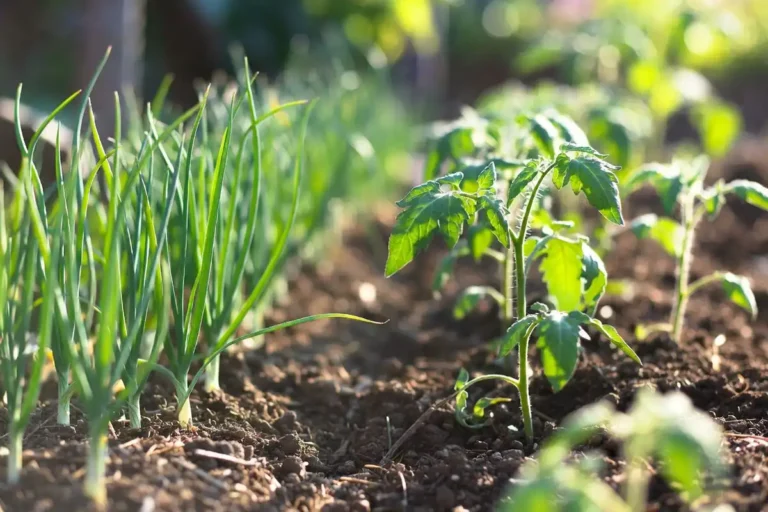
Learn more: Onions and Tomatoes Plant Together
Choosing the Right Onion Variety
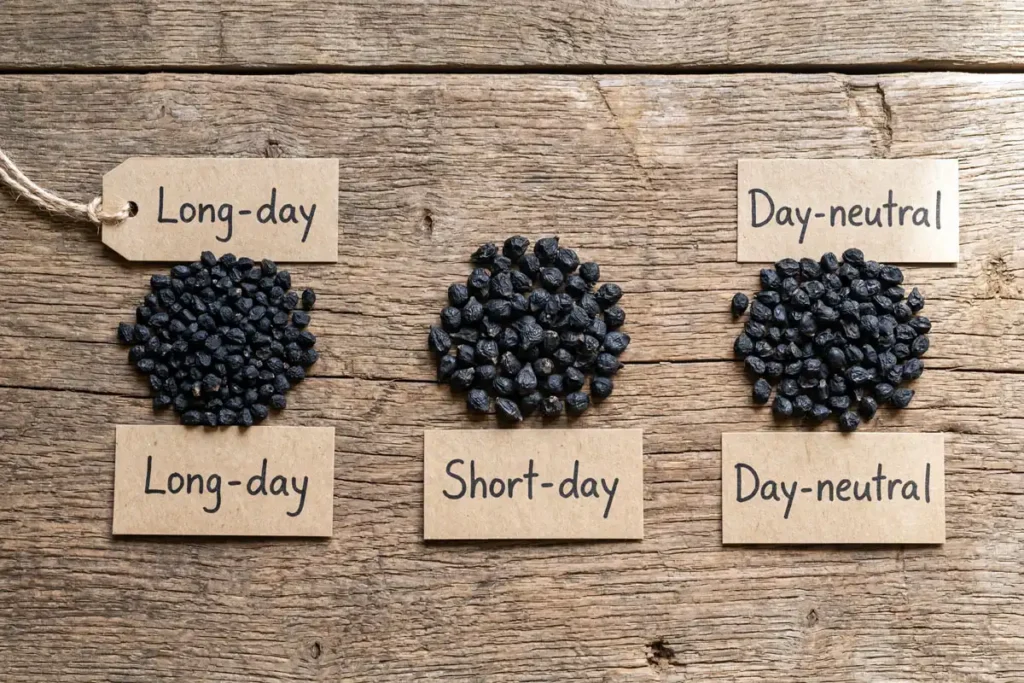
Onions divide into three groups based on day-length requirement.
Long-day onions need 14 to 16 hours of daylight to form bulbs. Growers above 36°N latitude use this type. Common varieties include Walla Walla, Copra, and Patterson.
Short-day onions need only 10 to 12 hours. Growers below 36°N use these. Examples include Texas Grano and Georgia Sweet.
Day-neutral onions bulb across a wide day-length range. Mid-latitude growers often choose Candy or Superstar.
Planting the wrong type for your latitude produces small bulbs or plants that never bulb at all. Match variety to region first, then choose by flavor or storage quality. I covered this selection process in an earlier article on hybrid vs. heirloom seed choices.
When to Start Onion Seeds Indoors
Start seeds 10 to 12 weeks before your last expected frost date. Sowing too early produces overgrown seedlings that bolt. Sowing too late produces weak transplants that miss their bulbing window.
Check your local extension service for your average last frost date, then count back from there.
What You Need
- Onion seeds matched to your day-length zone
- Seed-starting mix (not garden soil or potting mix)
- Seed trays with drainage holes
- Grow lights or strong supplemental lighting
- Heat mat (optional, but helpful)
- Watering can with a fine rose head
- Liquid fertilizer, higher in nitrogen
- Labels and marker
How to Grow Onions from Seed: Step-by-Step
Step 1: Prepare Your Trays
Fill trays with pre-moistened seed-starting mix. Press lightly to remove air pockets. Leave 1/4 inch of space below the rim. Moisten the mix before sowing. Watering a dry tray after sowing washes seeds out of position.
Step 2: Sow the Seeds
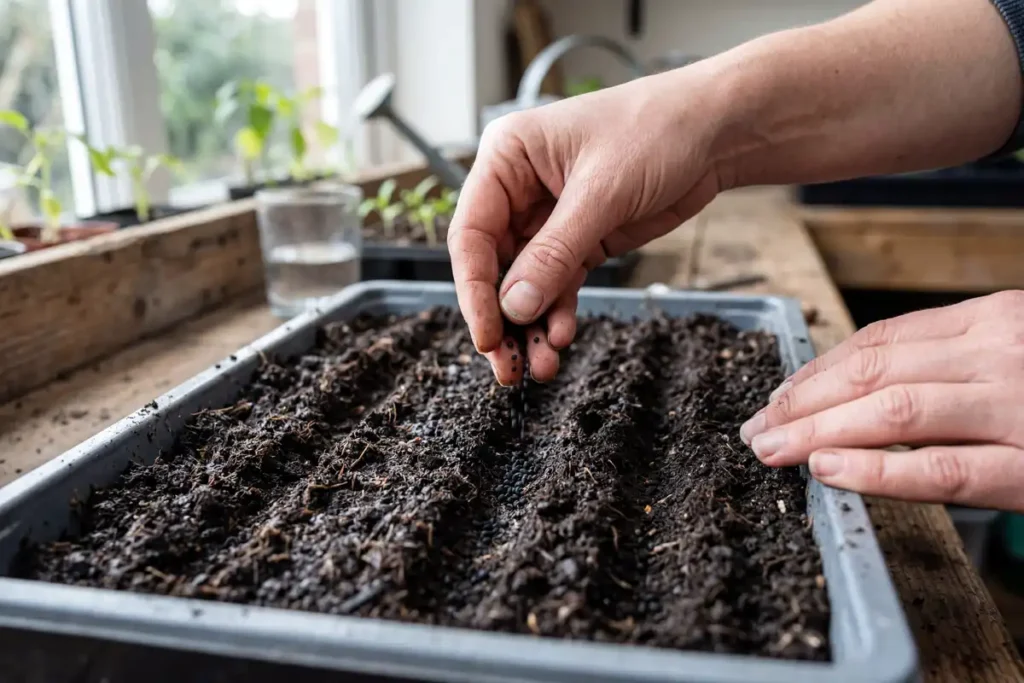
Make furrows 1/4 inch deep. Sow seeds 1/2 inch apart. Cover lightly with mix. Onion seeds are flat and small. Use damp fingertips or a folded paper crease for better control.
Step 3: Label and Cover
Label each tray with variety and sowing date. Cover with a plastic dome to hold humidity. Remove the cover as soon as sprouts appear. Leaving it on invites damping off, a fungal condition that collapses seedlings at soil level. I covered how to identify and treat it in my article on seedling care and damping off.
Step 4: Manage Temperature
Keep trays between 65 and 75°F. A heat mat helps maintain consistent soil temperature. Onion seeds germinate in 7 to 10 days at the right temperature. Below 50°F, germination slows significantly or fails.
Step 5: Provide Enough Light
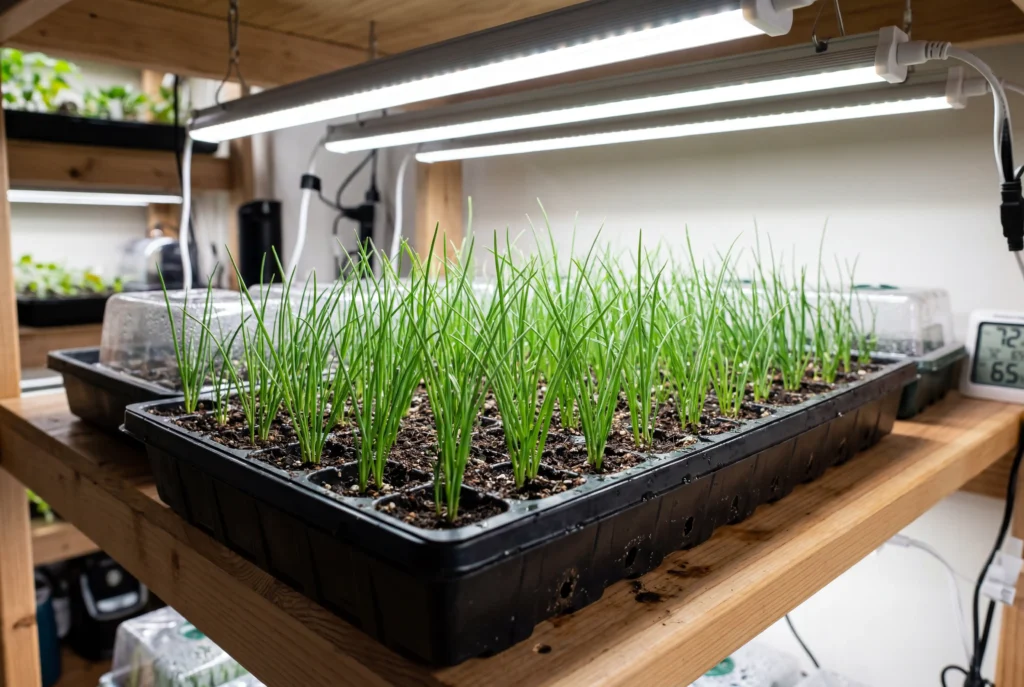
Onion seedlings need 14 to 16 hours of light daily. A south-facing window rarely delivers this in winter. Position grow lights 2 to 3 inches above seedling tips and raise them as plants grow. Compact, upright seedlings receive enough light. Tall, leaning seedlings do not.
Step 6: Water Carefully
Bottom-watering works best. Set the tray in a shallow container of water for 20 to 30 minutes, then drain. If top-watering, use a gentle flow. The mix should stay consistently moist, not wet. Overwatering reduces root oxygen and increases fungal pressure.
Step 7: Fertilize at the Right Time
Start fertilizing when seedlings develop their second blade. Apply diluted liquid fertilizer higher in nitrogen every 7 to 10 days. Nitrogen supports leaf growth, which drives bulb development later. I explained the role of each nutrient in my article on NPK fertilizer for crops.
Step 8: Thin and Trim
When seedlings reach 3 inches tall, thin to 1 inch apart. Use scissors, not hands. Pulling disturbs neighboring roots.
Trim tops back to 3 inches whenever seedlings exceed that height. This strengthens the root system rather than extending top growth. Trim every 2 to 3 weeks until transplanting.
Step 9: Harden Off
Begin hardening 7 to 10 days before transplant day. Move trays outside for 1 to 2 hours in a sheltered spot on day one. Add 1 to 2 hours each day until seedlings tolerate full outdoor conditions. Skipping this causes transplant shock that sets growth back by weeks.
Preparing Your Planting Bed
Onions grow best in loose, well-drained soil with a pH between 6.0 and 7.0. A soil test identifies pH and nutrient gaps before they become problems.
Work the bed 8 to 10 inches deep. Remove clods and debris. Mix compost into the top 6 inches. This improves drainage in clay and water retention in sandy soils.
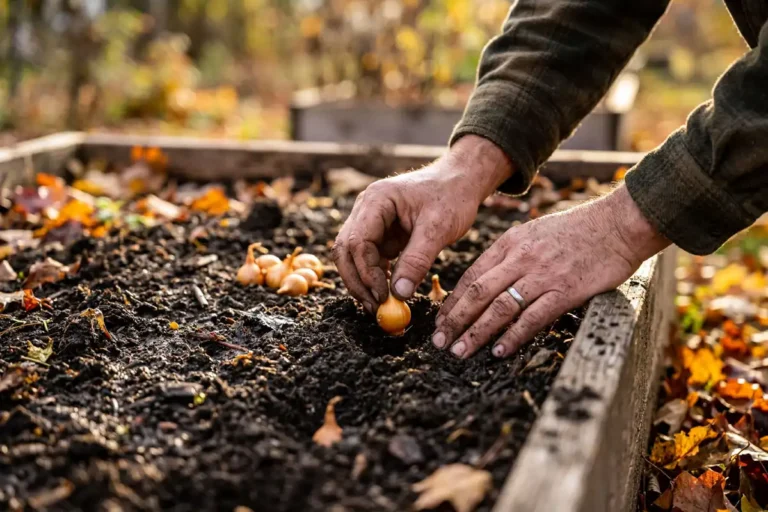
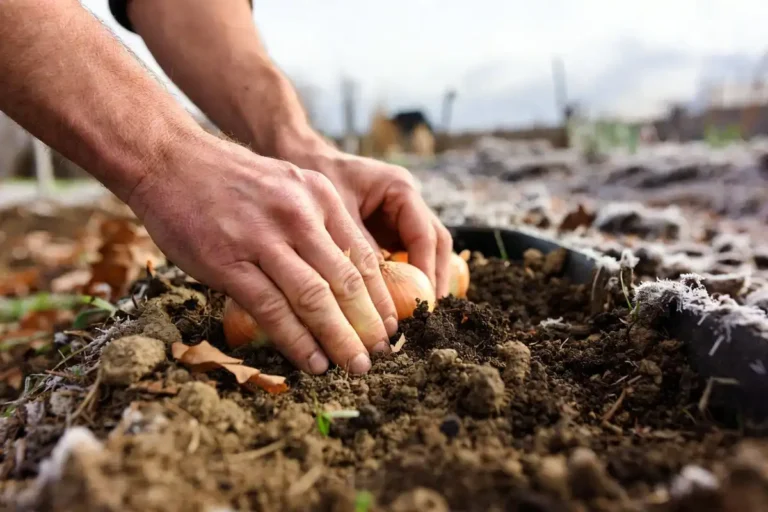
Transplanting Outdoors
Transplant after your last frost date when soil reaches at least 50°F.
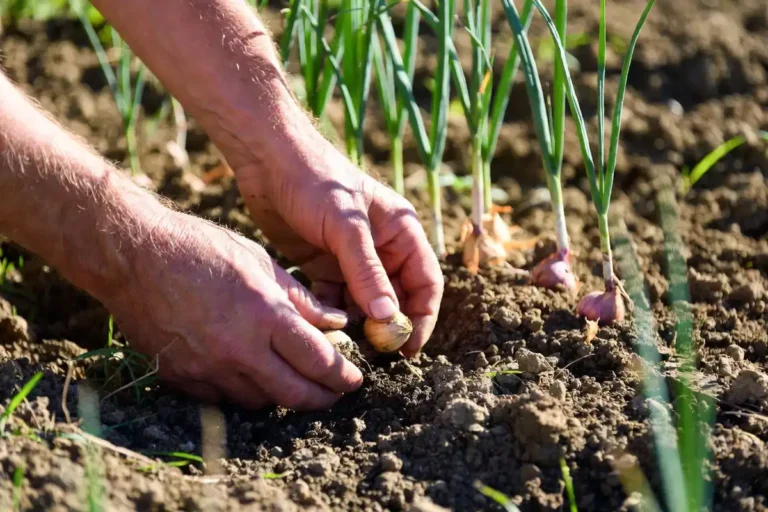
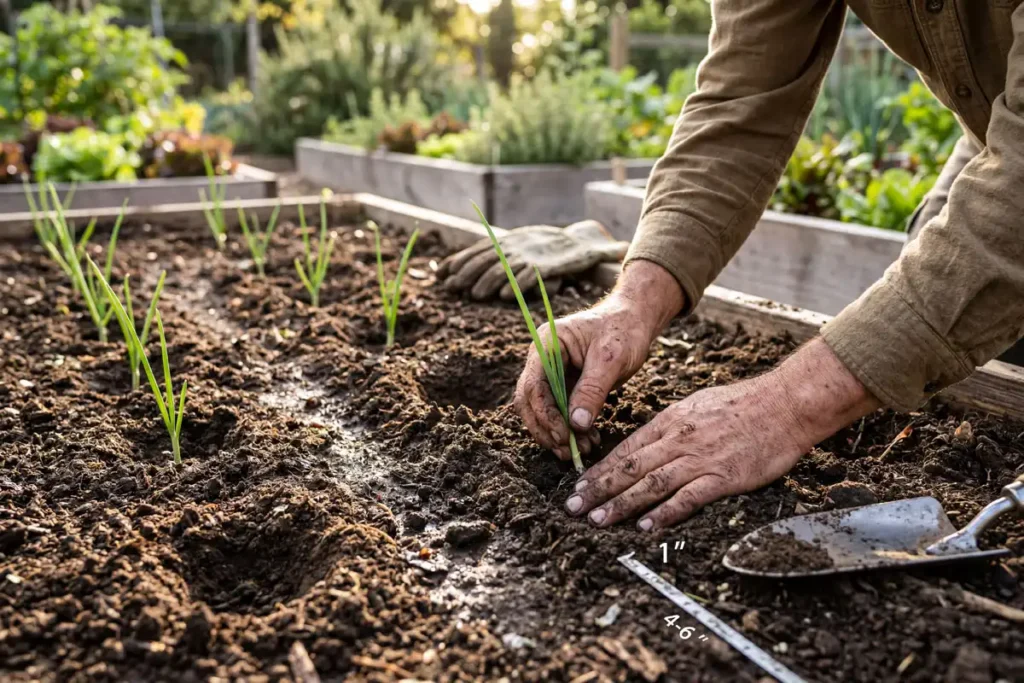
Set each seedling 1 inch deep, at the same depth it grew in the tray. Planting too deep buries the neck and invites rot. Planting too shallow exposes roots.
Space plants 4 to 6 inches apart in rows 12 inches apart. Closer spacing produces smaller bulbs. Water thoroughly after transplanting to settle soil around roots. I covered how plant spacing affects bulb size and yield in a separate guide.
Caring for Onions in the Ground
Watering: Onions need 1 inch of water per week. Water at the base, not overhead. Reduce watering when tops yellow and fall over. That signals the final bulbing stage. Excess water at this point causes rot.
Fertilizing: Side-dress with nitrogen at 3 to 4 weeks after transplanting, then again at 6 to 8 weeks. Stop nitrogen once bulbs swell visibly above the soil surface. Continued nitrogen after that produces soft, thick necks that shorten storage life.
Weeding: Onions compete poorly against weeds because their roots stay shallow. Hand-weed near plants to protect roots. Use a hoe between rows.
Mulching: Apply 2 inches of straw or shredded leaves after transplanting. Mulch holds moisture and reduces weeds. Keep it an inch away from each stem to prevent rot.
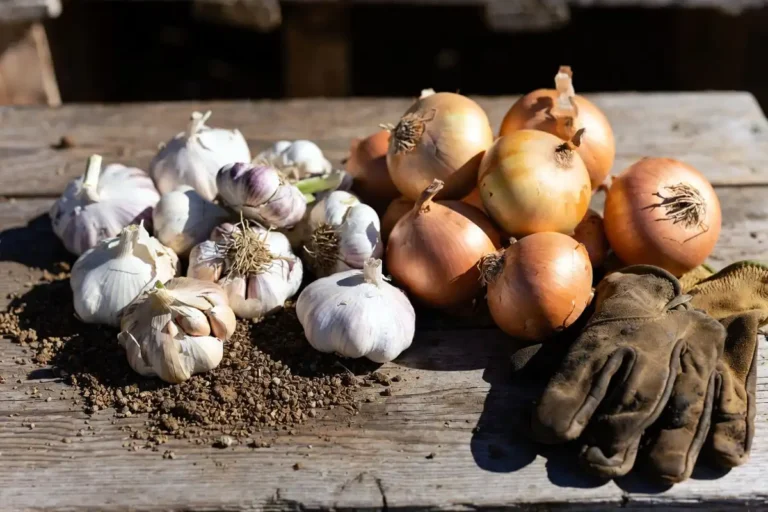
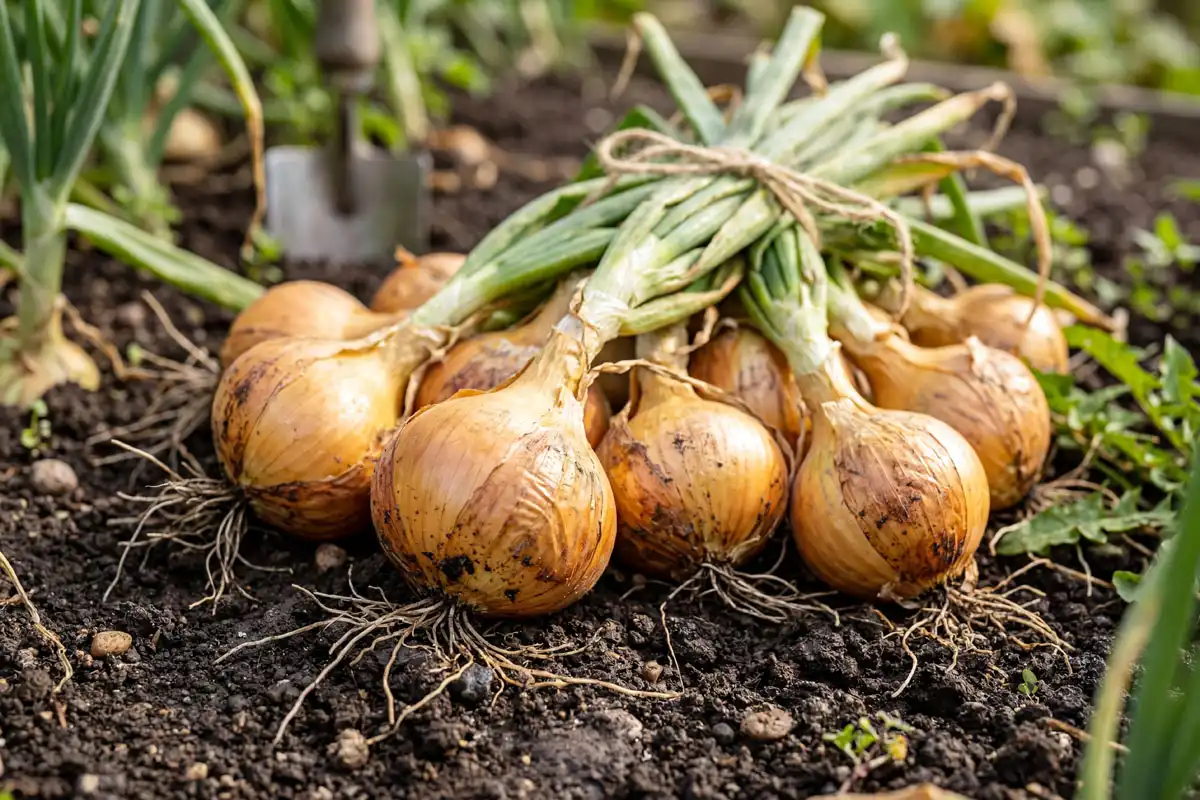
Harvesting and Curing
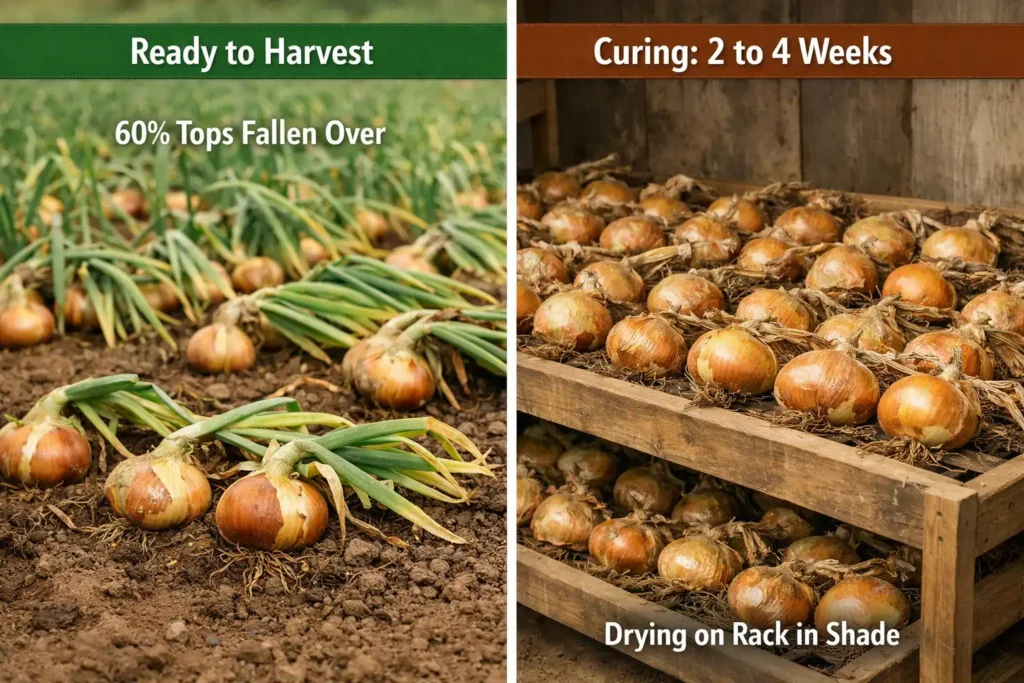
Harvest when 50 to 75% of tops fall over naturally. Do not wait for all tops to fall. Onions left in the ground past this point develop thick necks that cure poorly.
Loosen soil with a fork before pulling. Pulling without loosening bruises bulbs.
Curing: Lay harvested onions in a single layer in a dry, shaded spot with good airflow. Cure for 2 to 4 weeks until the skin feels papery and the neck is completely dry. A moist neck needs more curing time before storage.
Common Mistakes to Avoid
- Starting too late. Seedlings need 10 to 12 weeks indoors. A late start produces weak transplants.
- Using garden soil in trays. It compacts, drains poorly, and carries pathogens. Use only sterile seed-starting mix.
- Insufficient light. Spindly seedlings cannot support healthy bulbs. Grow lights remove this variable.
- Wrong variety for your latitude. A short-day onion in a northern garden never produces a full bulb.
- Nitrogen too late. Feeding after bulbing begins produces soft necks that rot quickly in storage.
- Skipping hardening off. Indoor seedlings cannot handle outdoor conditions without a transition period.
Troubleshooting
Seedlings collapse at soil level. Damping off. Remove affected plants, improve drainage, and run a small fan for airflow.
Pale or yellow seedlings. Check light levels first. If adequate, apply diluted nitrogen fertilizer.
No germination after 14 days. Soil is too cold. A heat mat brings it into the correct range.
Small bulbs at harvest. Wrong variety, late planting, poor nutrition, or overcrowding. Evaluate all four for next season.
FAQs about Grow Onions from Seed
How long does it take to grow onions from seed?
Onions take 100 to 175 days from transplanting, depending on variety. Add 10 to 12 weeks of indoor starting time to estimate the full season from sowing to harvest.
Can you direct-sow onion seeds outdoors?
Yes, once soil reaches 50°F in early spring. Indoor starting produces larger transplants and extends your growing window in short-season climates.
Do onion seeds need light to germinate?
No. They need consistent moisture and soil temperatures between 65 and 75°F. Light becomes critical only after seedlings emerge.
When should I stop watering onions before harvest?
Reduce watering when tops yellow and begin falling over, usually 1 to 2 weeks before harvest. Too little too early stunts bulbs. Too much too late softens necks.
Final Thoughts on Growing Onions From Seed
Growing onions from seed takes more planning than buying sets, but the results are worth it. You control variety selection, avoid transferred disease, and produce bulbs sized and cured exactly to your preference.
Follow each stage, match the variety to your latitude, and give seedlings enough light indoors. Those three decisions determine the outcome more than anything else.