How Do You Can Sweet Corn Safely: 6 Steps to Shelf-Ready Jars
Canning sweet corn requires a pressure canner, fresh ears, and clean jars processed at 10 PSI for 55 minutes (pints) or 85 minutes (quarts). This guide walks you through every step I follow on my Kansas farm, from picking fresh corn to sealing safe, shelf-stable jars for winter.
Shuck and blanch the ears, cut kernels off the cob, pack into hot jars with 1 inch headspace, add ½ teaspoon salt per pint (optional), cover with boiling water, and process in a pressure canner at 10 pounds pressure for 55 minutes (pints) or 85 minutes (quarts).
What You Need for Canning Sweet Corn
Gather these items before you start. If you pick corn during the best harvest window for sweet corn, you get the sweetest kernels and best texture.
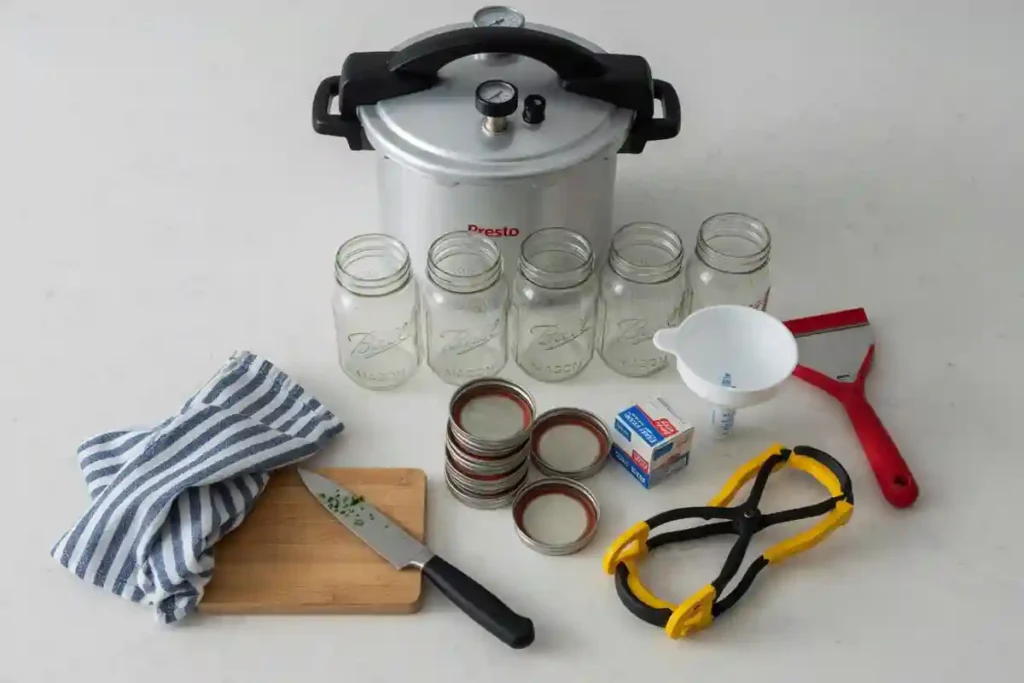
Equipment:
- Pressure canner (dial or weighted gauge)
- Pint or quart Mason jars with new lids and rings
- Jar lifter, funnel, bubble remover, headspace tool
- Sharp knife and cutting board
- Large pot for blanching
- Clean towels
Ingredients:
- Fresh sweet corn (about 31 to 35 pounds for 7 quarts)
- Canning salt (optional, ½ teaspoon per pint)
- Boiling water
Good post-harvest handling matters a lot here. Sugar in sweet corn converts to starch within hours, so I process ears the same day I pick them.
When to Can Sweet Corn
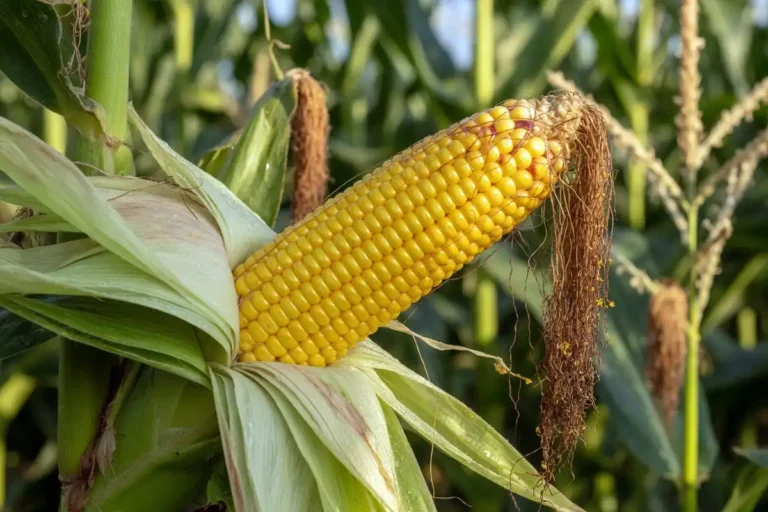
Can sweet corn at peak ripeness, usually 18 to 24 days after silks appear. The kernels should feel plump and release milky juice when pierced with a thumbnail. I wrote about this timing in my guide on ear readiness after tassel.
Overripe corn turns starchy and tough. Underripe corn produces watery, bland jars. Pick in the cool of the morning for the best sugar content.
How to Can Sweet Corn Step by Step
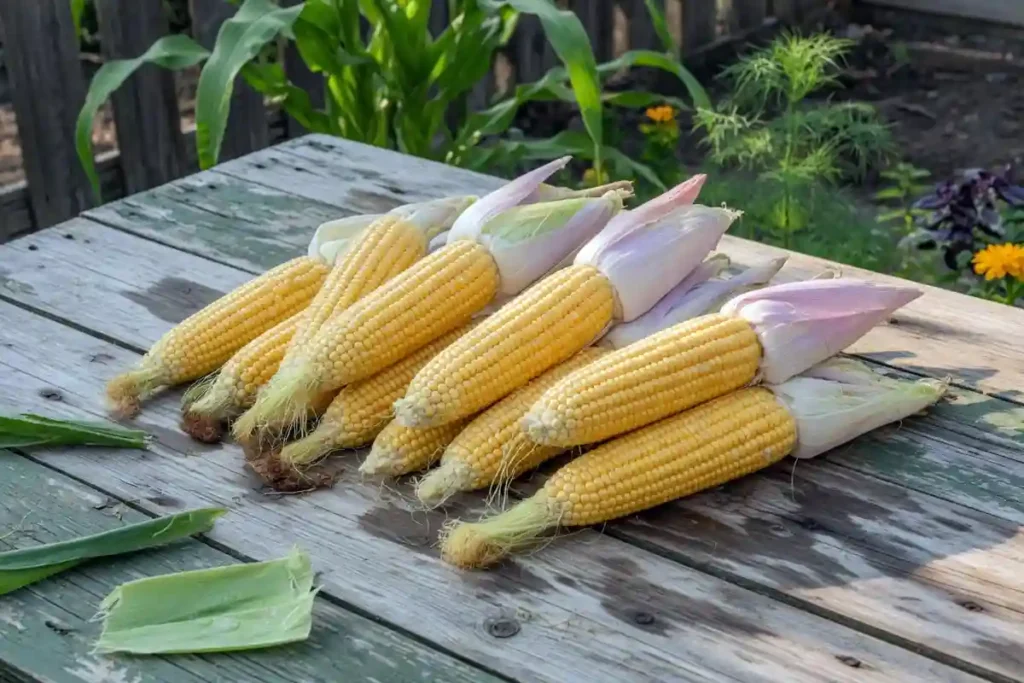
Step 1: Harvest and Husk
Pull back the husks, remove the silks, and rinse each ear under cold water. Trim any bad spots. I shuck outside on the porch because the silks spread fast.
Step 2: Blanch the Ears
Bring a large pot of water to a rolling boil. Add the ears and blanch for 3 minutes. Blanching loosens the kernels and stops enzyme activity that causes off-flavors in storage.
Transfer the ears to a pan. Do not ice-bath them for hot pack canning, since you want the kernels warm when they go into jars.
Step 3: Cut the Kernels
Stand each ear in a shallow pan. Slice down the sides with a sharp knife at about three-quarters of the kernel depth. Do not scrape the cob. Scraping releases starch and milk that cause liquid loss during processing.
One dozen ears yields about 3 pints of whole-kernel corn.
Step 4: Pack the Jars (Hot Pack Method)
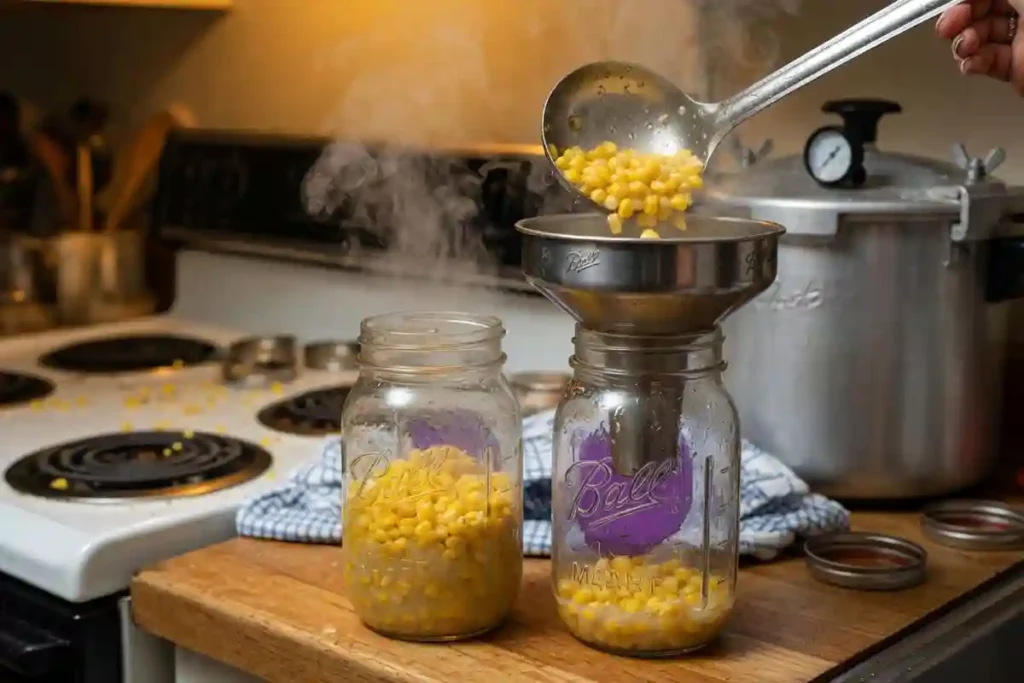
The USDA recommends hot pack for the best texture and liquid retention. Put the cut kernels in a saucepan, cover with 1 cup boiling water per quart of kernels, and simmer for 5 minutes.
Ladle hot corn and cooking liquid into clean, hot jars. Leave 1 inch of headspace. Add ½ teaspoon canning salt per pint or 1 teaspoon per quart if you use it.
Run a plastic bubble remover around the inside of each jar. Wipe the rims with a damp cloth. Apply lids and rings finger-tight.
Step 4 (Alternative): Raw Pack Method
Fill jars with raw kernels and press down gently. Leave 1 inch of headspace. Pour boiling water over the corn, keeping the same headspace. Wipe rims, apply lids, and continue with processing.
Step 5: Process in the Pressure Canner
Place 2 to 3 inches of hot water in the canner. Load the jars on the rack. Lock the lid. Vent steam for 10 minutes before closing the petcock or placing the weight.
Bring to 10 pounds pressure on a weighted gauge or 11 pounds on a dial gauge at altitudes up to 1,000 feet. Process pints for 55 minutes and quarts for 85 minutes. Adjust pressure for higher altitudes per the USDA Complete Guide to Home Canning.
Turn off the heat when time is up. Let the canner depressurize on its own. Do not force cool.
Step 6: Cool and Check Seals
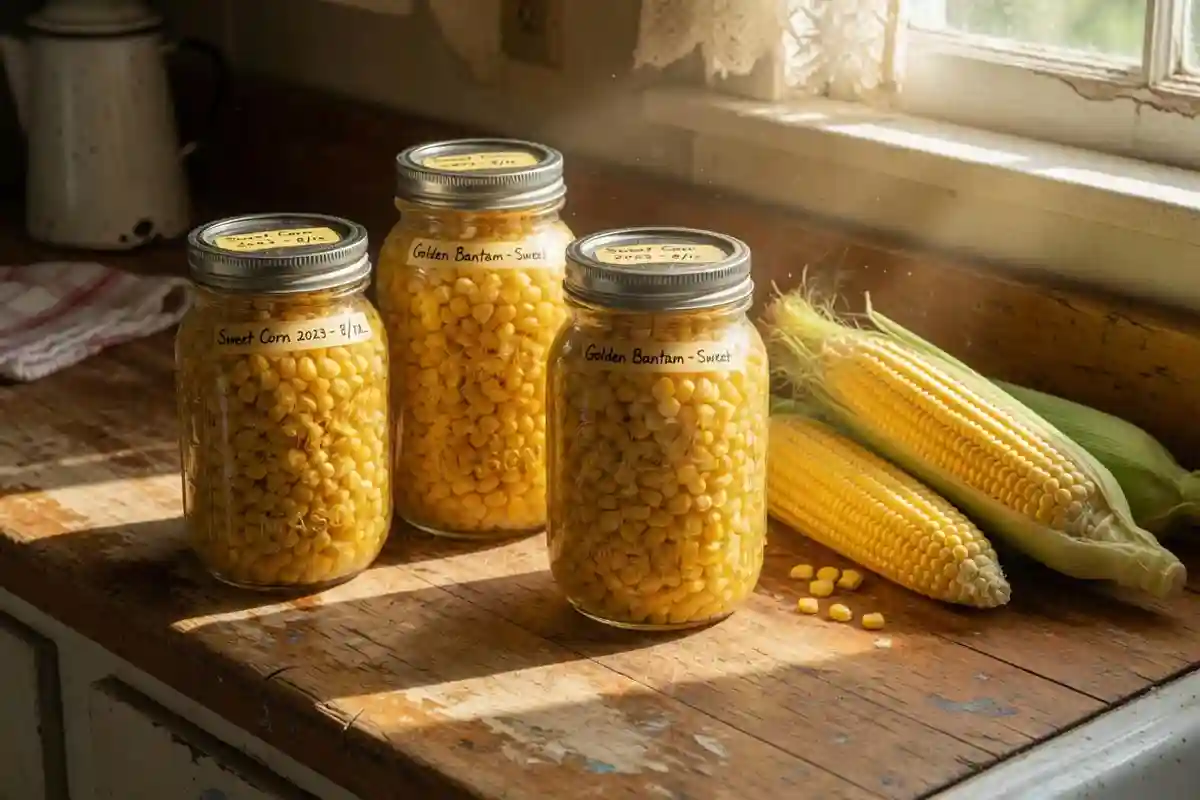
Remove jars with a jar lifter and place them on a towel. Let them cool for 12 to 24 hours without moving. Press the center of each lid. A sealed lid does not flex.
Label each jar with the date and store in a cool, dark place. Follow good storage practices for farm harvests to keep jars shelf-stable for 12 to 18 months.
Processing Time and Pressure Chart
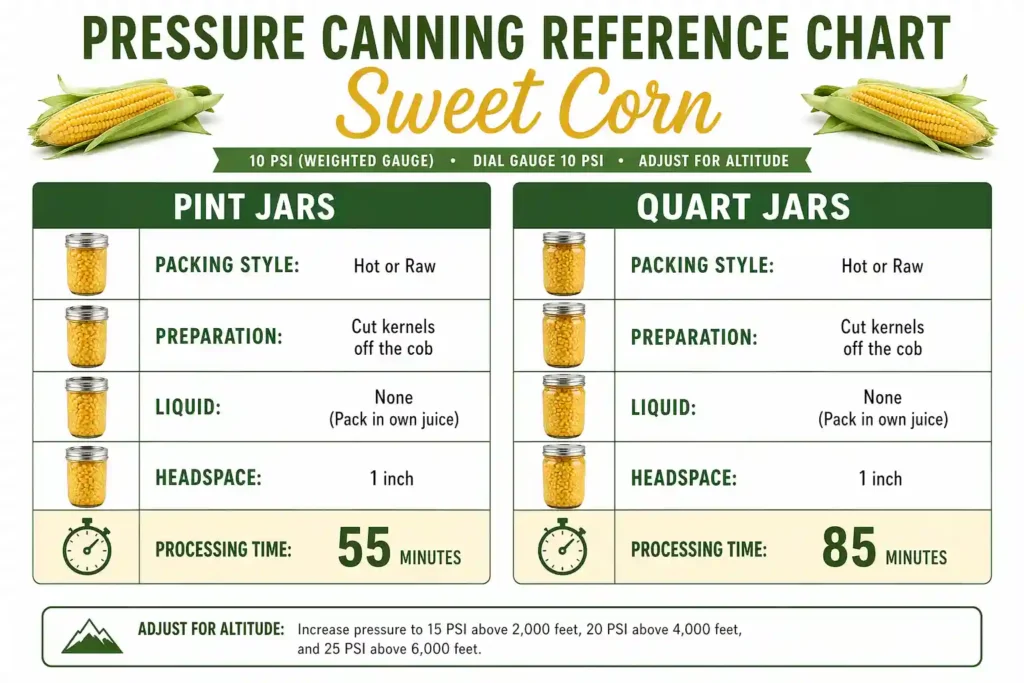
| Jar Size | Style | Pressure (weighted) | Time |
|---|---|---|---|
| Pint | Hot or raw | 10 lb | 55 min |
| Quart | Hot or raw | 10 lb | 85 min |
At altitudes above 1,000 feet, use 15 pounds on a weighted gauge. Dial gauge pressures step up in 1-pound increments per 2,000 feet of elevation.
Troubleshooting Canned Sweet Corn
Cloudy liquid: Normal starch release from the kernels. Jars are safe if sealed and processed for the full time.
Liquid loss during processing: Caused by rapid pressure changes. Let the canner depressurize naturally next time.
Brown or darkened corn: The corn was overripe or processed too long. Pick younger ears next season.
Unsealed lid: Refrigerate and use within 3 days, or reprocess within 24 hours with a new lid.
Mistakes to Avoid
- Water bath canning sweet corn. Low-acid corn needs pressure canning to kill botulism spores.
- Skipping the 10-minute vent. Trapped air gives false pressure readings.
- Scraping the cob. This releases starch that causes cloudy liquid and siphoning.
- Using old jars with chips on the rim. Chips prevent airtight seals.
- Stacking jars while they cool. The weight breaks weak seals.
Safety Notes for Pressure Canning Corn
Sweet corn is a low-acid food with a pH near 6.0. Only pressure canning reaches the 240°F needed to destroy Clostridium botulinum spores. The CDC reports that most home-canning botulism cases come from improperly processed low-acid foods.
Test your dial gauge each year at a county extension office. Replace soft or warped gaskets before use. Never shortcut the processing time, even for partial loads.
If a jar smells off, looks foamy, or spurts liquid when opened, do not taste it. Dispose of the jar and contents in a sealed bag.
FAQs
Can you can sweet corn in a water bath canner?
How long does home canned sweet corn last?
Do I need to blanch corn before canning?
Can I reuse canning lids?
How many ears of corn do I need for a quart jar?
Conclusion
Canning sweet corn is straightforward once you follow the pressure canner rules and stick to tested USDA times. Start with fresh ears, blanch them, pack your jars with care, and process at the right pressure. Done right, you get sealed jars of sweet, farm-fresh corn that carry your summer harvest through the whole winter.